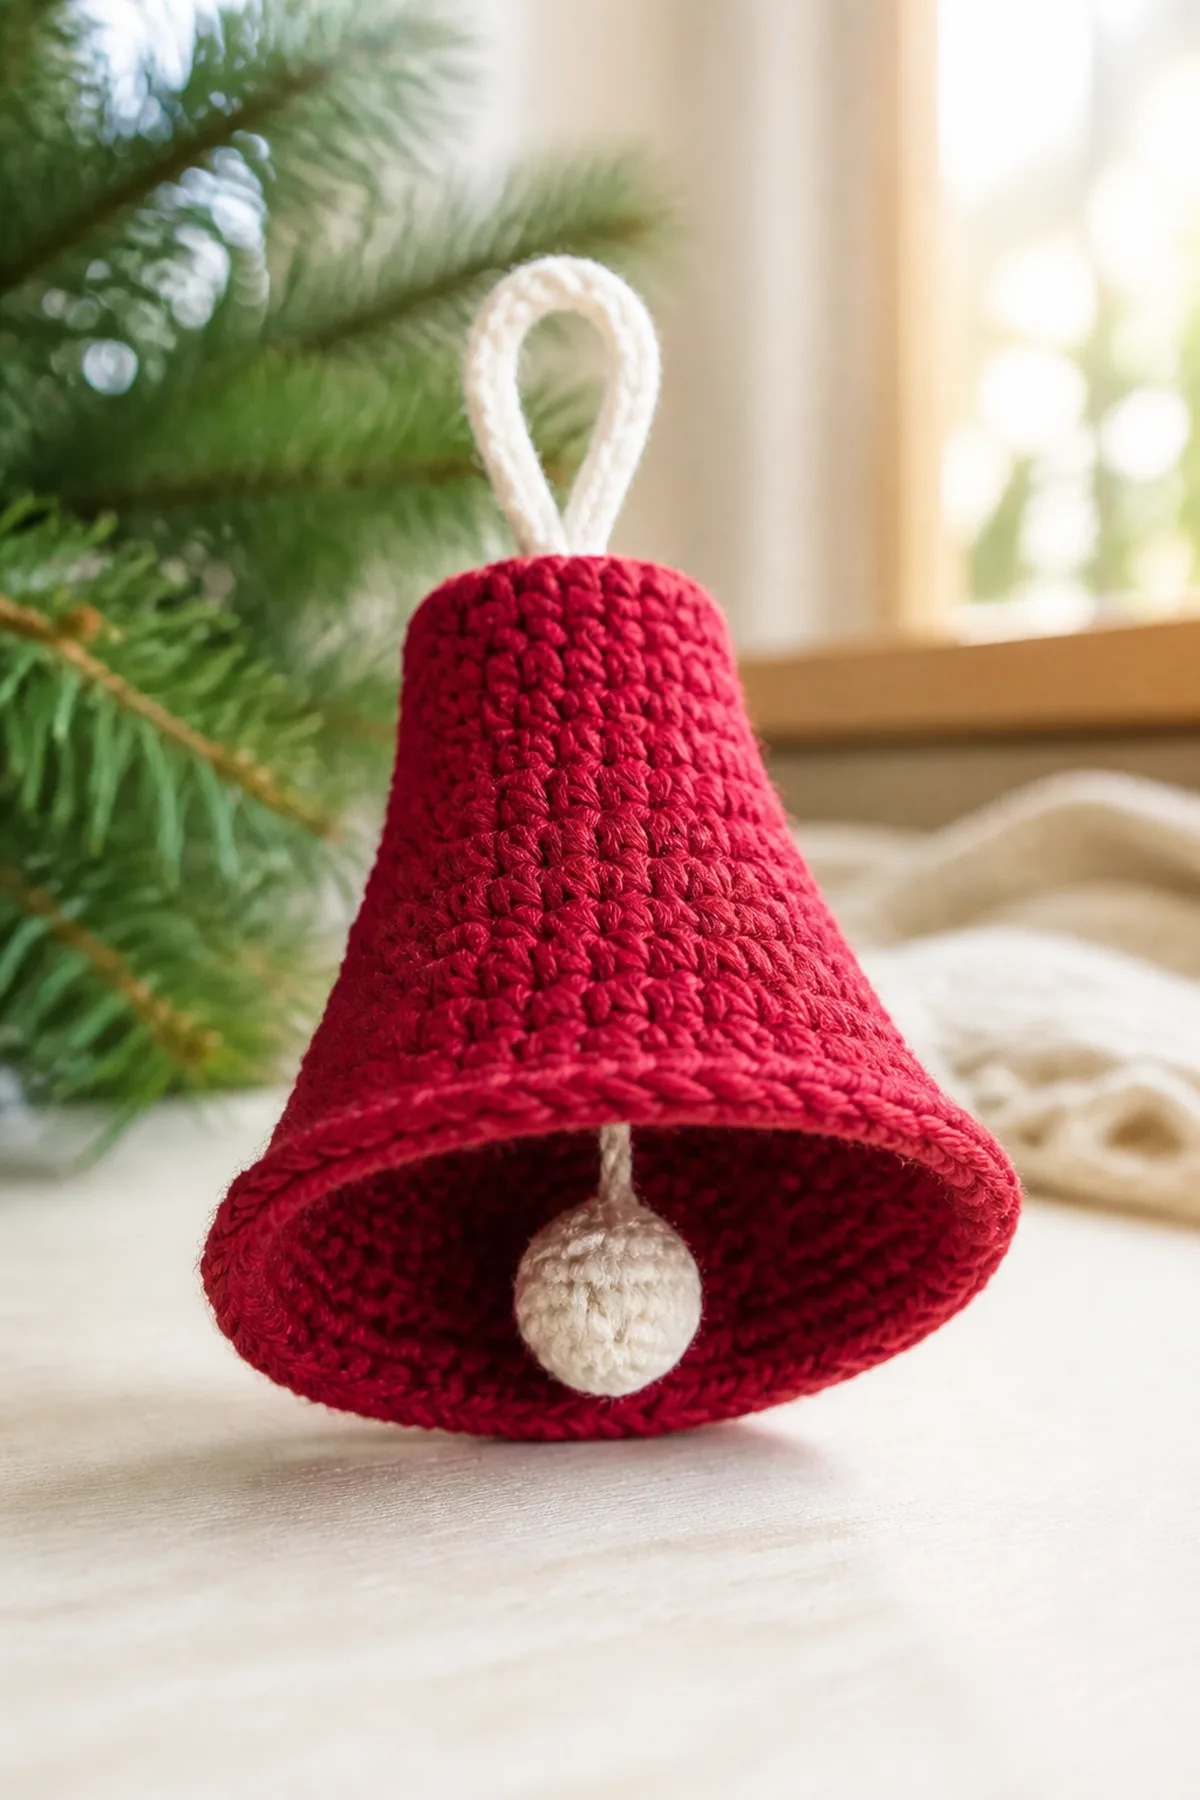
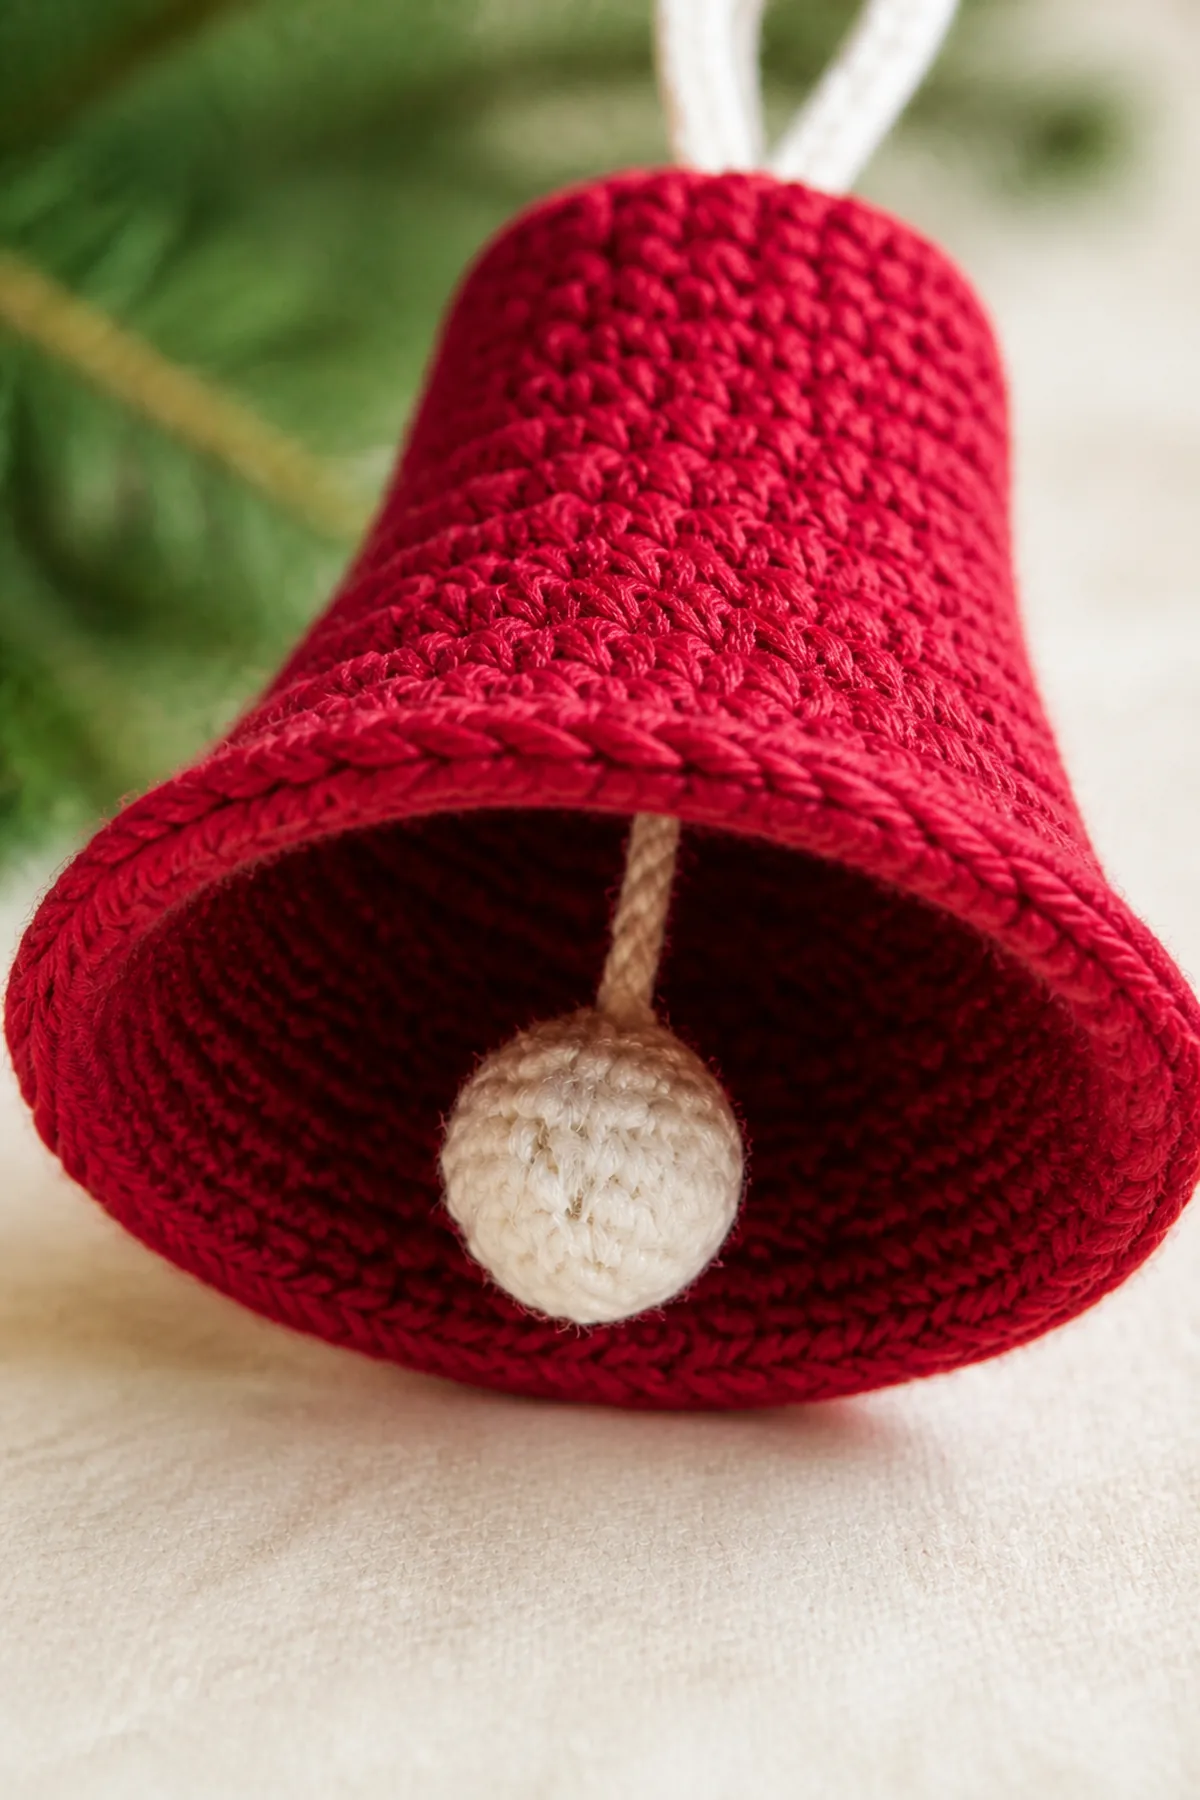
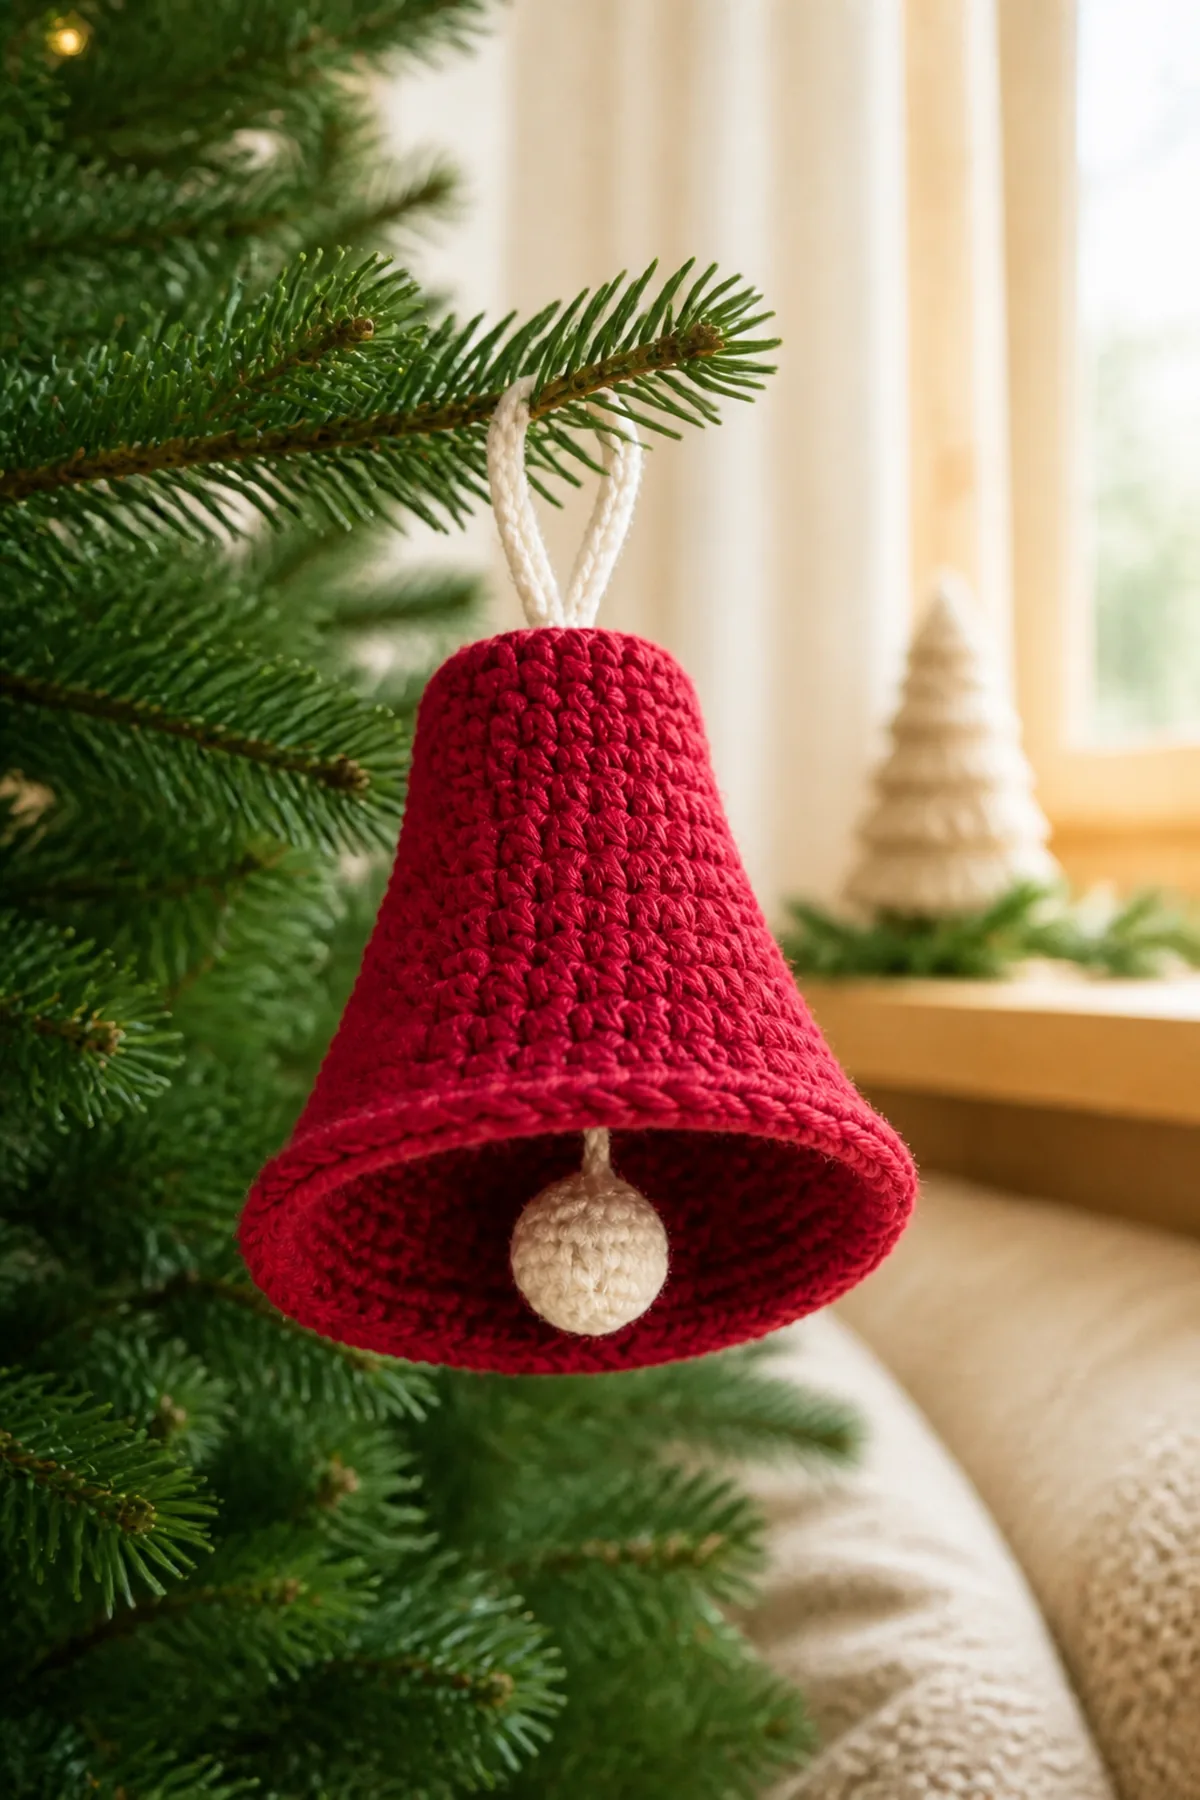
This crochet christmas bell ornament pattern makes a recognizable three-dimensional bell with a narrow crown, gradually expanding body, flared rim, cream clapper, and secure hanging loop. The round-by-round counts make the shaping reproducible while keeping the project approachable.
Pattern Details
- Skill level: Easy
- Terminology: US crochet terms
- Construction: The hollow bell and clapper are worked separately in continuous rounds, then joined with a counted yarn stem.
- Finished size: Approximately 4 1/2 inches tall excluding the loop and 4 inches across the flared rim
- Estimated time: 1–2 hours
The finished ornament is decorative. Keep it away from open flames, hot bulbs, and other heat sources.
Materials
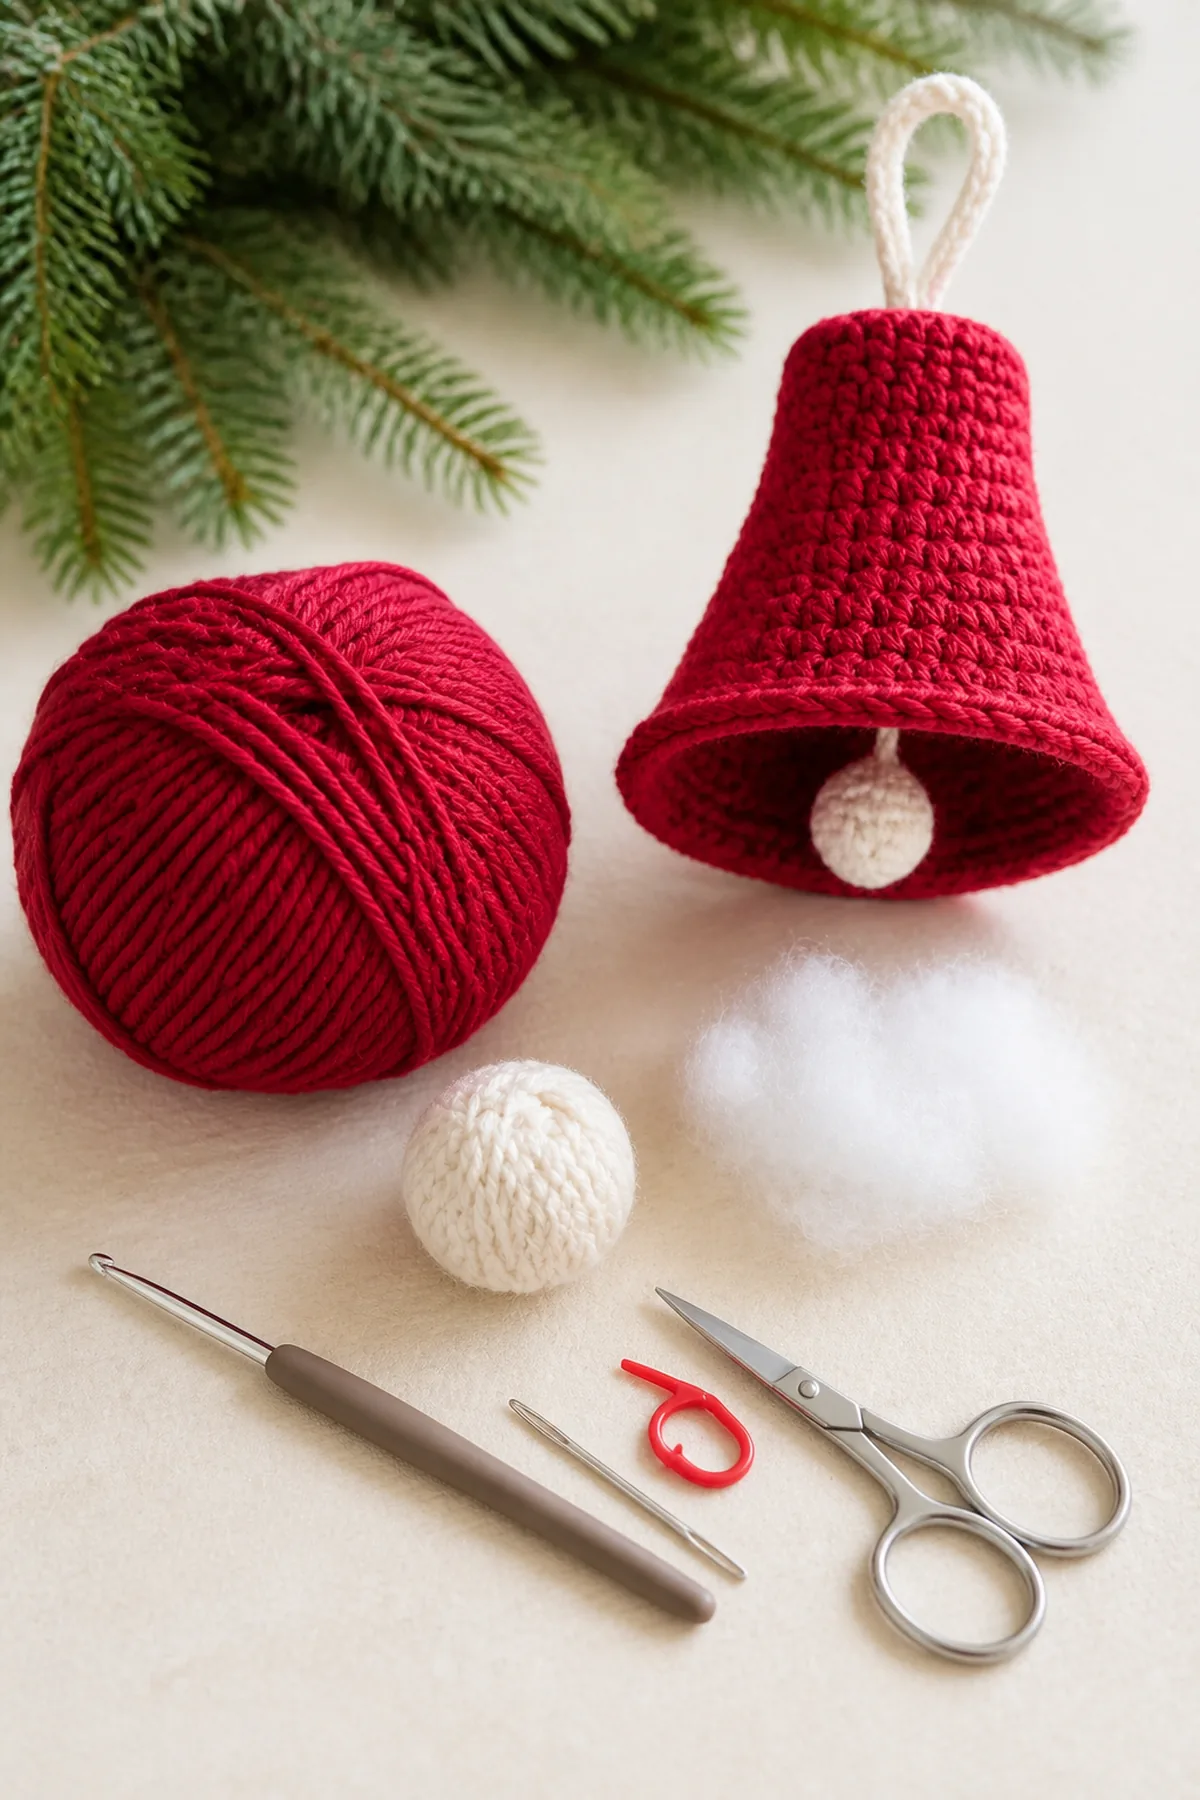
- Approximately 55 yards cranberry-red worsted-weight cotton yarn
- Approximately 12 yards cream worsted-weight cotton yarn
- 4 mm (G-6) crochet hook
- Small amount of polyester fiberfill for the clapper
- Removable stitch marker
- Yarn needle and scissors
Yarn, Hook, and Gauge
A firm cotton yarn helps the bell hold its shape. Gauge is 17 single crochet stitches and 19 rounds per 4 inches. Exact gauge is less important than producing a firm fabric with no large gaps; change hook size if necessary.
Abbreviations
- BLO: back loop only
- ch: chain
- inc: work 2 single crochet in one stitch
- sc: single crochet
- sc2tog: single crochet 2 stitches together
- sl st: slip stitch
- st(s): stitch(es)
- rnd: round
Important Notes
- Work the bell and clapper in continuous spirals without joining or turning.
- Move the marker into the first stitch of every round.
- Beginning chains are used only for the hanging loop and do not count as bell stitches.
- Count each round before continuing. The six increases in every shaping round are evenly spaced from the marker.
- Do not stuff the bell body; it remains hollow.
Bell Instructions
Narrow Crown
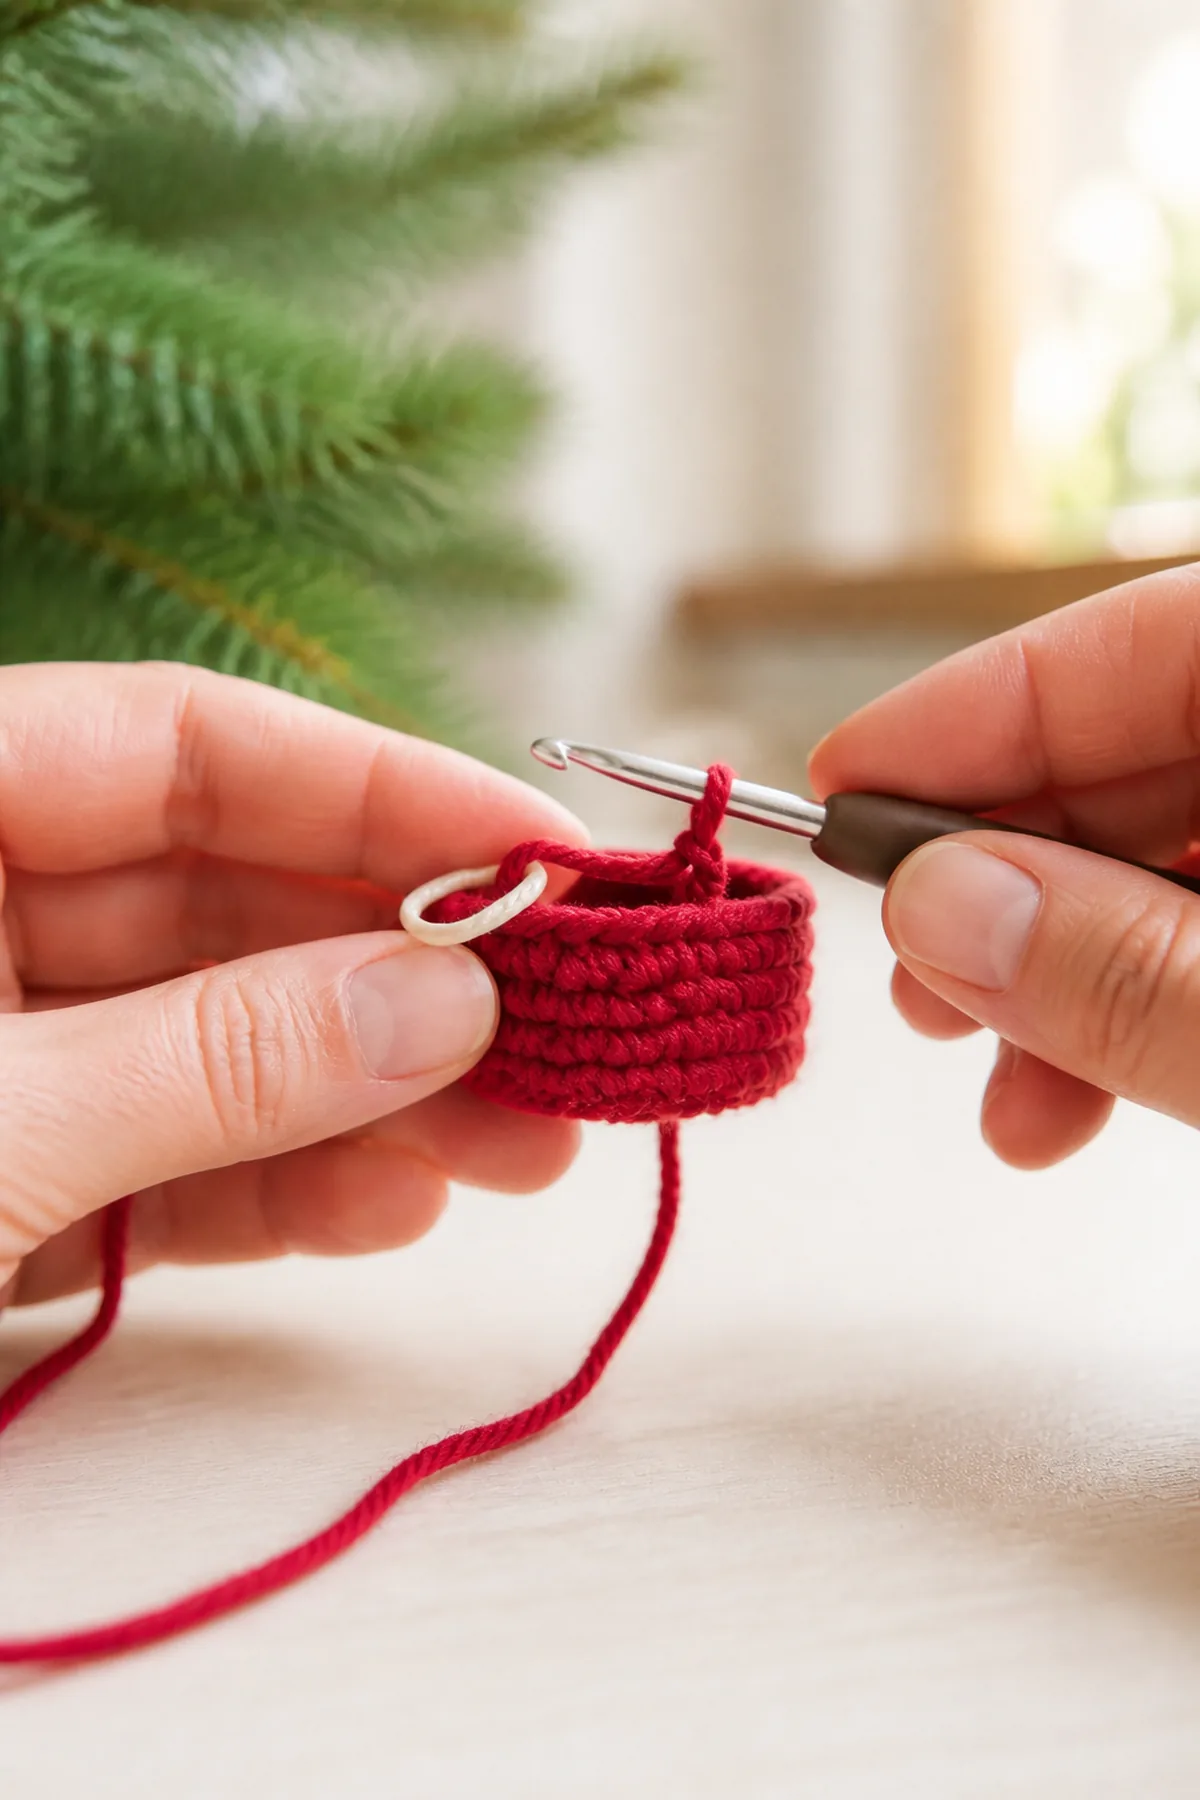
- Bell Rnd 1: With cranberry yarn, work 6 sc in a magic ring. Pull the ring closed and mark the first stitch. (6 sts)
- Bell Rnd 2: Inc in each stitch around. (12 sts)
- Bell Rnd 3: Repeat (sc in next stitch, inc in next stitch) 6 times. (18 sts)
- Bell Rnd 4: Working BLO, sc in each stitch around. This fold defines the narrow top edge. (18 sts)
Straight Upper Body
- Bell Rnd 5: Sc in each stitch around. (18 sts)
- Bell Rnd 6: Sc in each stitch around. (18 sts)
- Bell Rnd 7: Sc in each stitch around. (18 sts)
- Bell Rnd 8: Sc in each stitch around. (18 sts)
Expanding Body
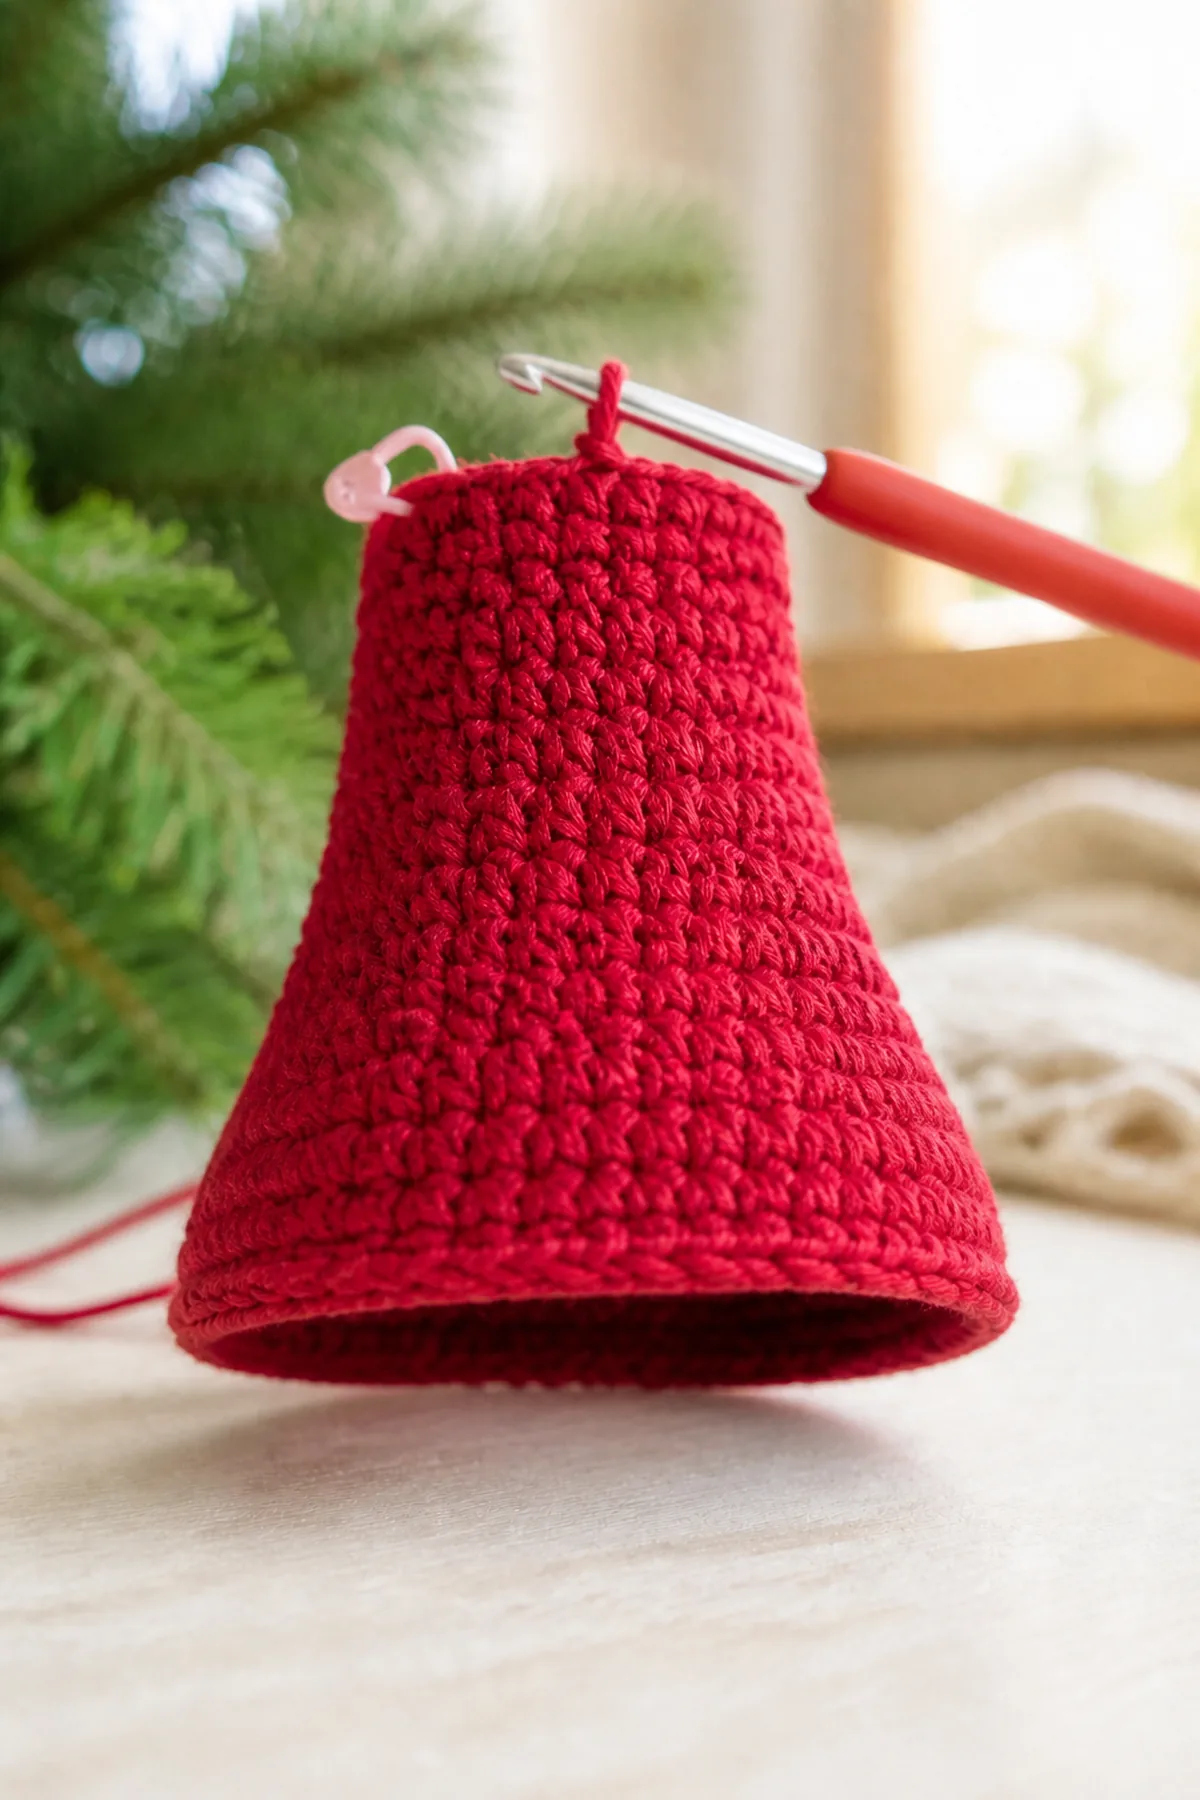
- Bell Rnd 9: Repeat (sc in next 2 stitches, inc in next stitch) 6 times. (24 sts)
- Bell Rnd 10: Sc in each stitch around. (24 sts)
- Bell Rnd 11: Sc in each stitch around. (24 sts)
- Bell Rnd 12: Repeat (sc in next 3 stitches, inc in next stitch) 6 times. (30 sts)
- Bell Rnd 13: Sc in each stitch around. (30 sts)
- Bell Rnd 14: Repeat (sc in next 4 stitches, inc in next stitch) 6 times. (36 sts)
- Bell Rnd 15: Sc in each stitch around. (36 sts)
Flared Lower Edge
- Bell Rnd 16: Repeat (sc in next 5 stitches, inc in next stitch) 6 times. (42 sts)
- Bell Rnd 17: Repeat (sc in next 6 stitches, inc in next stitch) 6 times. (48 sts)
- Bell Rnd 18: Sc in each stitch around. Sl st in the next stitch, fasten off, and weave the tail inside the bell. (48 sts)
Crochet the Clapper
- Clapper Rnd 1: With cream yarn, work 6 sc in a magic ring. (6 sts)
- Clapper Rnd 2: Inc in each stitch around. (12 sts)
- Clapper Rnd 3: Sc in each stitch around. (12 sts)
- Clapper Rnd 4: Sc2tog 6 times. Add a pea-sized amount of fiberfill before completing the last decrease. (6 sts)
Cut a 24-inch tail. Thread it through the front loops of the remaining 6 stitches, pull closed, and knot securely. Use the same tail to form a stem of exactly 10 chain-lengths between the clapper and the inside center of Bell Rnd 1. Sew through the crown three times and knot inside, positioning the clapper just above the lower rim.
Add the Hanging Loop
With cream yarn, join through two stitches on opposite sides of Bell Rnd 1. Ch 24, then sl st into the same two crown stitches. Fasten off, knot both tails securely inside the crown, and weave them through several stitches. The folded loop measures about 3 inches.
Finishing
- Confirm that the bell has 48 stitches at the rim and that all six flare increases align evenly.
- Shape the bell over your fingers without stuffing it.
- Check that the clapper hangs centrally and does not pull the crown sideways.
- Weave every tail into at least 1 inch of nearby stitches and trim.
- Lightly steam beside—not directly on—the cotton if the rim needs encouragement to flare. Allow it to dry completely.
Customization
Use cream for the bell and cranberry for the clapper, add a narrow surface-slip-stitch stripe, or embroider small dots after the bell is complete. Keep added decorations lightweight so the hanging loop remains centered.
Frequently Asked Questions
Why does my bell look like a cylinder?
Check Rounds 9, 12, 14, 16, and 17. Each must add exactly six evenly spaced stitches, reaching 48 stitches before the final round.
Should I stuff the bell?
No. Only the small clapper receives a pea-sized amount of fiberfill. The bell body stays hollow so its opening and flare remain visible.
Can I make the hanging loop shorter?
Yes. Use fewer than 24 chains, but attach both ends through the two opposite crown stitches so the bell hangs level.