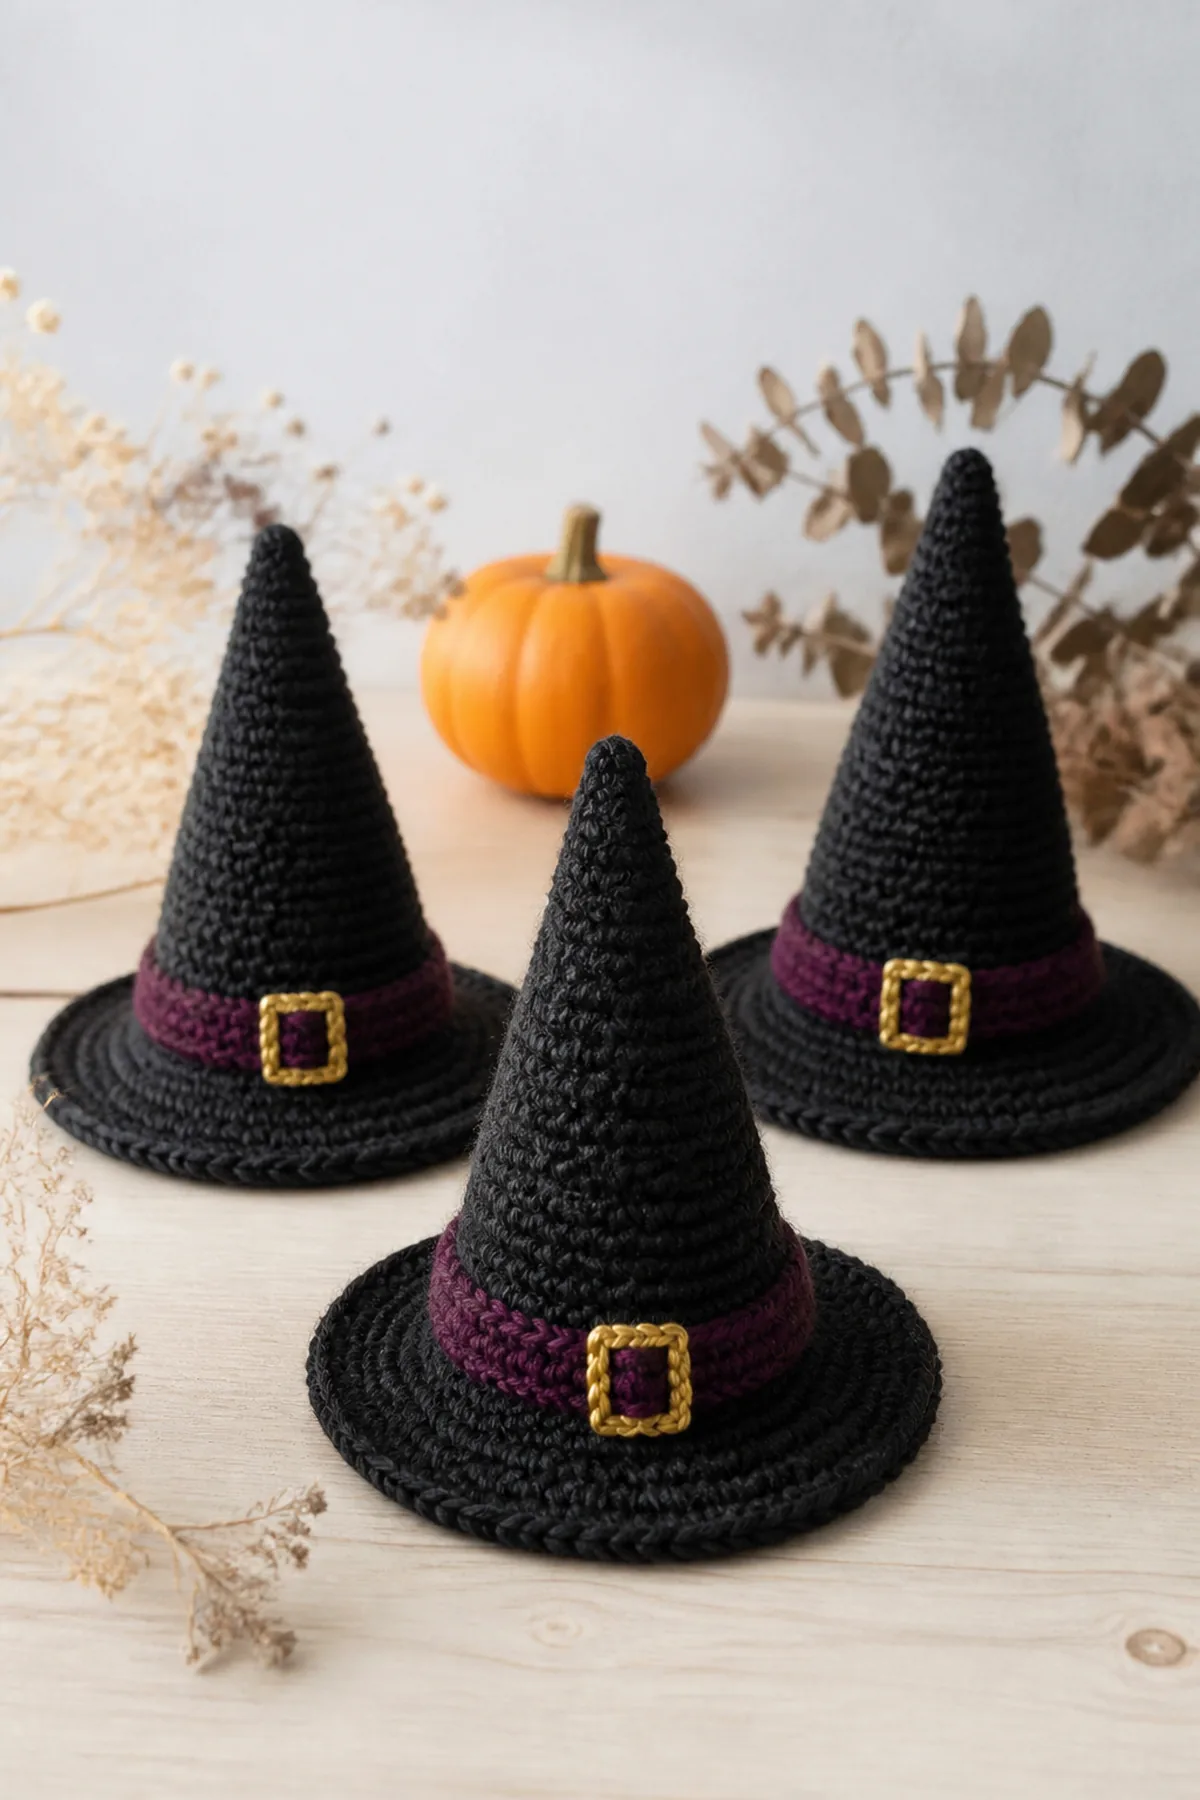
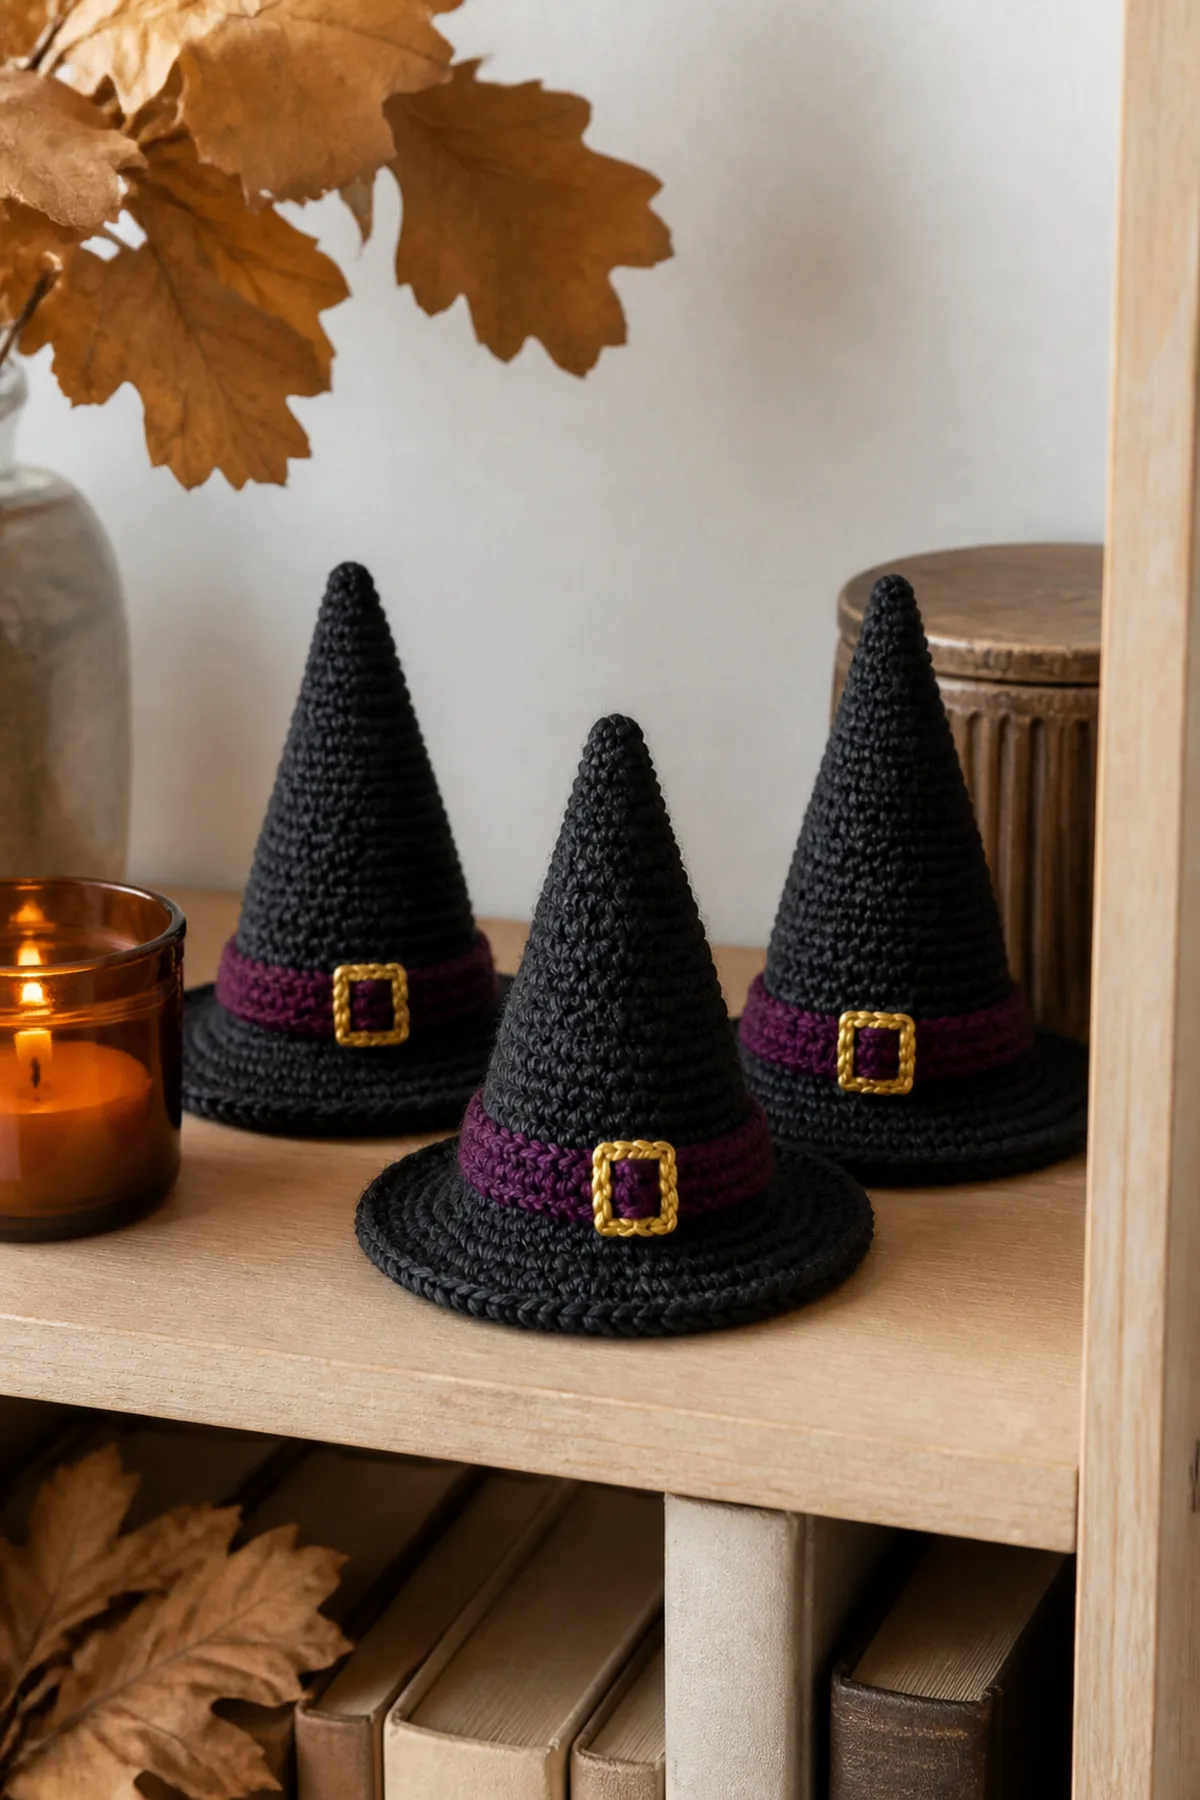
This crochet mini witch hat pattern makes an original, generic Halloween decoration with a clean cone and a brim that lies flat. Fixed shaping markers make every increase traceable.
Pattern Details
- Hook Size: 3.5 mm (E-4)
- Finished Size: Approximately 4 inches tall with a 5-inch brim
- Gauge: 18 single crochet stitches and 20 rounds = 4 inches
- Terminology: US
- Estimated Time: 90 minutes
- Construction: A top-down cone grows at three fixed markers before two eight-section brim increase rounds create a flat base.
- Skill level: Easy
Why You’ll Love It
The small size works well for shelves, tiered trays, or place settings. A plum band and yarn-embroidered buckle add detail without affecting the hat arithmetic.
Materials
- 70 yards charcoal worsted cotton
- 12 yards plum worsted cotton
- Small amount antique-gold yarn
- 3.5 mm hook
- Small amount fiberfill for display shaping
- Markers
- Yarn needle
- Scissors

Abbreviations and Special Stitches
- ch: chain
- inc: two single crochet in one stitch
- rnd: round
- sc: single crochet
- sl st: slip stitch
- st(s): stitch(es)
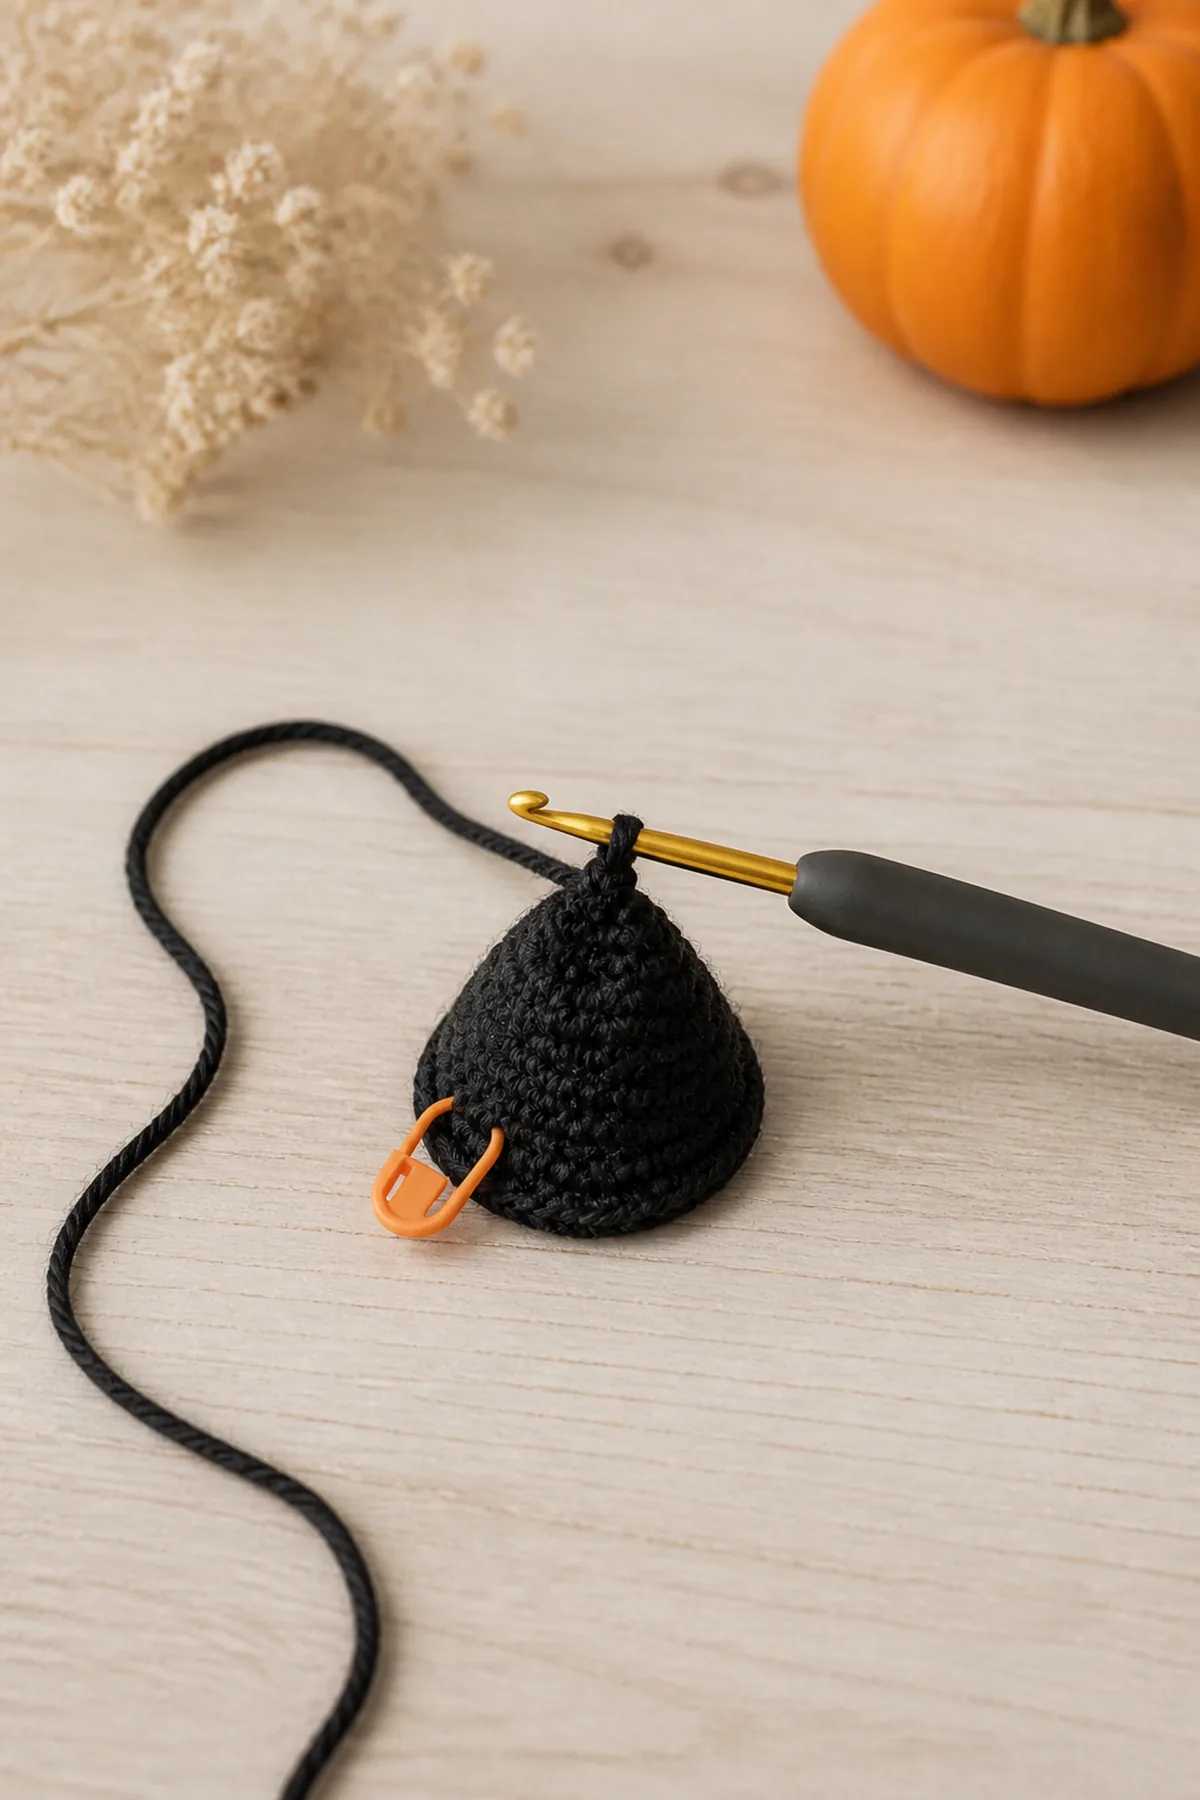
Three-marker cone shaping places one increase at each fixed sector boundary per cone round.
Important Notes
- This mini hat is a shelf decoration and is not wearable.
- Work continuous rounds without joining or turning.
- Move all three markers upward after each cone round.
- Keep the brim increase sections consecutive and complete.
- Keep the decoration away from small children and open flames.
Complete Instructions
- Cone Rnd 1: With charcoal, make 6 sc in a magic ring, mark first stitch, and do not turn (6 sts)
- Cone Rnd 2: Work one increase at each of three evenly spaced marked positions and sc elsewhere. (9 sts)
- Cone Rnd 3: Work one increase at each of three evenly spaced marked positions and sc elsewhere. (12 sts)
- Cone Rnd 4: Work one increase at each of three evenly spaced marked positions and sc elsewhere. (15 sts)
- Cone Rnd 5: Work one increase at each of three evenly spaced marked positions and sc elsewhere. (18 sts)
- Cone Rnd 6: Work one increase at each of three evenly spaced marked positions and sc elsewhere. (21 sts)
- Cone Rnd 7: Work one increase at each of three evenly spaced marked positions and sc elsewhere. (24 sts)
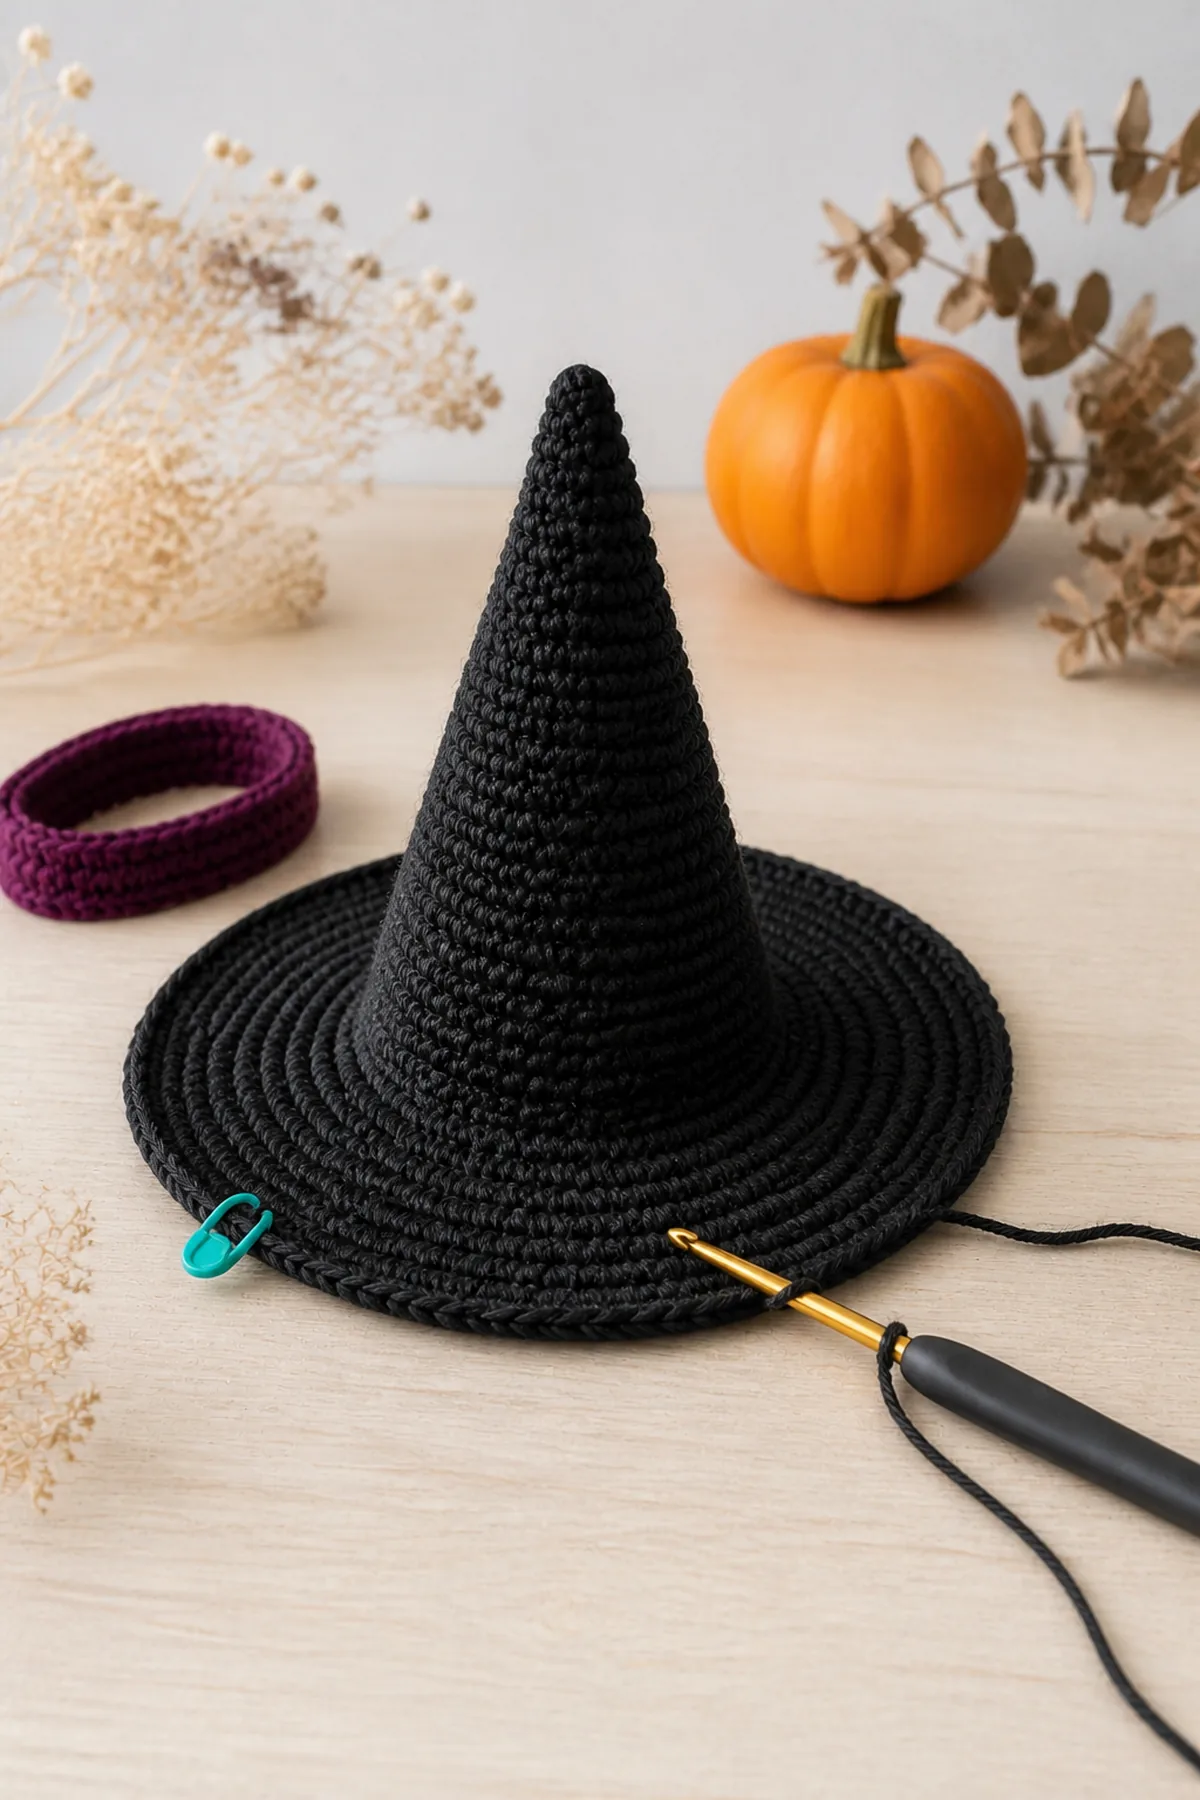
- Brim Rnd 8: Repeat sc in next 2 stitches, 2 sc in next stitch. (32 sts)
- Brim Rnd 9: Repeat sc in next 3 stitches, 2 sc in next stitch. (40 sts)
- Brim Rnd 10: Sc in every stitch around. (40 sts)
Plum Band
- Ch 25 with plum and sl st to first chain without twisting. (24 sts)
- Sl st in each chain around, join, and fasten off. (24 sts)
- Slide the band over the cone to its 24-stitch base and sew through every fourth band stitch and adjacent cone stitch.
Yarn Buckle
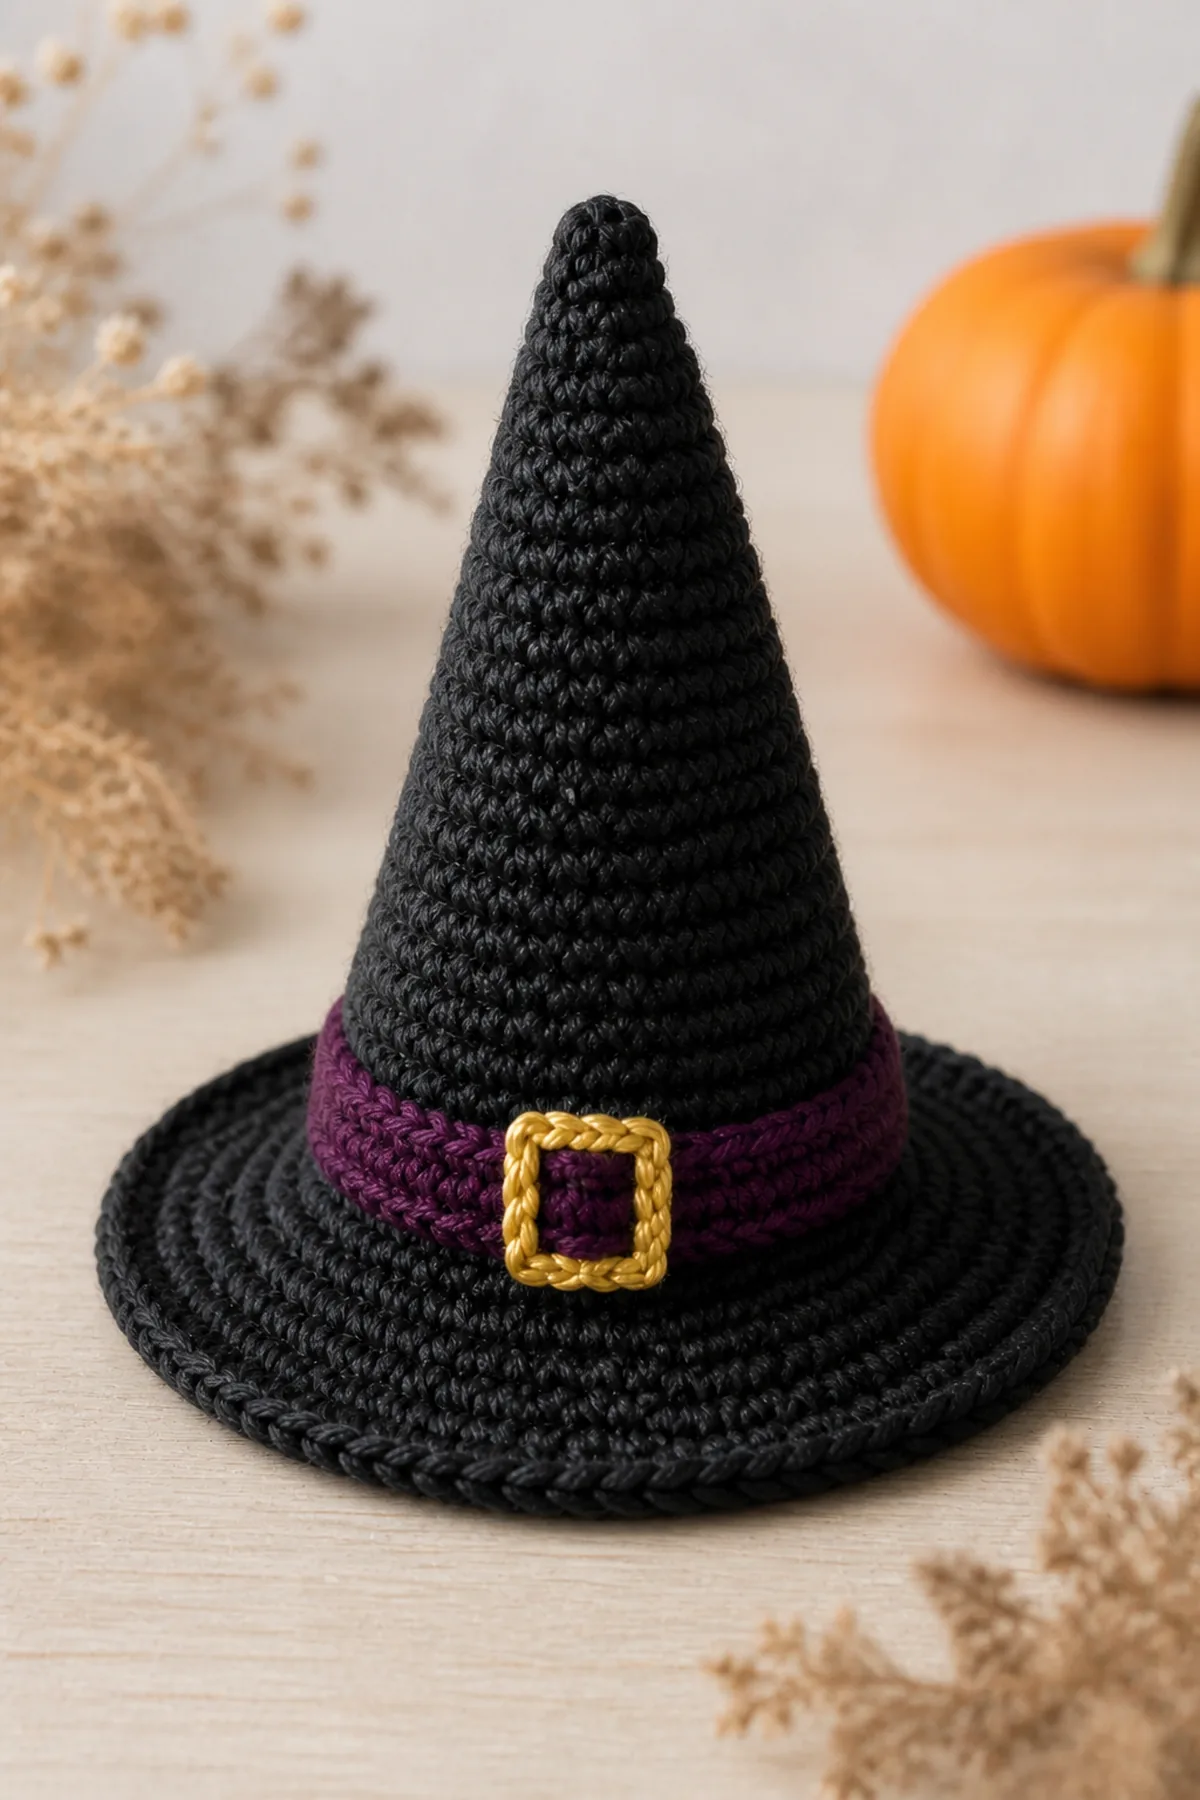
With antique-gold yarn, embroider a half-inch square across the front six band stitches. Make two passes per side and bury both ends inside.
Assembly and Finishing
- Add a small pinch of fiberfill only if the cone needs display support.
- Steam the brim lightly from a distance and pin it flat until cool.
- Inspect the band, buckle, and center closure.
Helpful Tips and Customization
- Use three different marker colors to track cone sectors.
- Change the band color while preserving all hat counts.
- Do not overstuff; the brim should stay flat.
FAQ
Can it be worn?
No. This four-inch design is decorative.
Can I omit the buckle?
Yes. It is decorative and does not affect construction.