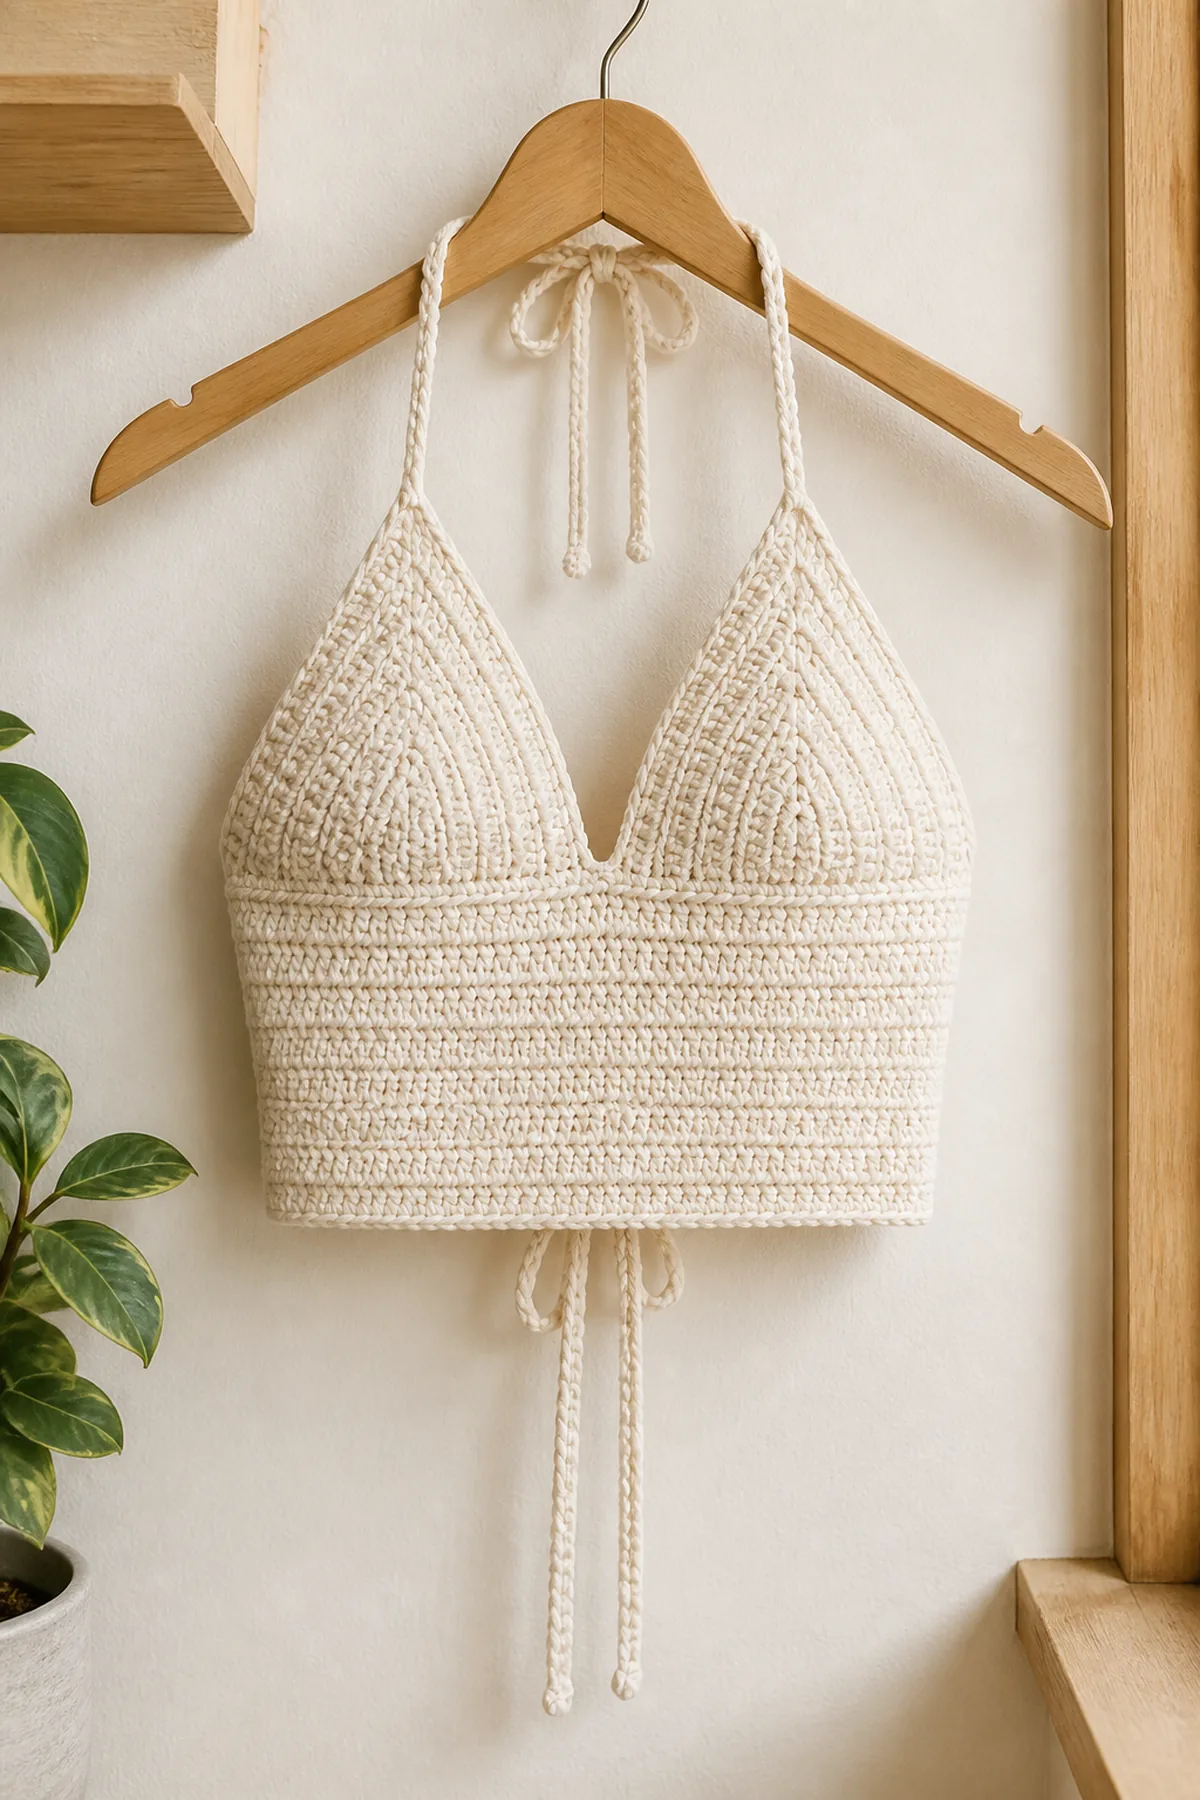
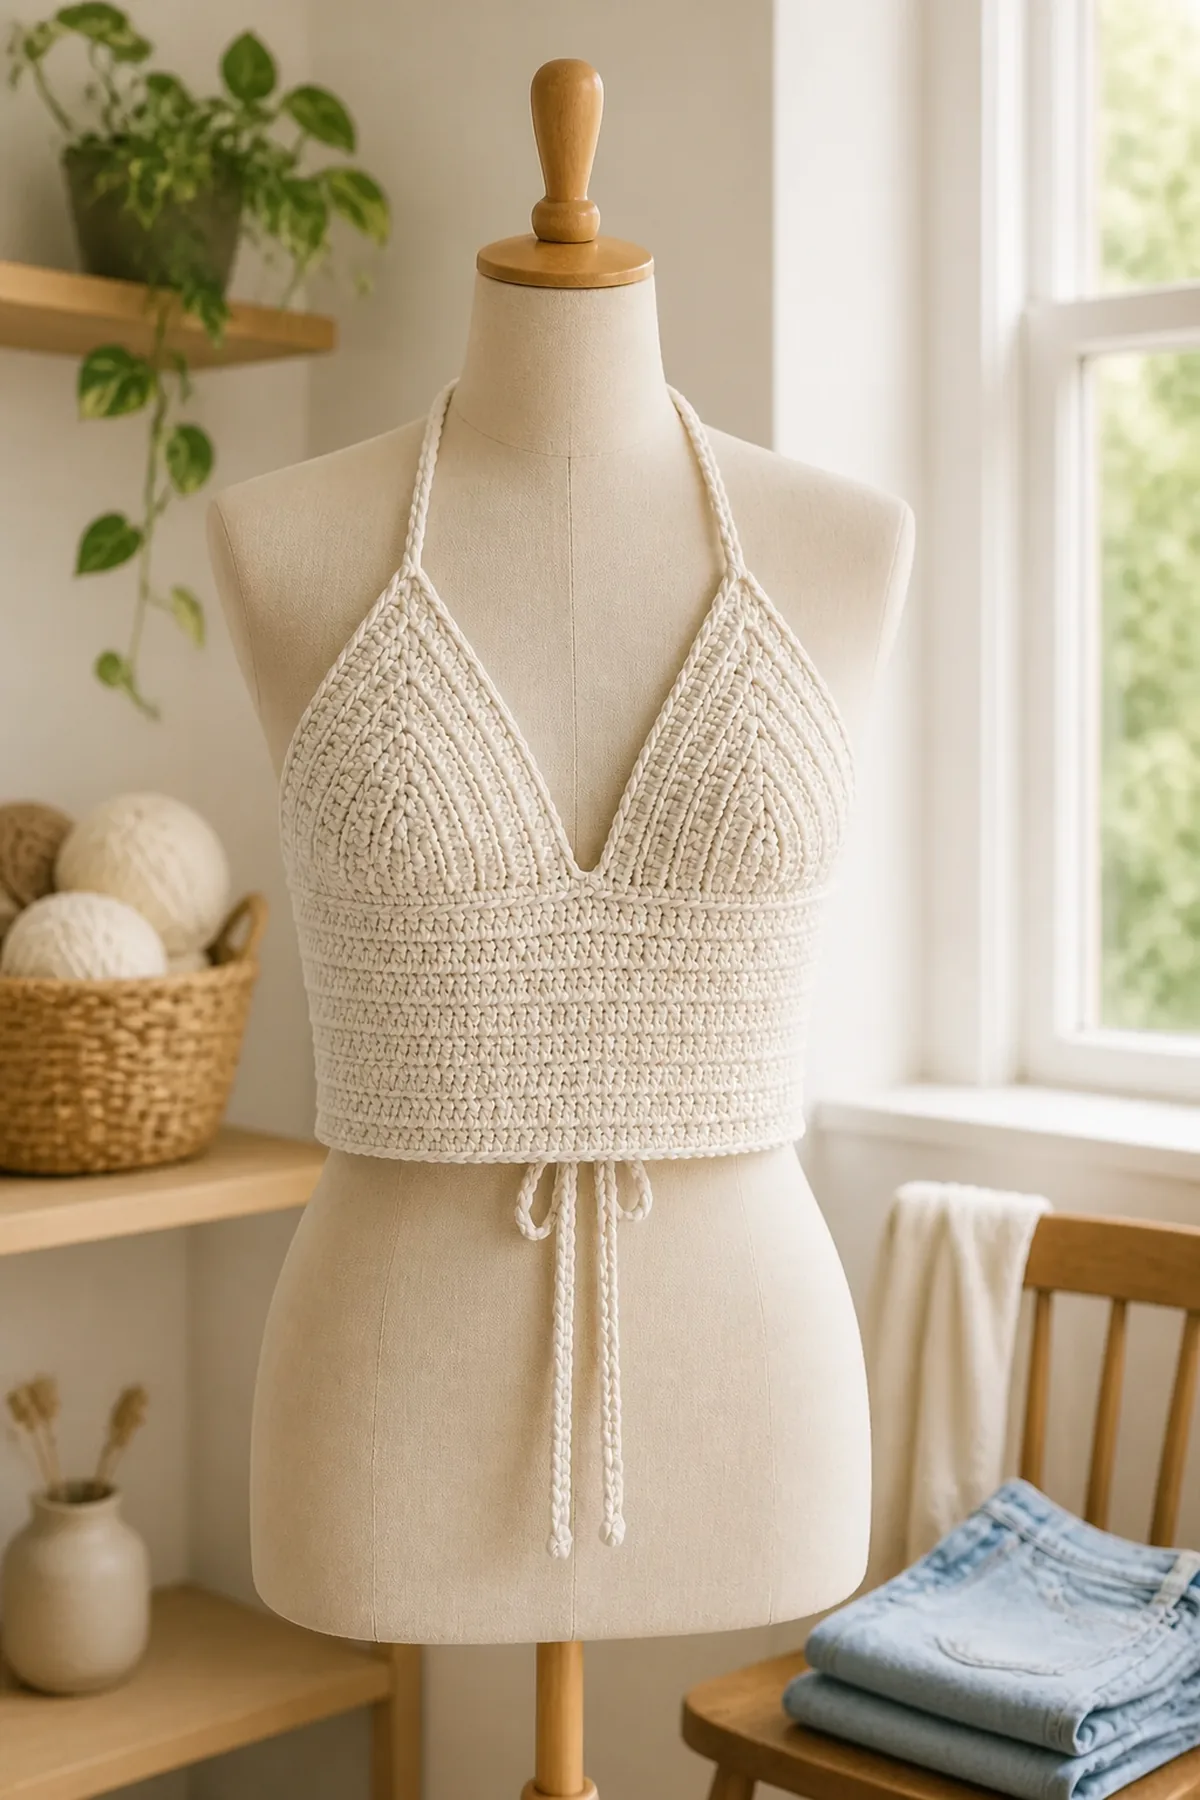
This easy crochet halter top pattern creates an adjustable adult summer top from breathable cotton. A measured lower panel provides coverage, symmetrical decreases shape the upper body and neckline, and long crocheted ties make the fit easy to fine-tune.
Pattern Details
- Hook Size: 5 mm (H-8)
- Finished Size: Adult small/medium: 17 inches wide laid flat and 15 inches from lower edge to neckline, adjustable ties
- Gauge: 14 double crochet stitches and 8 rows = 4 inches
- Terminology: US
- Estimated Time: 6–8 hours
- Construction: A turned bottom-up front panel narrows symmetrically above the underarm line; crocheted neck and back ties provide adjustable fit.
- Skill level: Easy
Why You’ll Love It
The construction uses straight rows and one repeatable edge decrease. Stitch markers make the narrowing easy to verify, while the cotton fabric and adjustable ties create a practical handmade warm-weather layer.
Materials
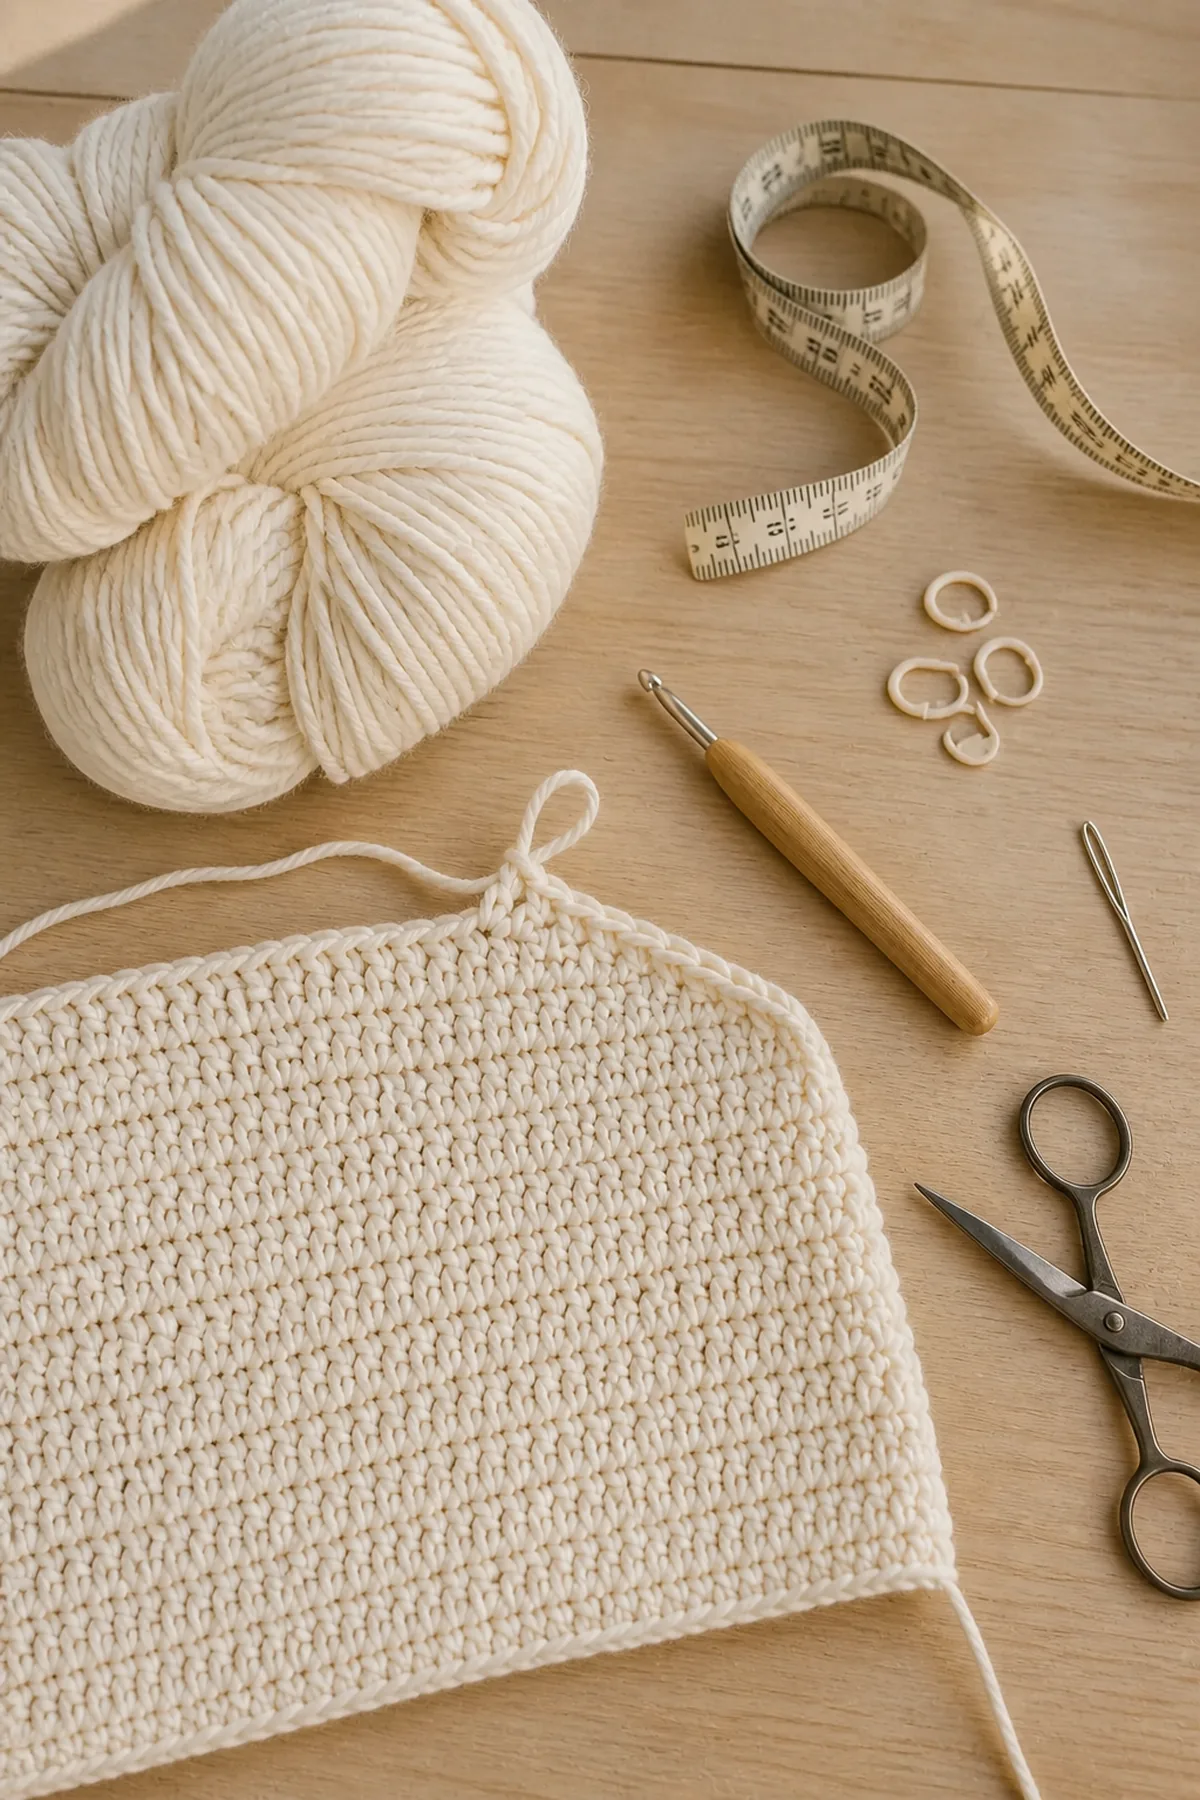
- Approximately 450 yards ivory worsted-weight cotton yarn
- 5 mm (H-8) crochet hook
- Four locking stitch markers
- Tape measure
- Yarn needle
- Scissors
Gauge, Fit, and Sizing
Work a blocked gauge swatch before starting. At the stated gauge, 60 stitches measure about 17 inches. The top is intended for an adult small/medium front width. For another size, calculate the desired laid-flat width from gauge, keep an even stitch count, and recalculate the centered 16-stitch underarm reduction before shaping.
Abbreviations and Special Stitch
- ch: chain
- dc: double crochet
- dc2tog: double crochet two stitches together
- sc: single crochet
- st(s): stitch(es)
Dc2tog: Yarn over, insert hook in next stitch, yarn over and pull up a loop, yarn over and pull through two loops; repeat in next stitch, then yarn over and pull through all three loops.
Important Notes
- Check gauge and measure the intended wearer before beginning; the ties adjust fit but do not replace accurate panel width.
- Turn after every panel row. Ch 2 does not count as a stitch.
- The 8 unworked stitches at each side of Row 13 establish the upper-panel width.
- This garment is sized for an adult and should be tried on over clothing while tie placement is checked.
How to Crochet the Halter Top
Lower Body Panel
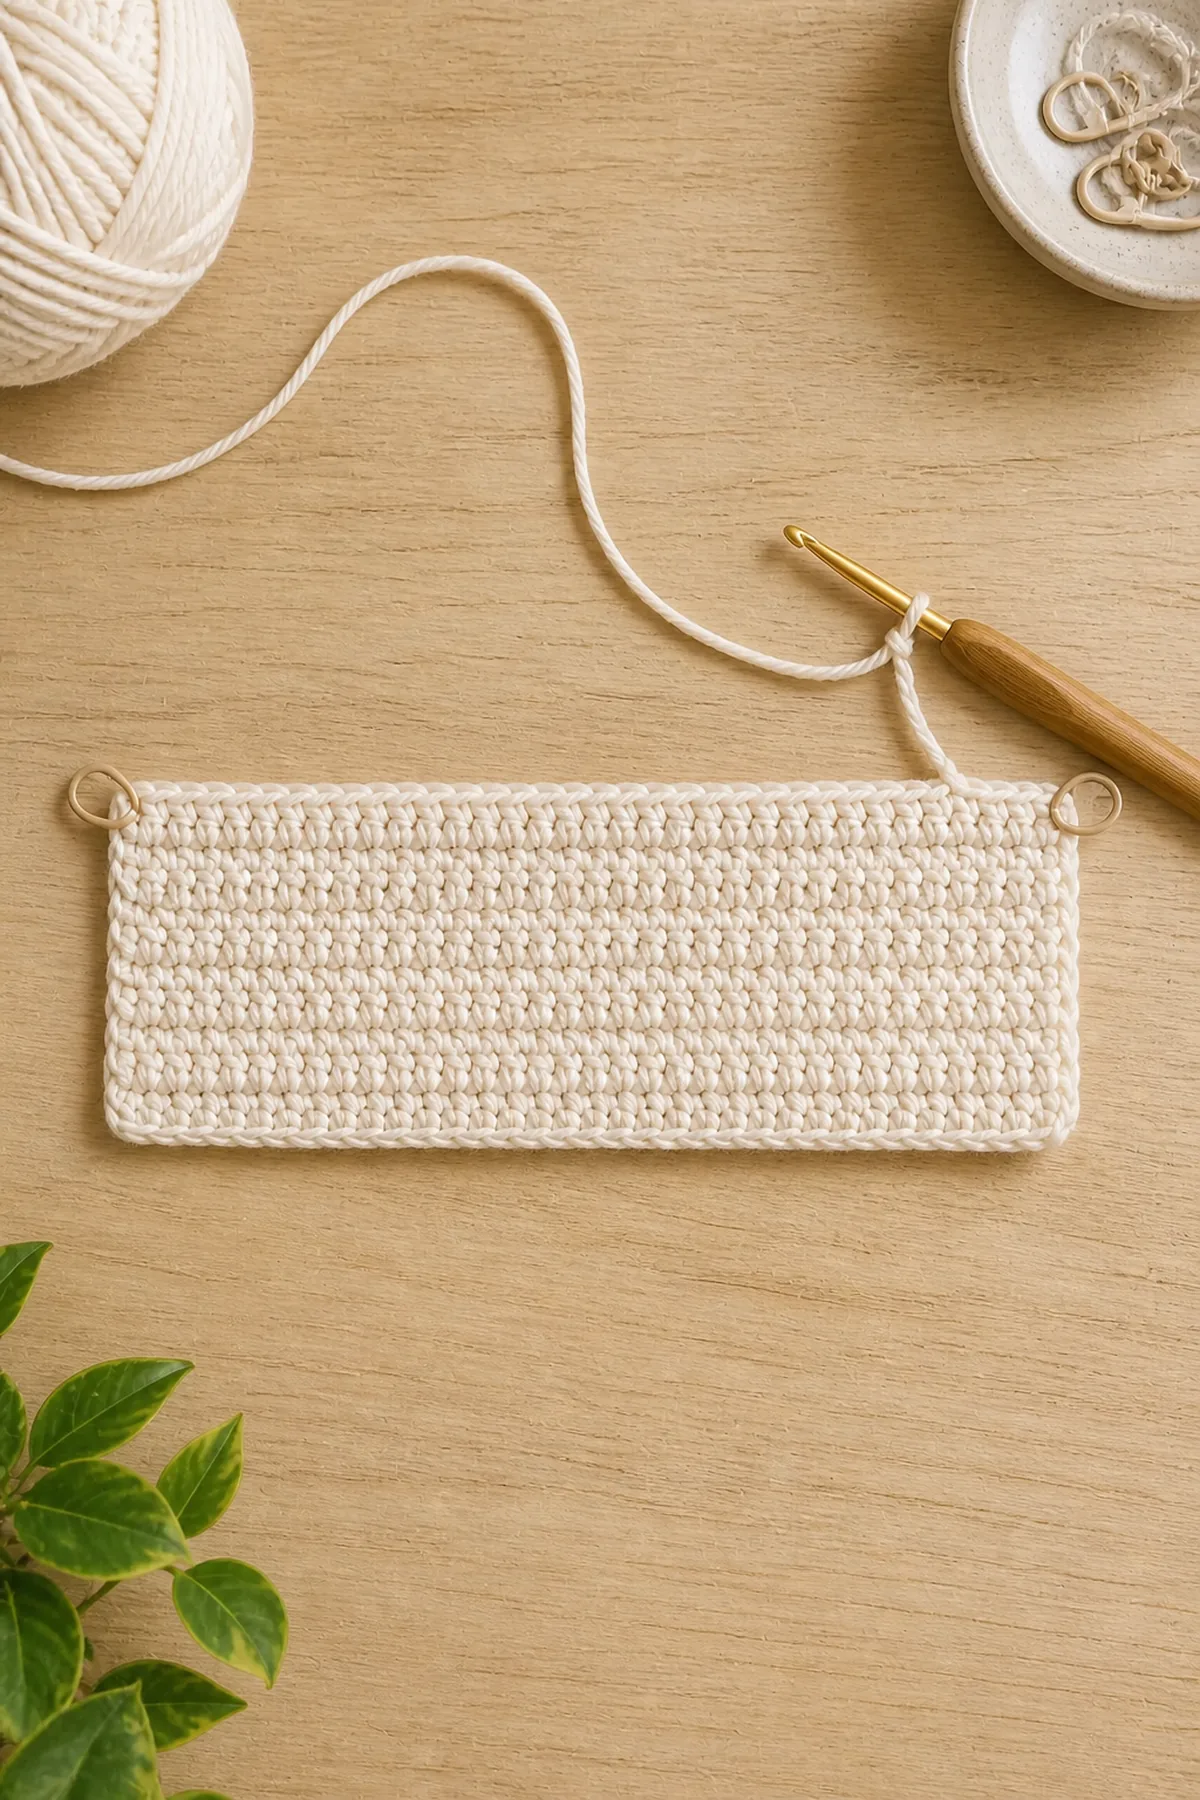
- Foundation: Ch 62. Dc in the third chain from the hook and in each chain across. Turn. (60 sts)
- Row 2: Dc in every stitch across. Turn. (60 sts)
- Row 3: Dc in every stitch across. Turn. (60 sts)
- Row 4: Dc in every stitch across. Turn. (60 sts)
- Row 5: Dc in every stitch across. Turn. (60 sts)
- Row 6: Dc in every stitch across. Turn. (60 sts)
- Row 7: Dc in every stitch across. Turn. (60 sts)
- Row 8: Dc in every stitch across. Turn. (60 sts)
- Row 9: Dc in every stitch across. Turn. (60 sts)
- Row 10: Dc in every stitch across. Turn. (60 sts)
- Row 11: Dc in every stitch across. Turn. (60 sts)
- Row 12: Dc in every stitch across. Turn. (60 sts)
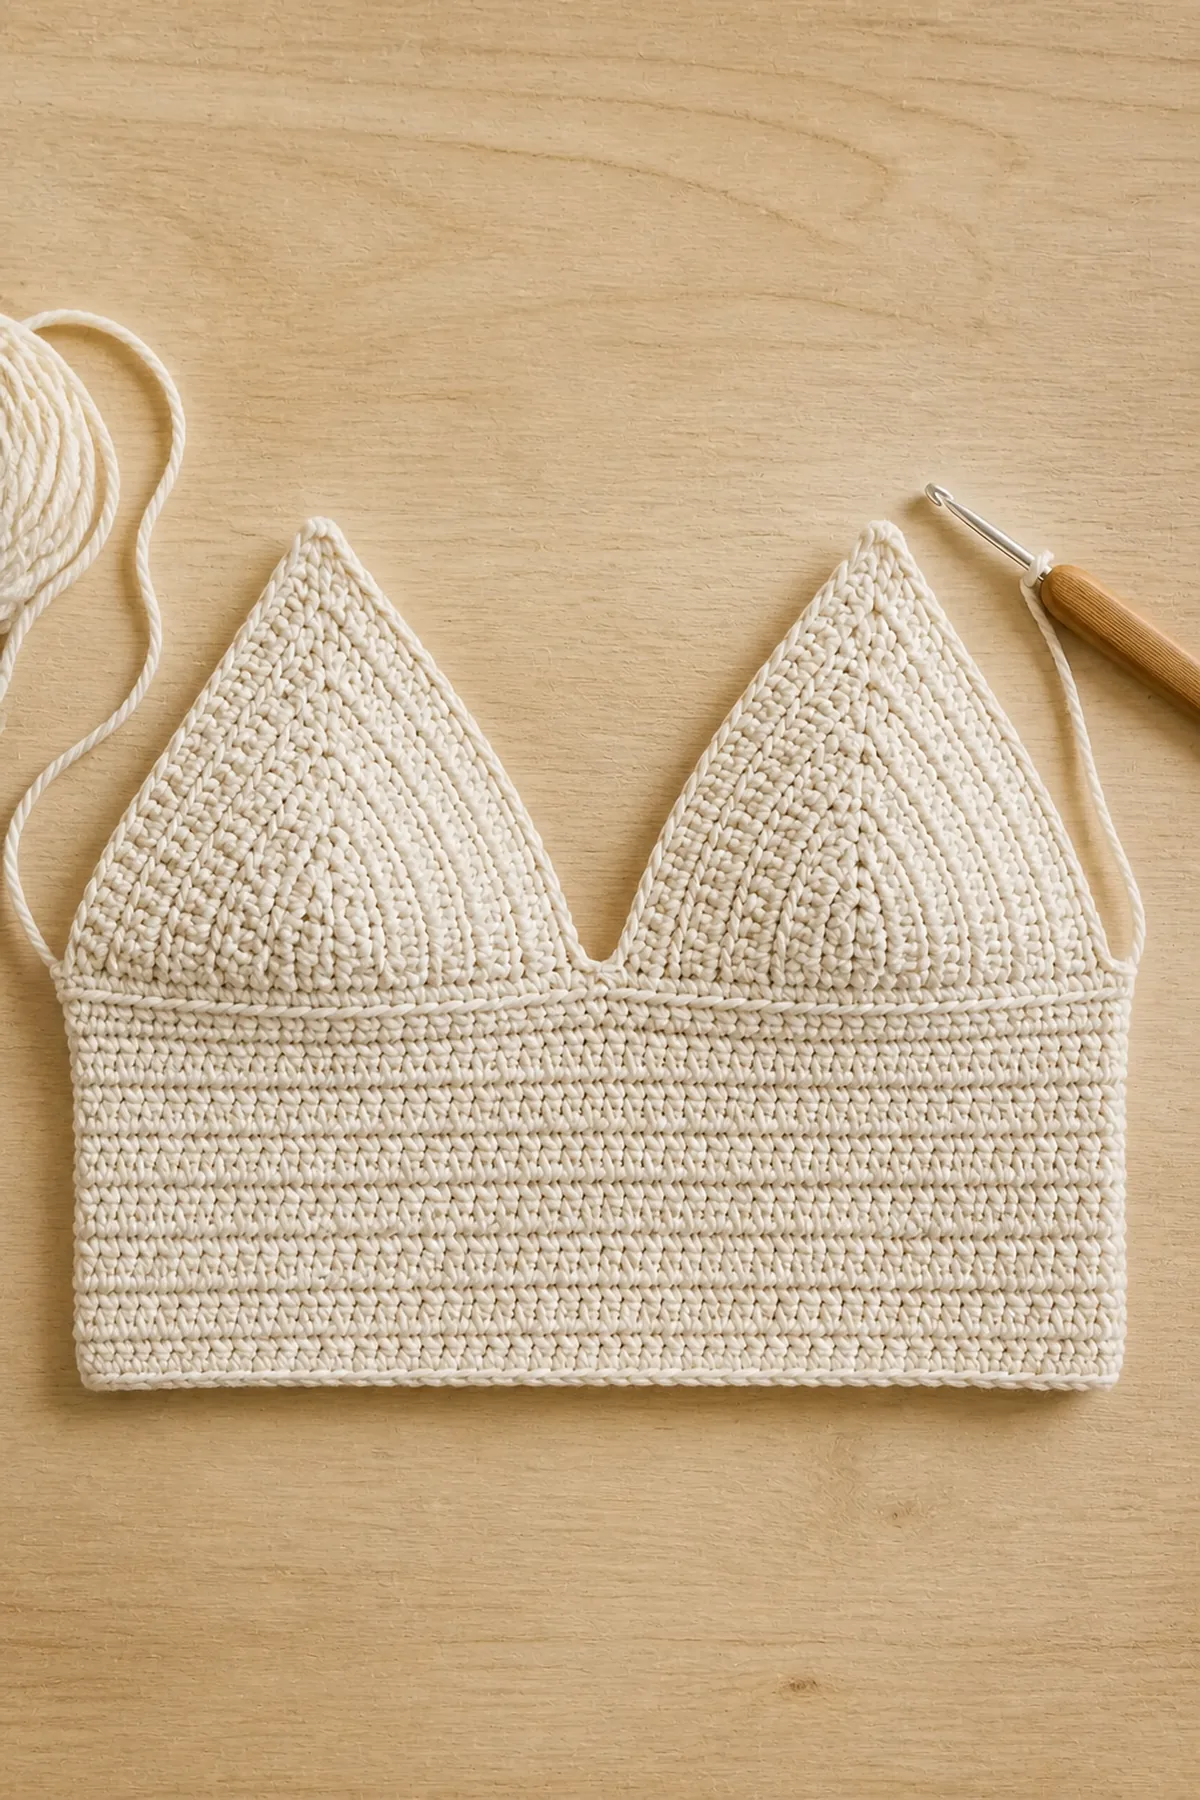
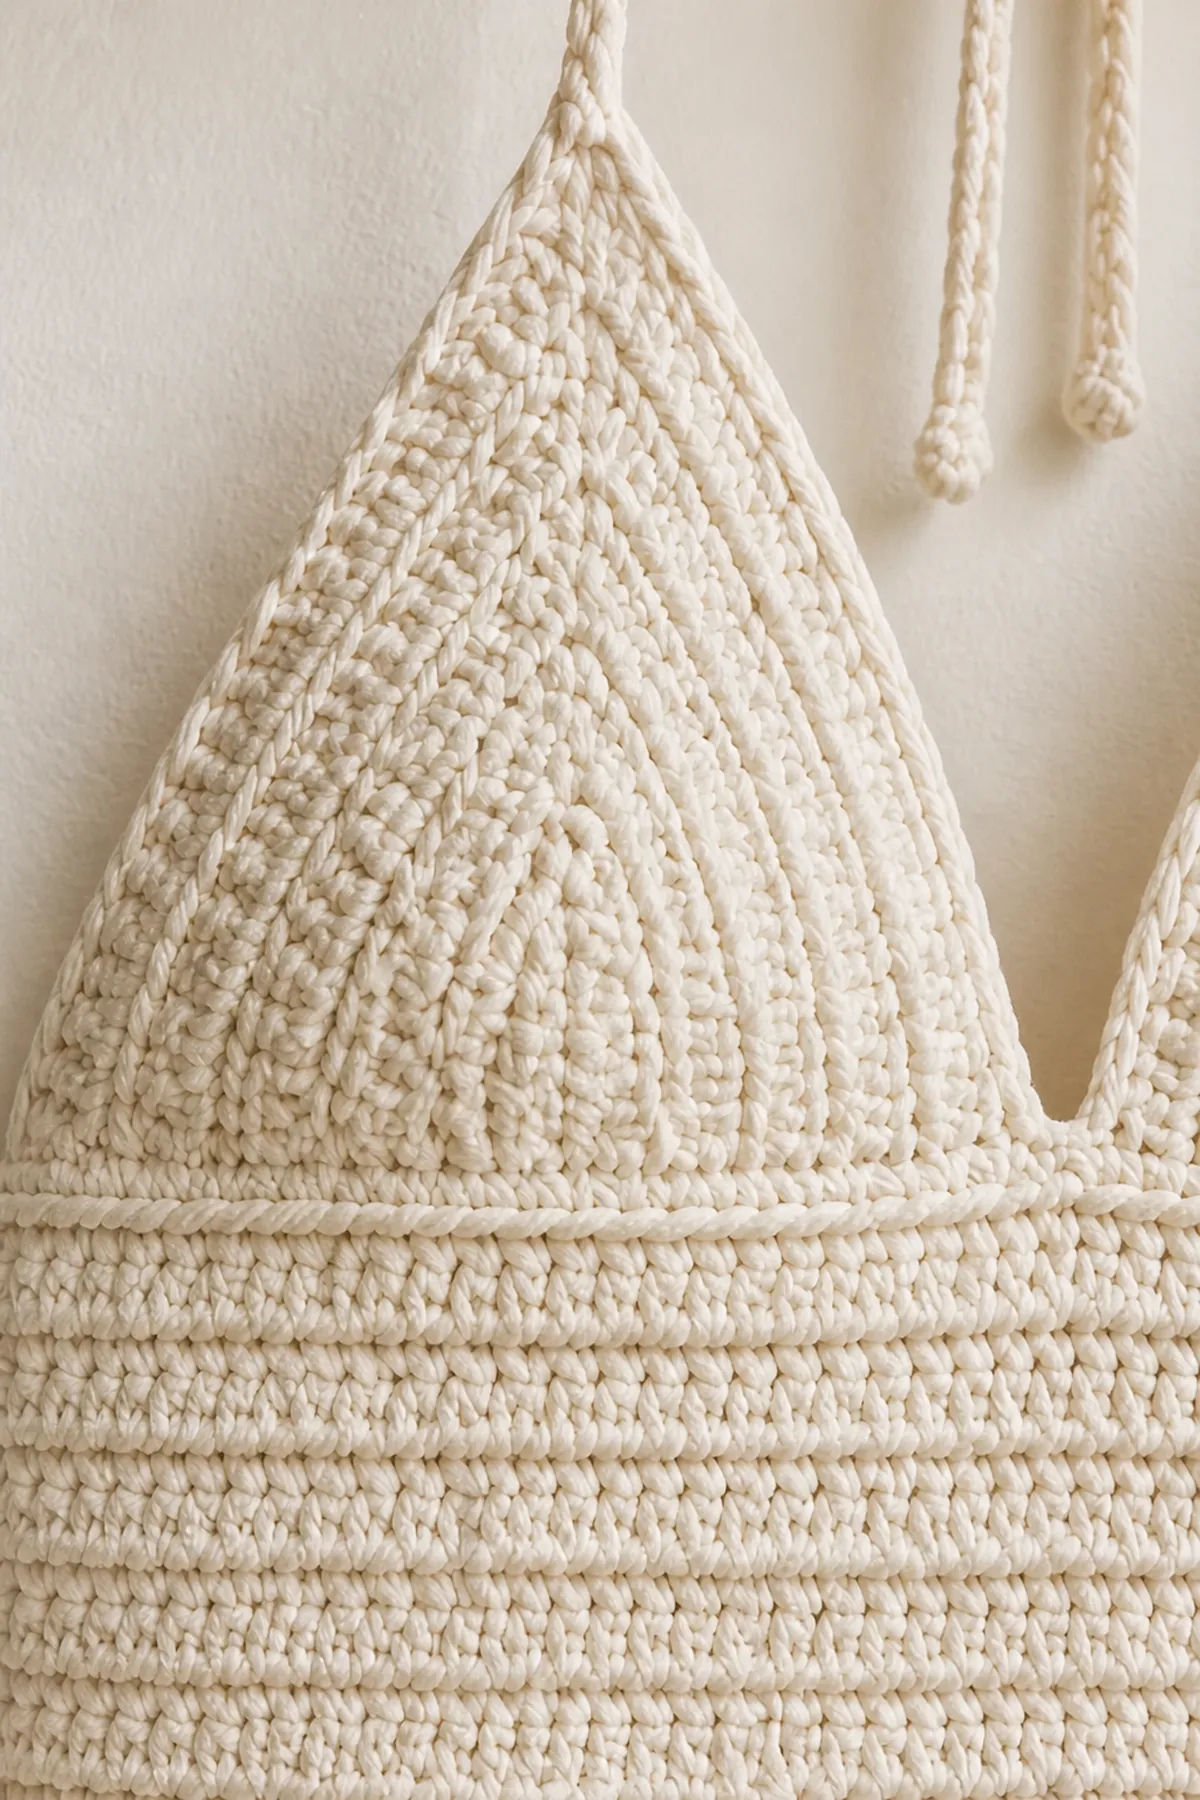
- Row 13: Leave the first 8 stitches unworked. Join yarn and dc in the next 44 stitches. Leave the final 8 stitches unworked. Turn. (44 sts)
- Row 14: Dc2tog over the first two stitches. Dc in each center stitch. Dc2tog over the final two stitches. Turn. (42 sts)
- Row 15: Dc2tog over the first two stitches. Dc in each center stitch. Dc2tog over the final two stitches. Turn. (40 sts)
- Row 16: Dc2tog over the first two stitches. Dc in each center stitch. Dc2tog over the final two stitches. Turn. (38 sts)
- Row 17: Dc2tog over the first two stitches. Dc in each center stitch. Dc2tog over the final two stitches. Turn. (36 sts)
- Row 18: Dc2tog over the first two stitches. Dc in each center stitch. Dc2tog over the final two stitches. Turn. (34 sts)
- Row 19: Dc2tog over the first two stitches. Dc in each center stitch. Dc2tog over the final two stitches. Turn. (32 sts)
- Row 20: Dc2tog over the first two stitches. Dc in each center stitch. Dc2tog over the final two stitches. Turn. (30 sts)
- Row 21: Dc2tog over the first two stitches. Dc in each center stitch. Dc2tog over the final two stitches. Turn. (28 sts)
- Row 22: Dc2tog over the first two stitches. Dc in each center stitch. Dc2tog over the final two stitches. Turn. (26 sts)
- Row 23: Dc2tog over the first two stitches. Dc in each center stitch. Dc2tog over the final two stitches. Turn. (24 sts)
- Row 24: Dc2tog over the first two stitches. Dc in each center stitch. Dc2tog over the final two stitches. Turn. (22 sts)
- Row 25: Dc2tog over the first two stitches. Dc in each center stitch. Dc2tog over the final two stitches. Turn. (20 sts)
Neck Ties
- At the upper left corner, join yarn, ch 61, then sl st in the second chain from the hook and each remaining chain. Sl st back into the corner and fasten off.
- Repeat at the upper right corner. Each finished neck tie contains 60 slip stitches.
Back Ties and Edging
- Join yarn at one lower side corner, ch 81, sl st back along 80 chains, then sc evenly up the side edge, across the neckline, and down the other side.
- At the opposite lower corner, ch 81 and sl st back along 80 chains. Join to the first edging stitch and fasten off.
Finishing
- Weave every end through several same-color stitches.
- Wet-block the panel to measurements without stretching the ties.
- Inspect the decreased edges and tug each tie firmly before wearing.
- Try on over a camisole and adjust the neck and back bows without overtightening.
Helpful Tips
- Count every row; both decreases must remain at the outer edges.
- Place markers after the first and before the last stitch to keep shaping aligned.
- Cotton can grow when wet, so let the blocked swatch dry before measuring.
FAQ
Can I make the top longer?
Yes. Add equal 60-stitch rows before Row 13, then begin upper shaping exactly as written.
Can I use acrylic yarn?
It can work, but cotton offers cooler wear and clearer stitch definition. Always remake the gauge swatch after changing fiber.
How should I wash it?
Hand-wash in cool water, reshape flat, and dry away from direct heat.