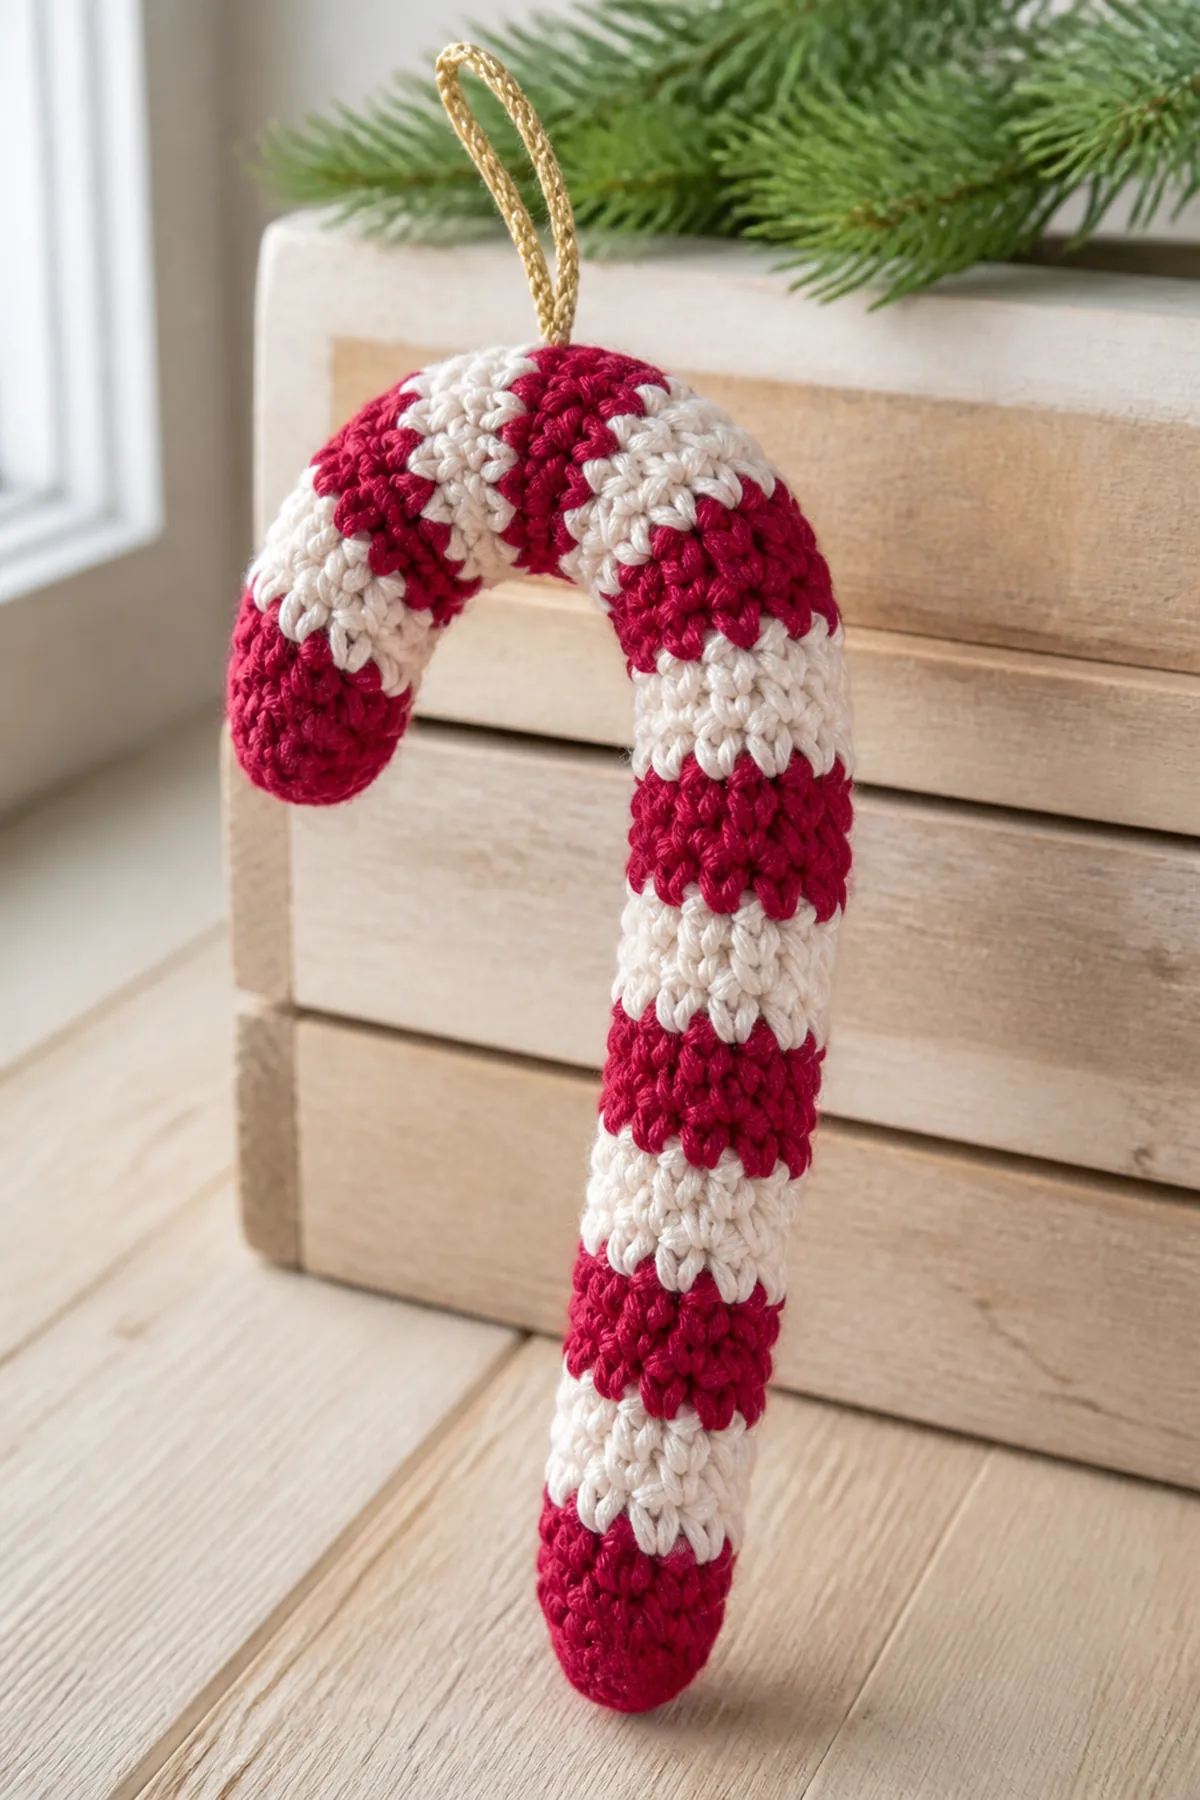
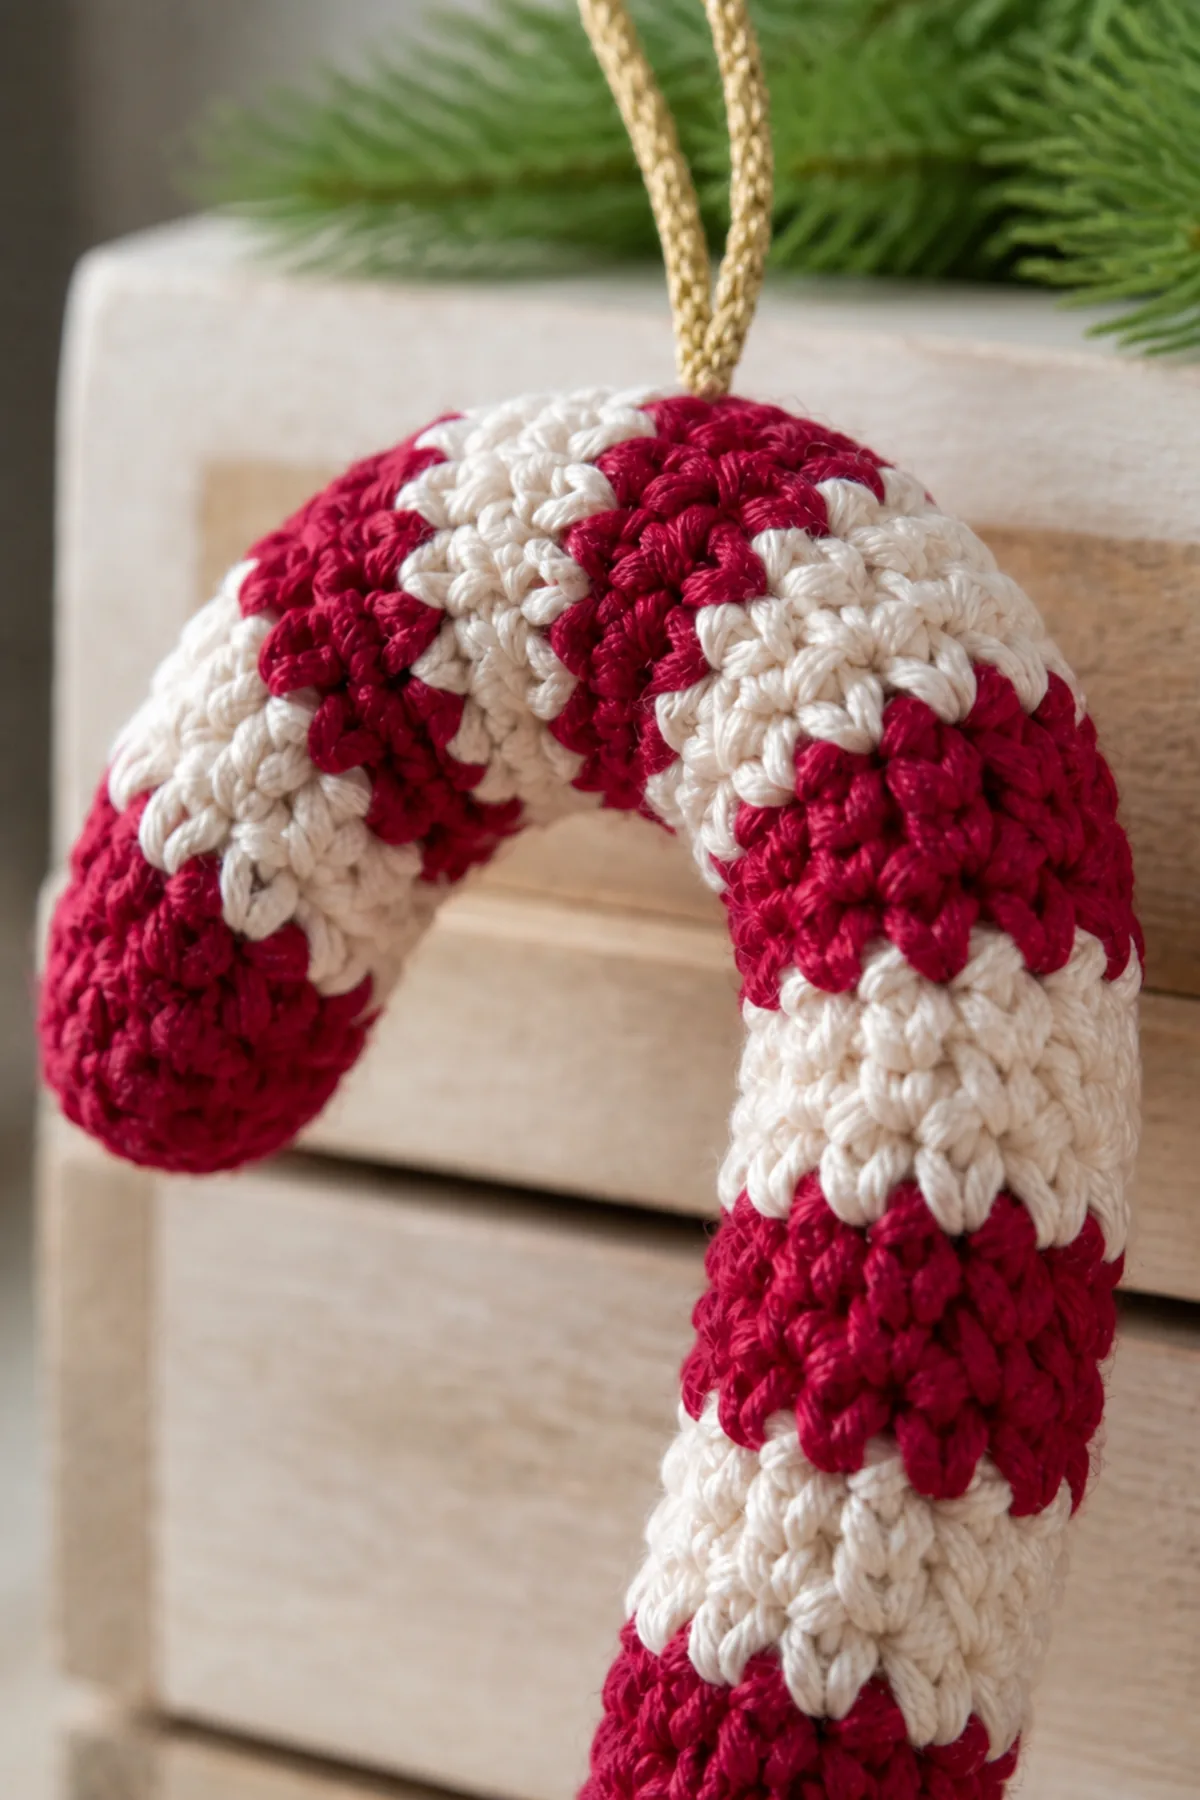
This crochet candy cane ornament pattern creates striped stuffed tube ornament shaped over enclosed craft wire with disclosed handling. The construction is fully counted so each shaping, joining, and finishing decision can be checked before moving forward.
Pattern Details
- Hook Size: 3.5 mm (E-4)
- Finished Size: Approximately 7 inches tall
- Gauge: 18 sc = 4 inches in firm fabric
- Terminology: US
- Estimated Time: 1–2 hours
- Construction: A narrow six-stitch tube is worked continuously with three-round stripes, lightly stuffed around plastic-coated wire, closed, and curved.
- Skill Level: Easy
Why You’ll Love It
A curved red-and-cream striped crochet candy cane tube with gold hanging loop. It is designed as a useful, giftable seasonal project without unsupported safety or performance claims.
Materials
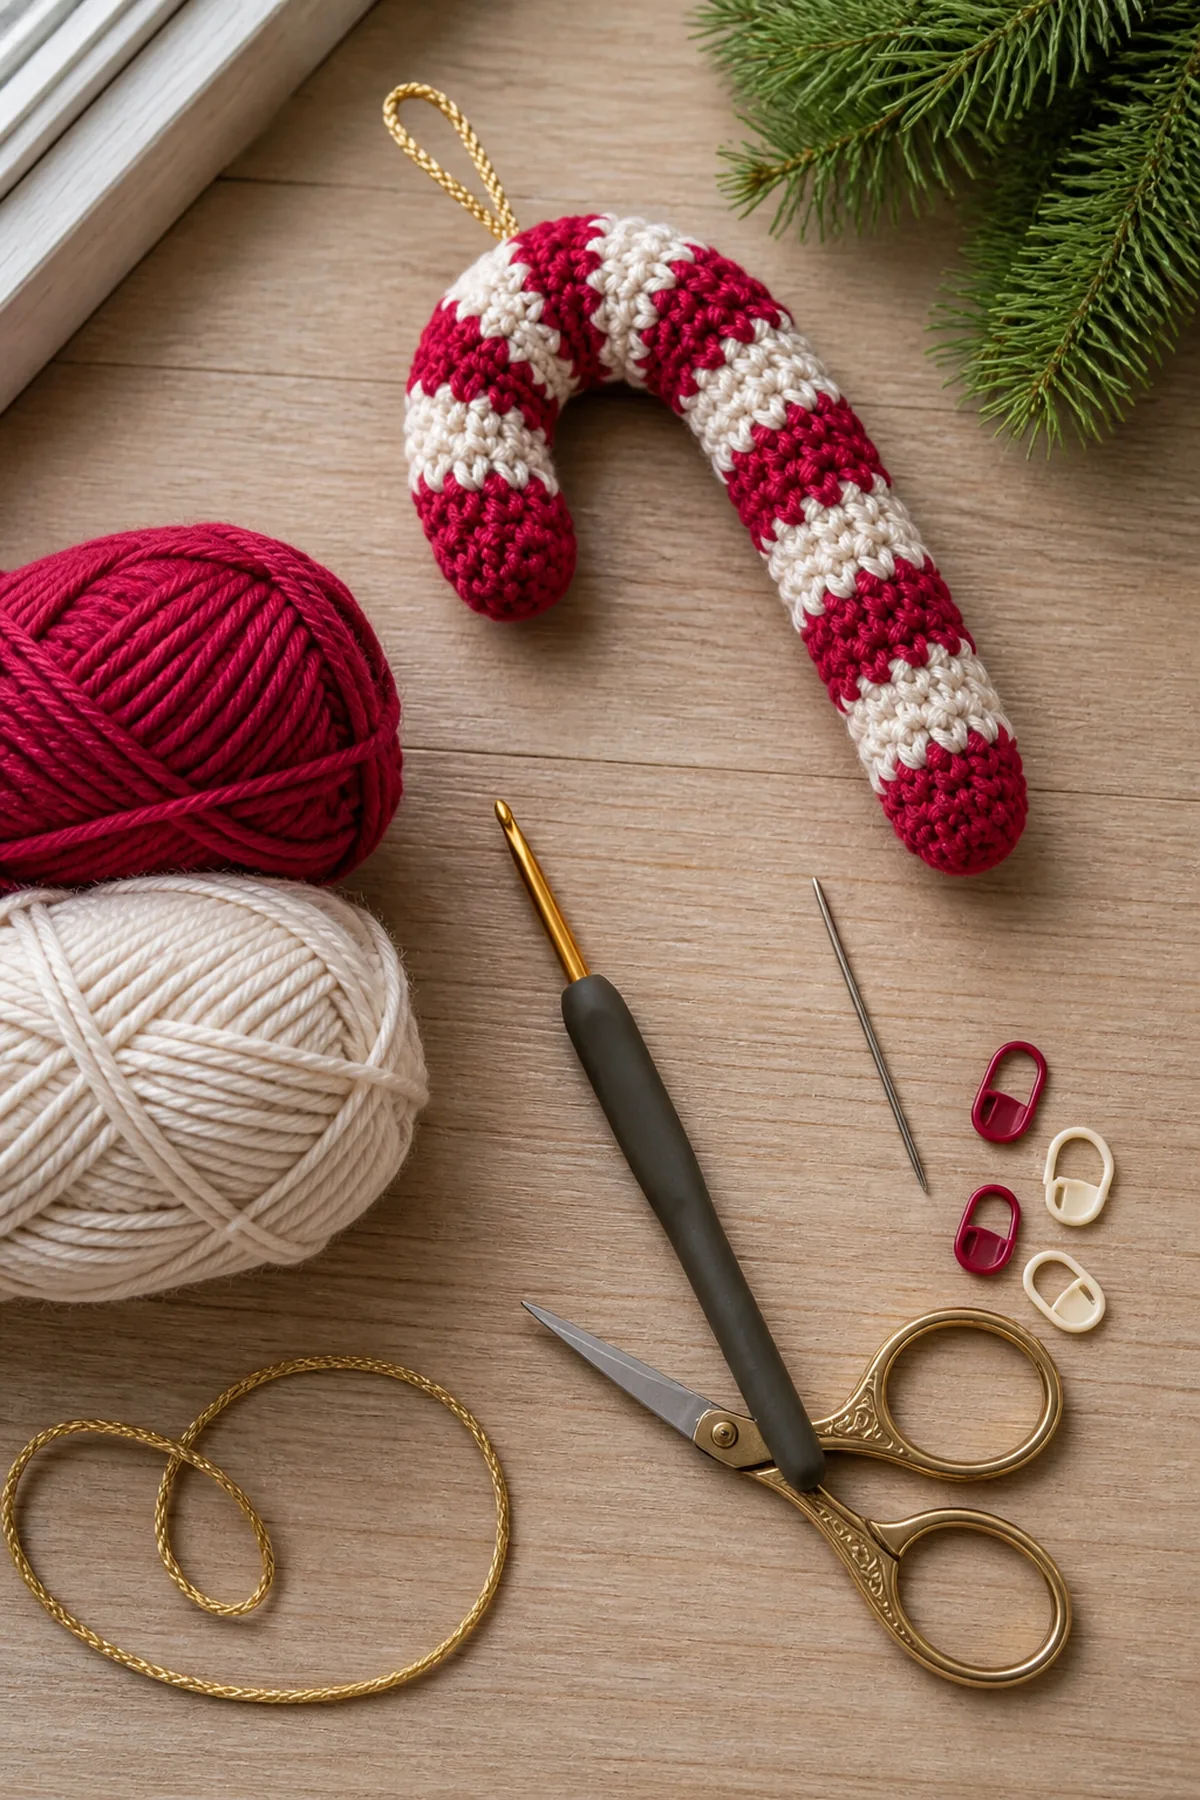
- 30 yards cranberry, 30 yards cream, 2 yards gold, light stuffing, and 8 inches plastic-coated craft wire
- 3.5 mm (E-4) crochet hook
- Yarn needle
- Stitch markers
- Scissors
- Tape measure
Abbreviations
- ch: chain
- inc: increase (2 single crochet in one stitch)
- sc: single crochet
- sc2tog: single crochet 2 stitches together
- sl st: slip stitch
- st(s): stitch(es)
- rnd: round
Important Notes
- Use US crochet terminology.
- Beginning chains do not count unless a step says otherwise.
- Count every row or round before continuing.
- This ornament contains craft wire. Keep it away from young children, inspect the covering, and discard it if wire becomes exposed.
- Keep seasonal décor away from open flames.
Complete Crochet Instructions
- Rnd 1: With cranberry, work 6 sc in a magic ring and mark the first stitch. (6 sts)
- Rnds 2–36: Sc around continuously. Change between cranberry and cream after every third completed round, carrying neither color inside the tube. (6 sts)
- Before insertion, bend each cut wire end back into a 0.5-inch closed loop and cover both loops with several tight wraps of scrap yarn. The finished wire must be 0.5 inch shorter than the tube.
- After Rnd 18, insert a small amount of stuffing, then the prepared plastic-coated wire. Continue adding only enough stuffing to smooth the tube while keeping the wire centered.
- After Rnd 36, cut yarn, draw through all 6 stitches, and close. Bend the upper third gradually into a hook without kinking the stitches.
- Join gold yarn behind the top curve, ch 18, sl st at the same point, knot securely inside the loop, and weave the ends.
Construction Check
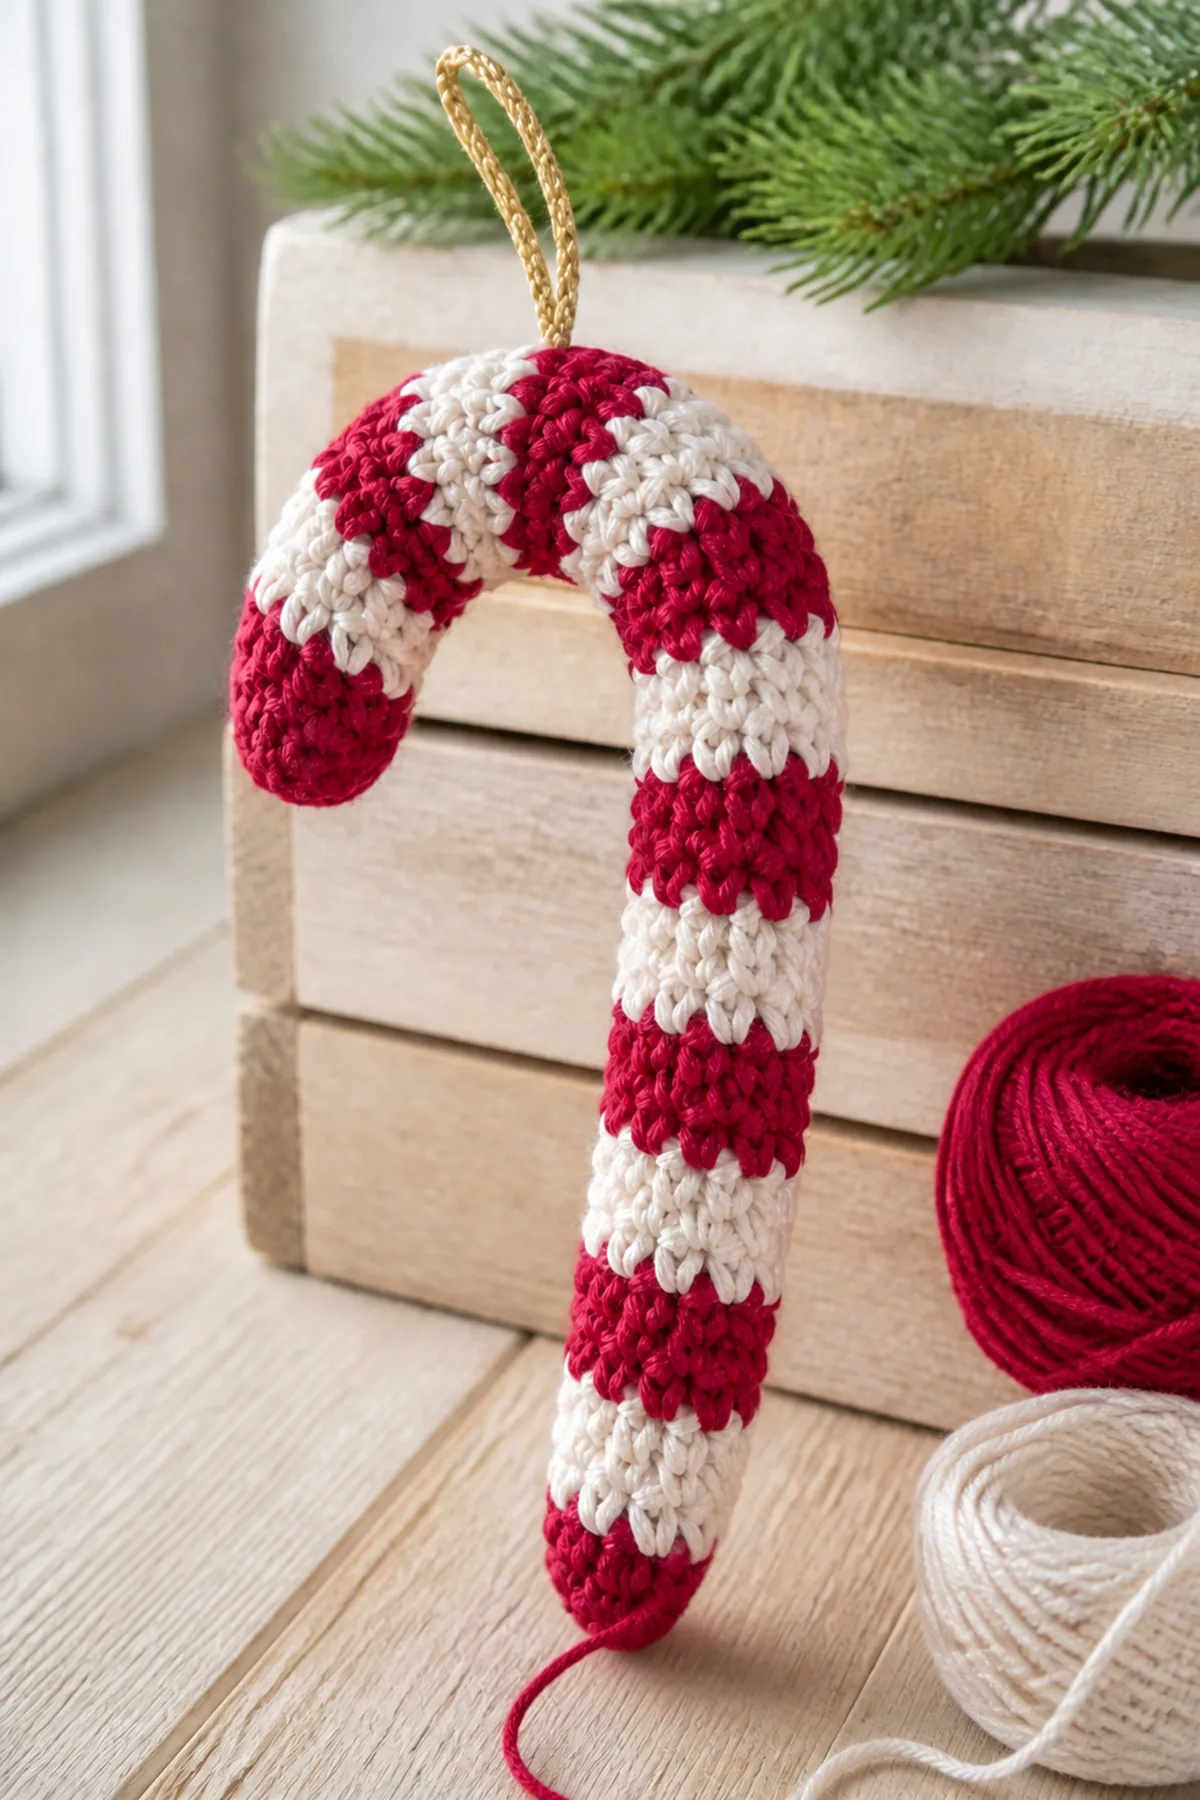
A narrow six-stitch tube is worked continuously with three-round stripes, lightly stuffed around plastic-coated wire, closed, and curved. Stop and correct any count or placement mismatch before assembly.
Assembly and Finishing
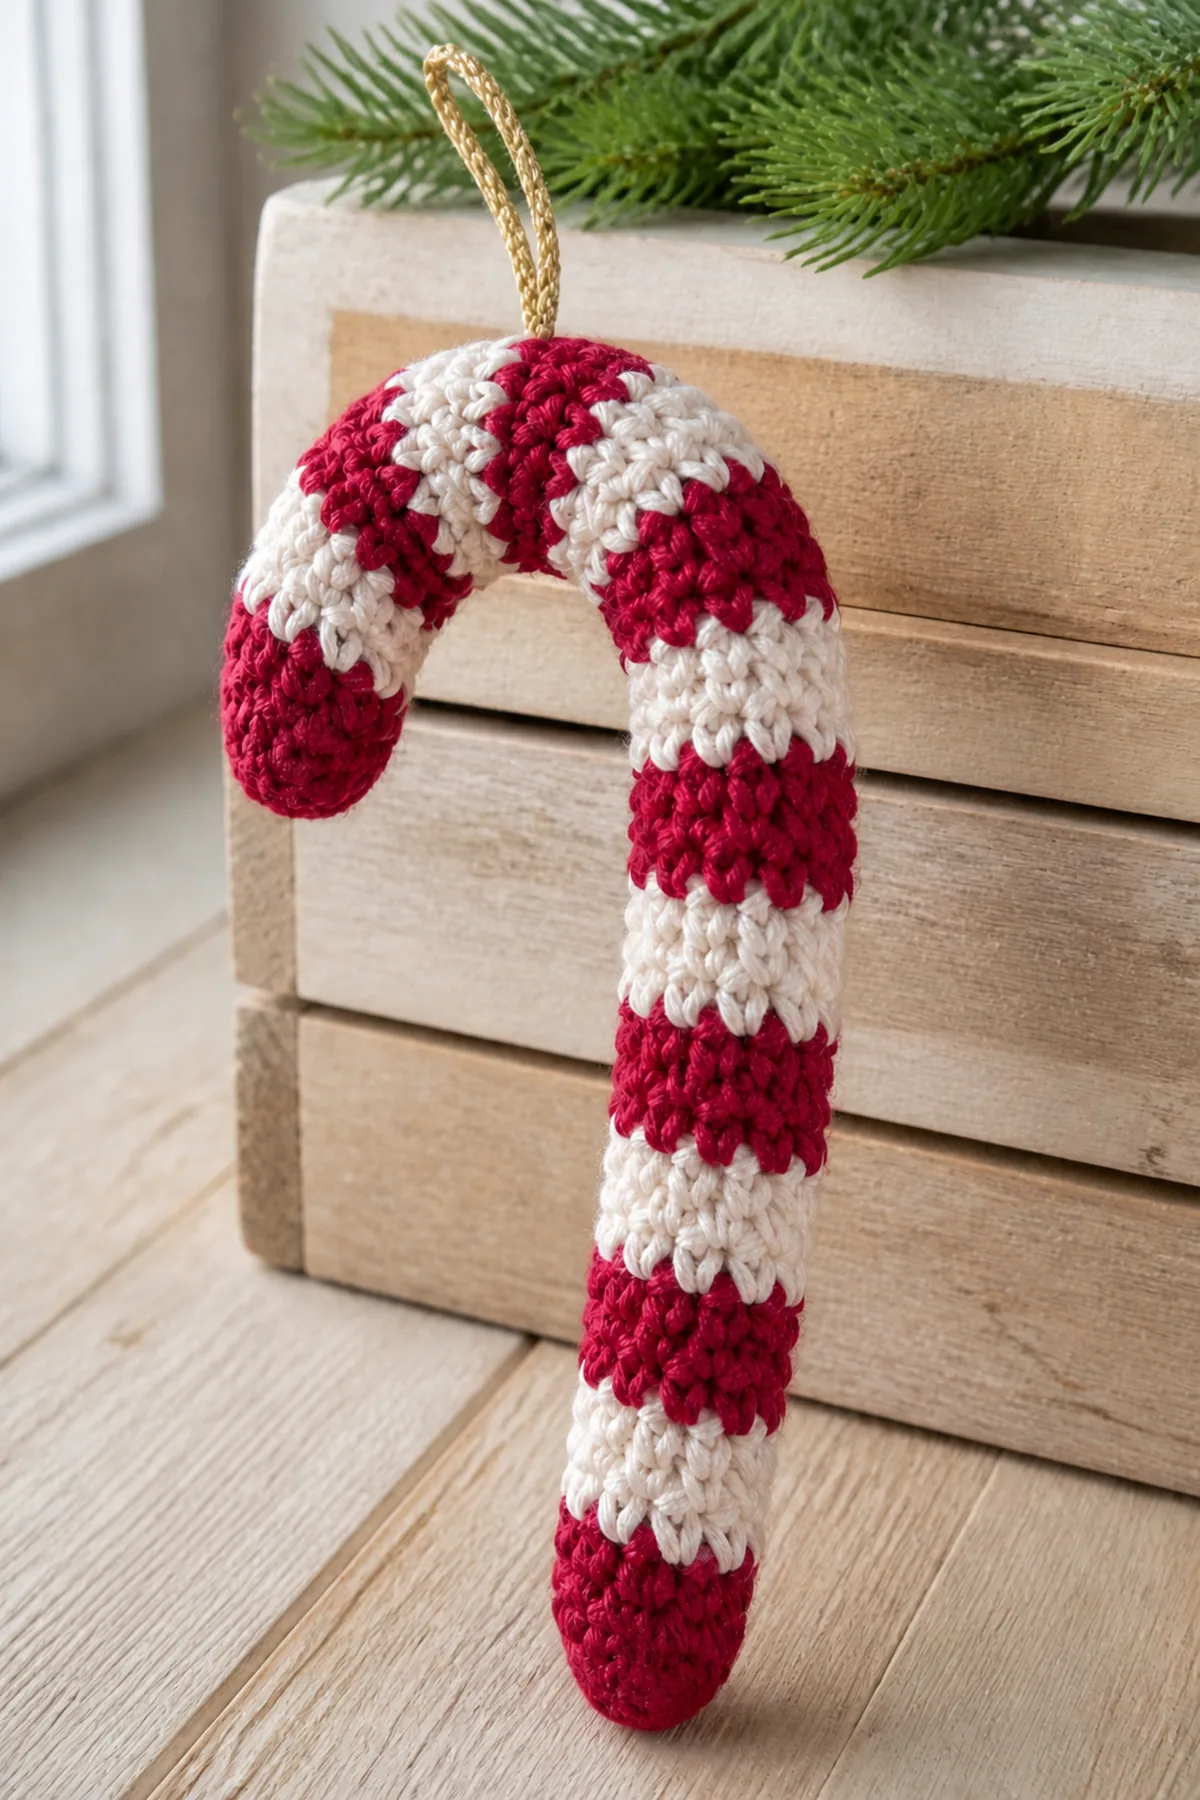
- Secure every yarn tail through at least six nearby stitches.
- Complete all stated assembly, shaping, stuffing, seaming, or blocking steps.
- Inspect the project from front, back, and both sides; correct loose attachments before use or display.
Helpful Tips and Customization
- Keep a written row or round tally.
- Use the same yarn line throughout so gauge and texture remain consistent.
- Change colors without changing yarn weight.

Frequently Asked Questions
Can I substitute yarn?
Yes, but use the same weight and make a gauge sample because size and structure can change.
How do I keep the finished shape neat?
Count every section, distribute stuffing or blocking evenly, and follow the stated attachment positions.