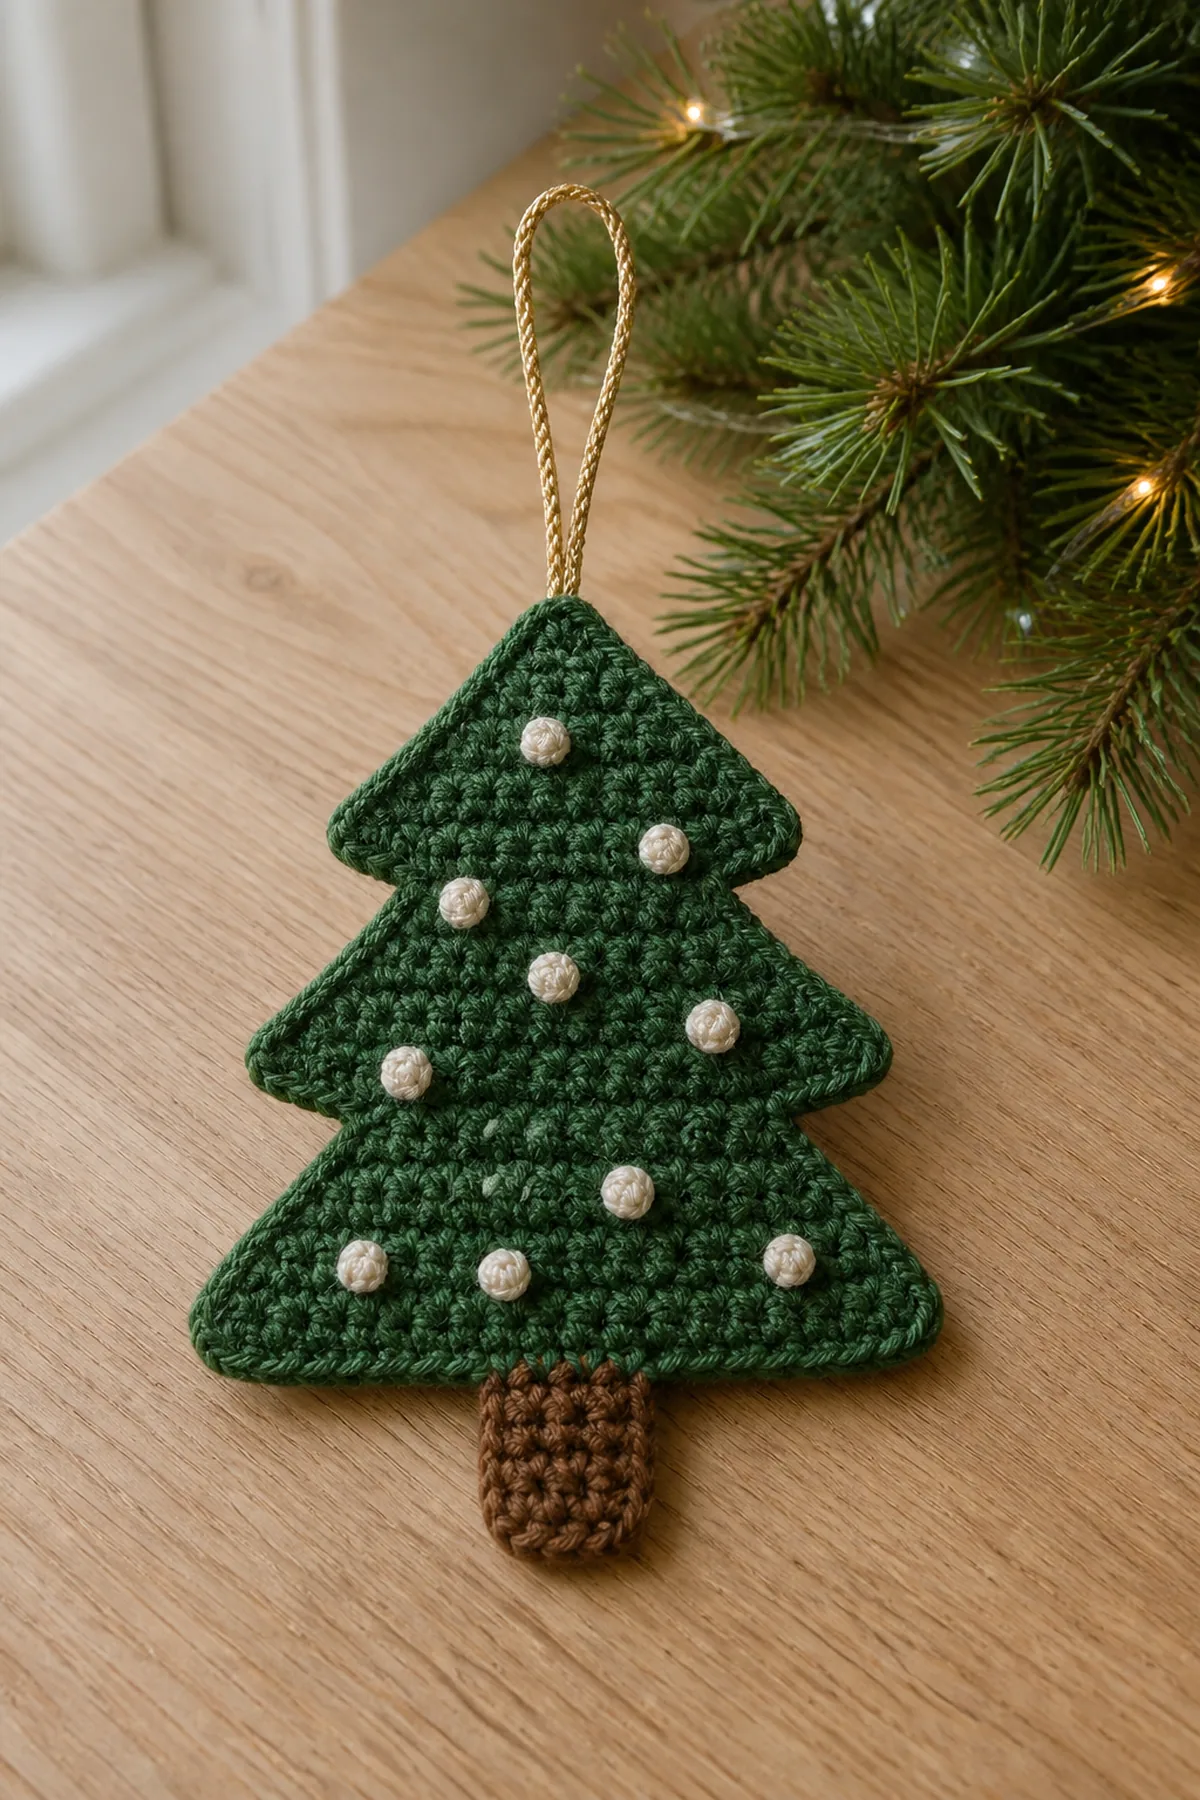
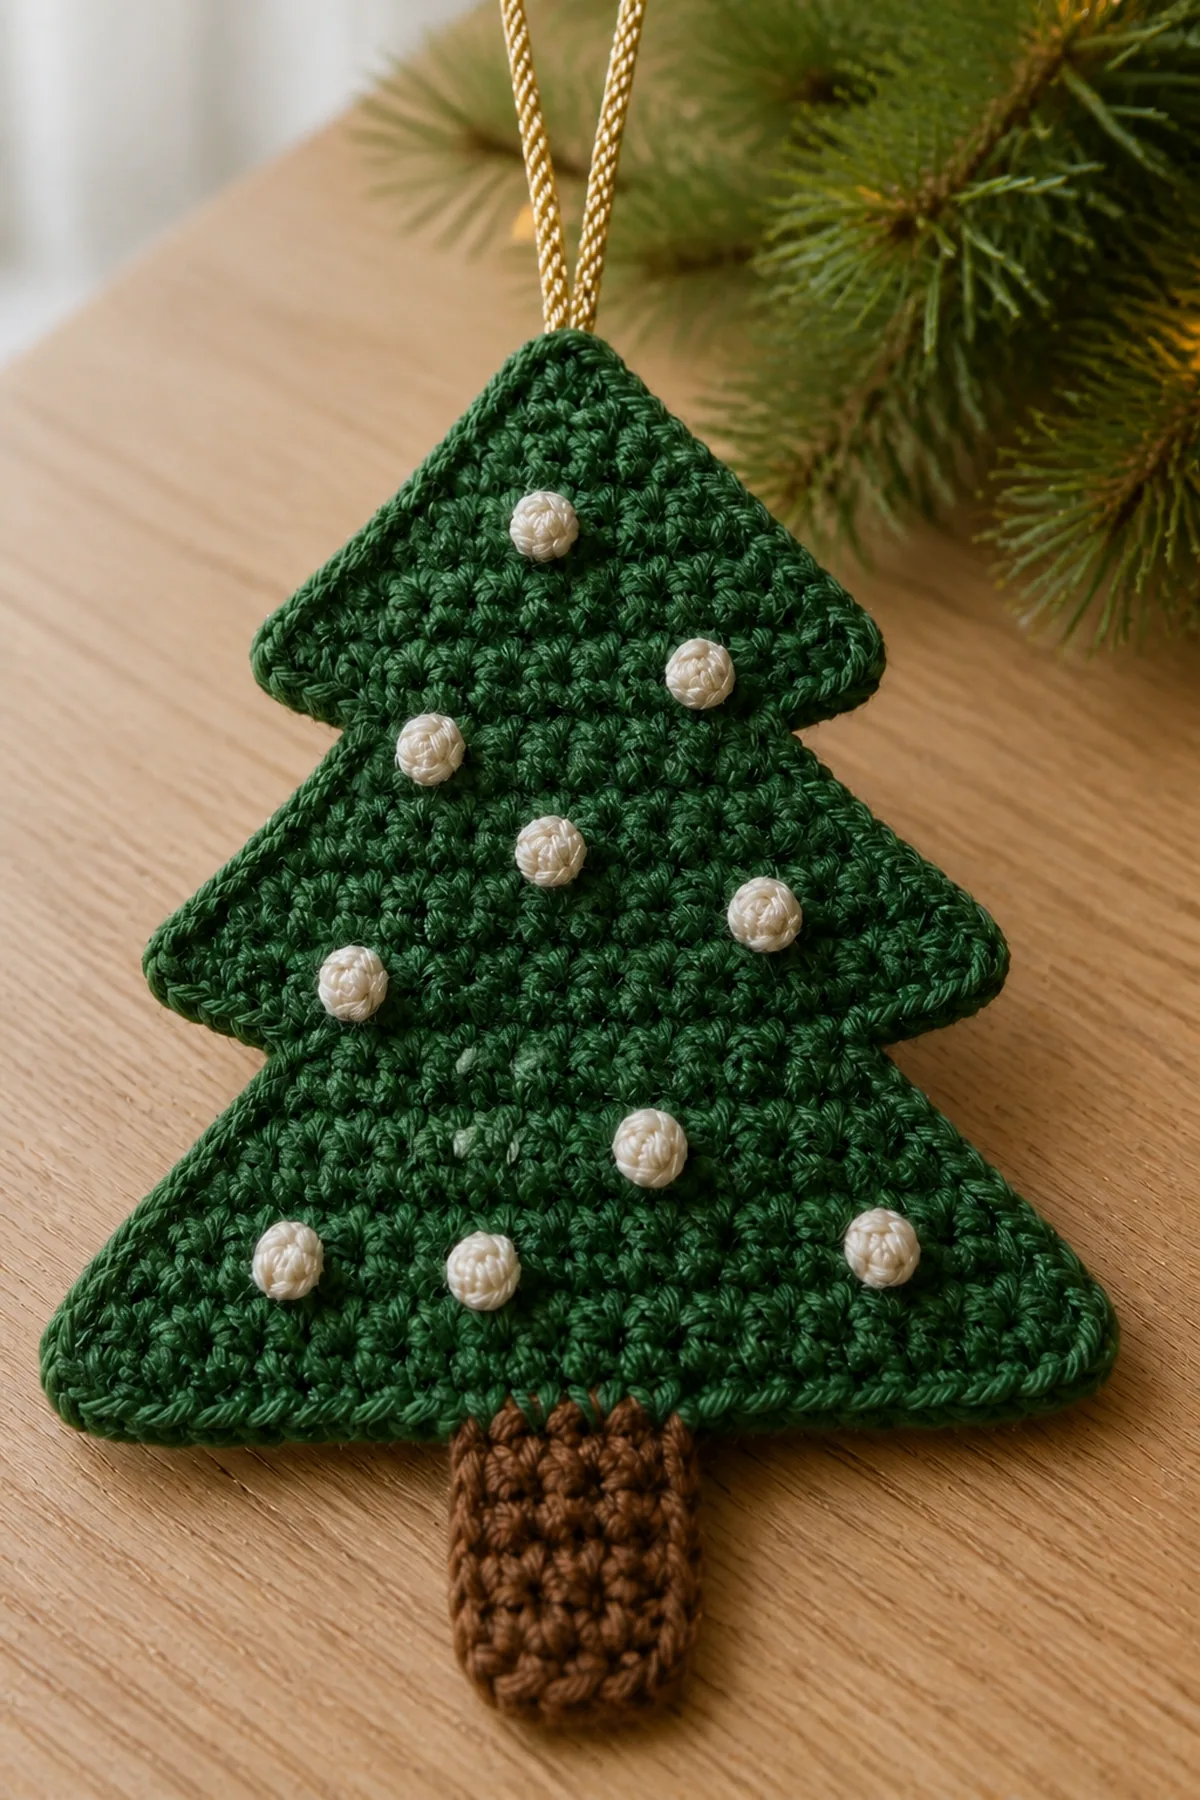
This crochet christmas tree ornament pattern creates small flat tiered Christmas tree ornament with a crocheted trunk and hanging loop. The construction is fully counted so each shaping, joining, and finishing decision can be checked before moving forward.
Pattern Details
- Hook Size: 4 mm (G-6)
- Finished Size: Approximately 5 inches tall by 4 inches wide
- Gauge: 16 sc and 18 rows = 4 inches
- Terminology: US
- Estimated Time: 1–2 hours
- Construction: A flat triangle is decreased at both row edges, then a separate four-stitch trunk, bobbles, and hanging loop are attached.
- Skill Level: Easy
Why You’ll Love It
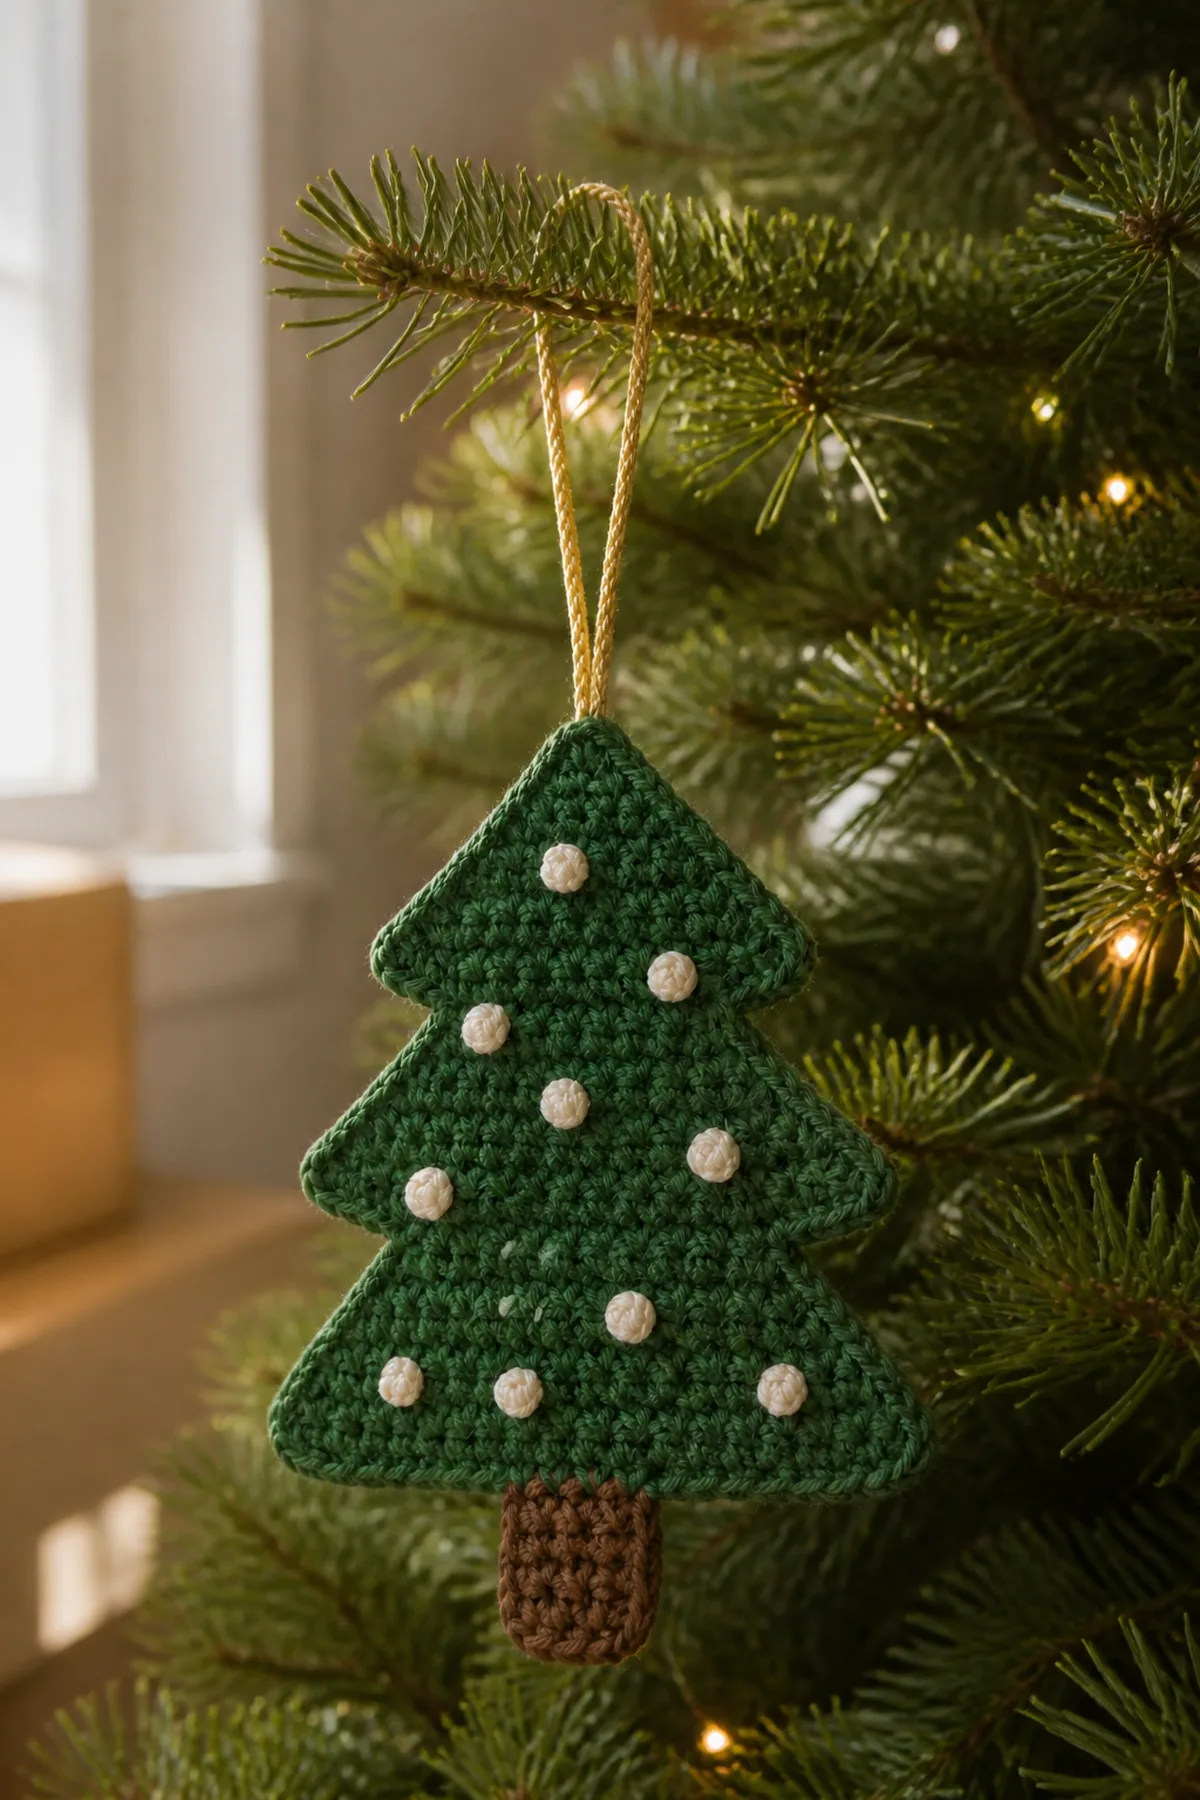
A flat forest-green three-tier crochet tree with a brown trunk, cream bobbles, and gold yarn loop. It is designed as a useful, giftable seasonal project without unsupported safety or performance claims.
Materials
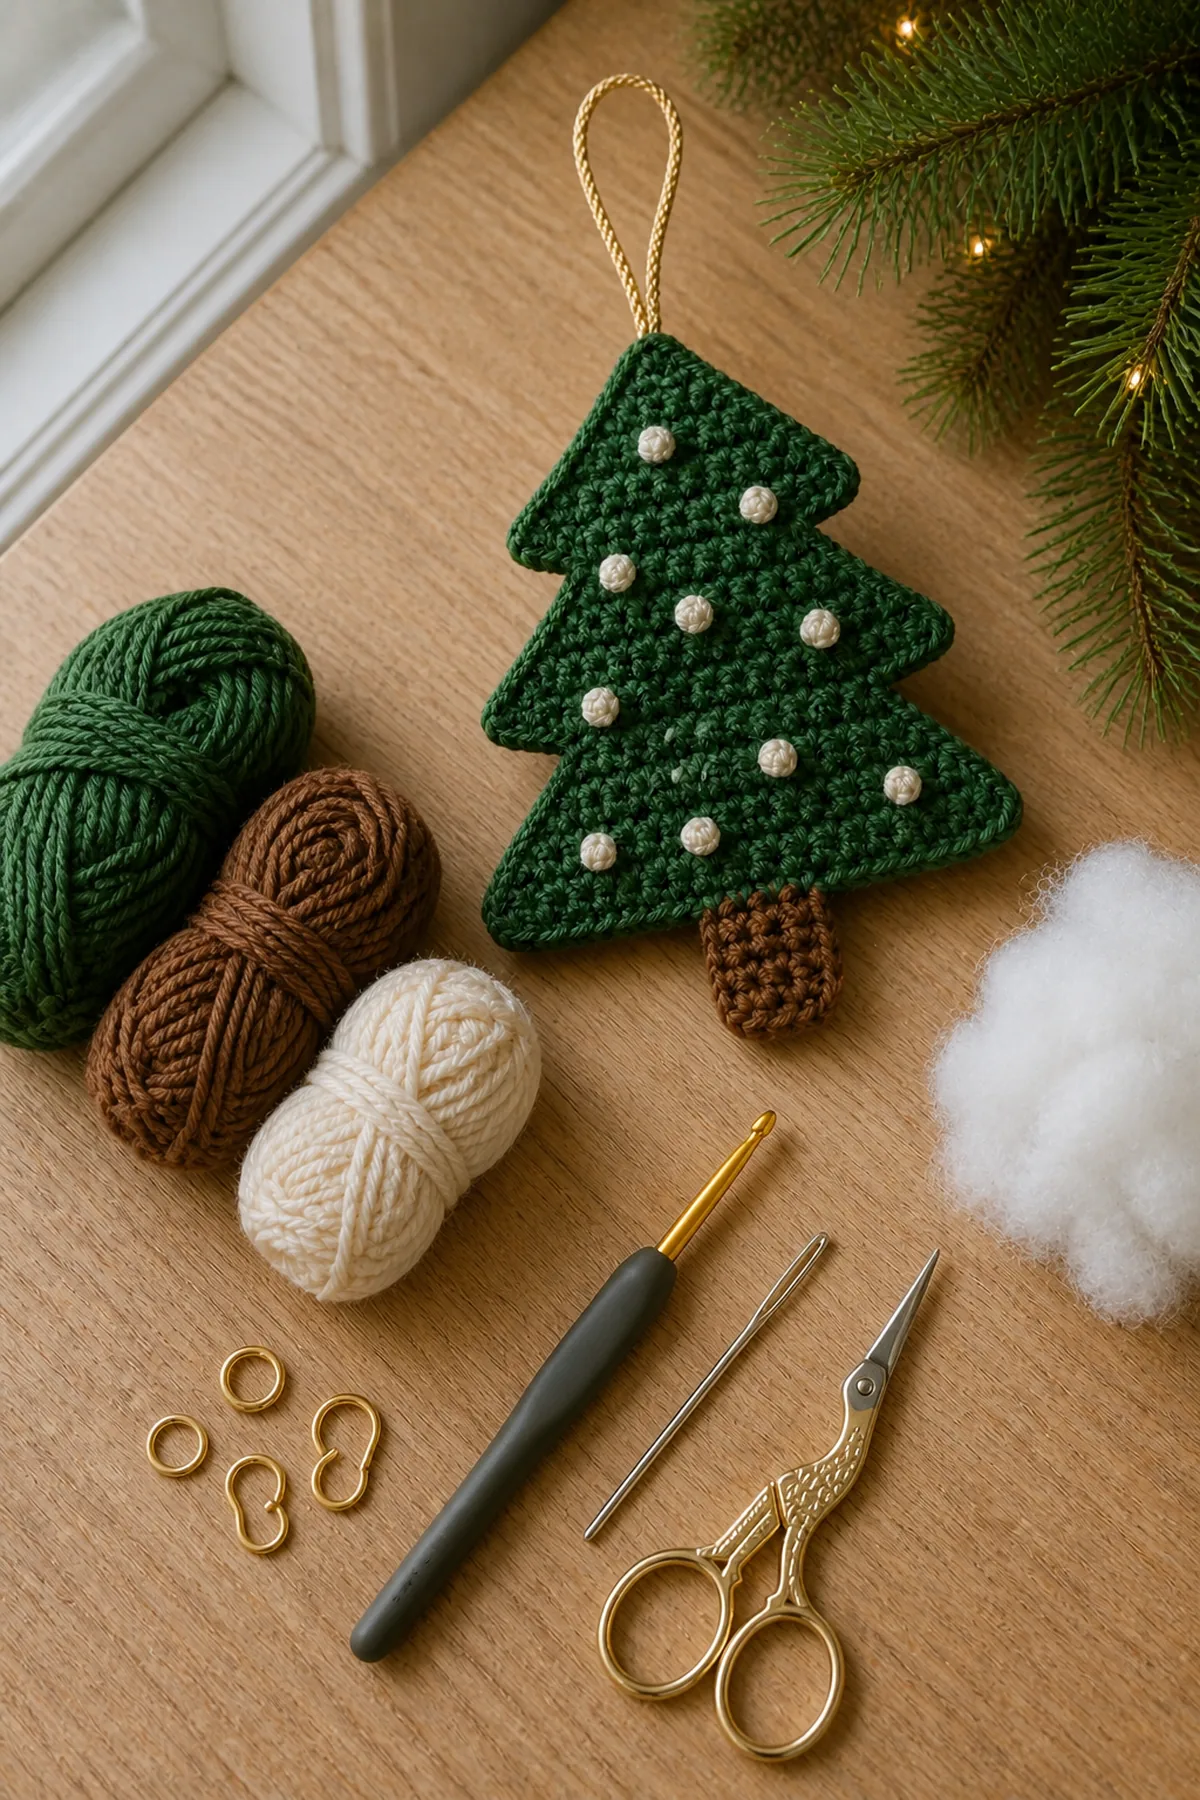
- 45 yards forest green, 8 yards brown, and small amounts cream and gold
- 4 mm (G-6) crochet hook
- Yarn needle
- Stitch markers
- Scissors
- Tape measure
Abbreviations
- ch: chain
- inc: increase (2 single crochet in one stitch)
- sc: single crochet
- sc2tog: single crochet 2 stitches together
- sl st: slip stitch
- st(s): stitch(es)
- rnd: round
Important Notes
- Use US crochet terminology.
- Beginning chains do not count unless a step says otherwise.
- Count every row or round before continuing.
- Block the tree flat before adding the trunk and loop.
- Keep seasonal décor away from open flames.
Complete Crochet Instructions
- Row 1: Ch 22, skip the first chain, and sc in each remaining chain; ch 1 and turn. (21 sts)
- Rows 2–10: Sc2tog over the first two stitches, sc across to the last two stitches, sc2tog, ch 1 and turn. Count checkpoints are Row 2 (19 sts), Row 3 (17 sts), Row 4 (15 sts), Row 5 (13 sts), Row 6 (11 sts), Row 7 (9 sts), Row 8 (7 sts), Row 9 (5 sts), and Row 10 (3 sts).
- Trunk: With brown, ch 5, skip one chain, sc in 4 chains; work 3 more rows of 4 sc. Fasten off with a sewing tail. (4 sts)
- Sew the trunk behind the center five stitches of Row 1. Add nine small cream French-knot-style yarn bobbles, securing every tail on the back.
- Hanging loop: Join gold yarn at the top, ch 20, sl st in the same top stitch, and secure both ends.
Construction Check
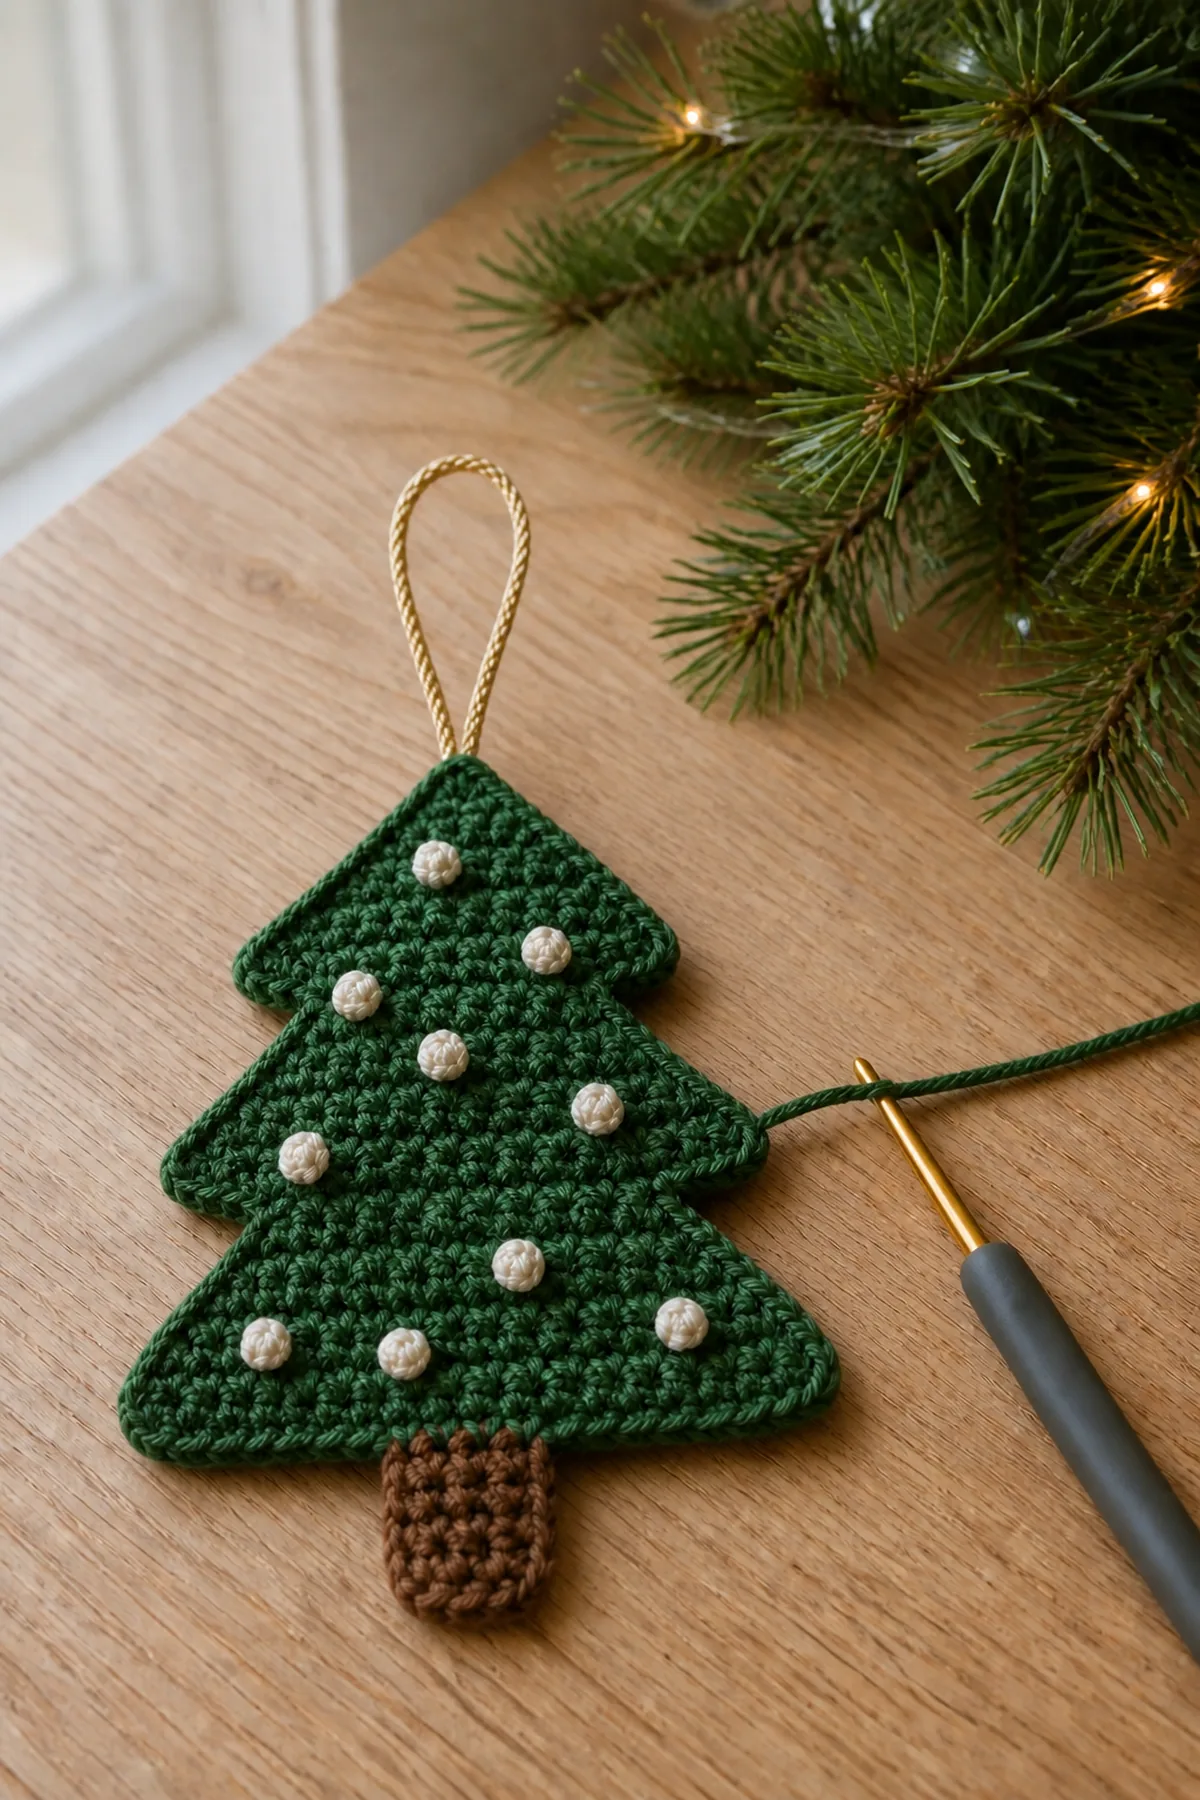
A flat triangle is decreased at both row edges, then a separate four-stitch trunk, bobbles, and hanging loop are attached. Stop and correct any count or placement mismatch before assembly.
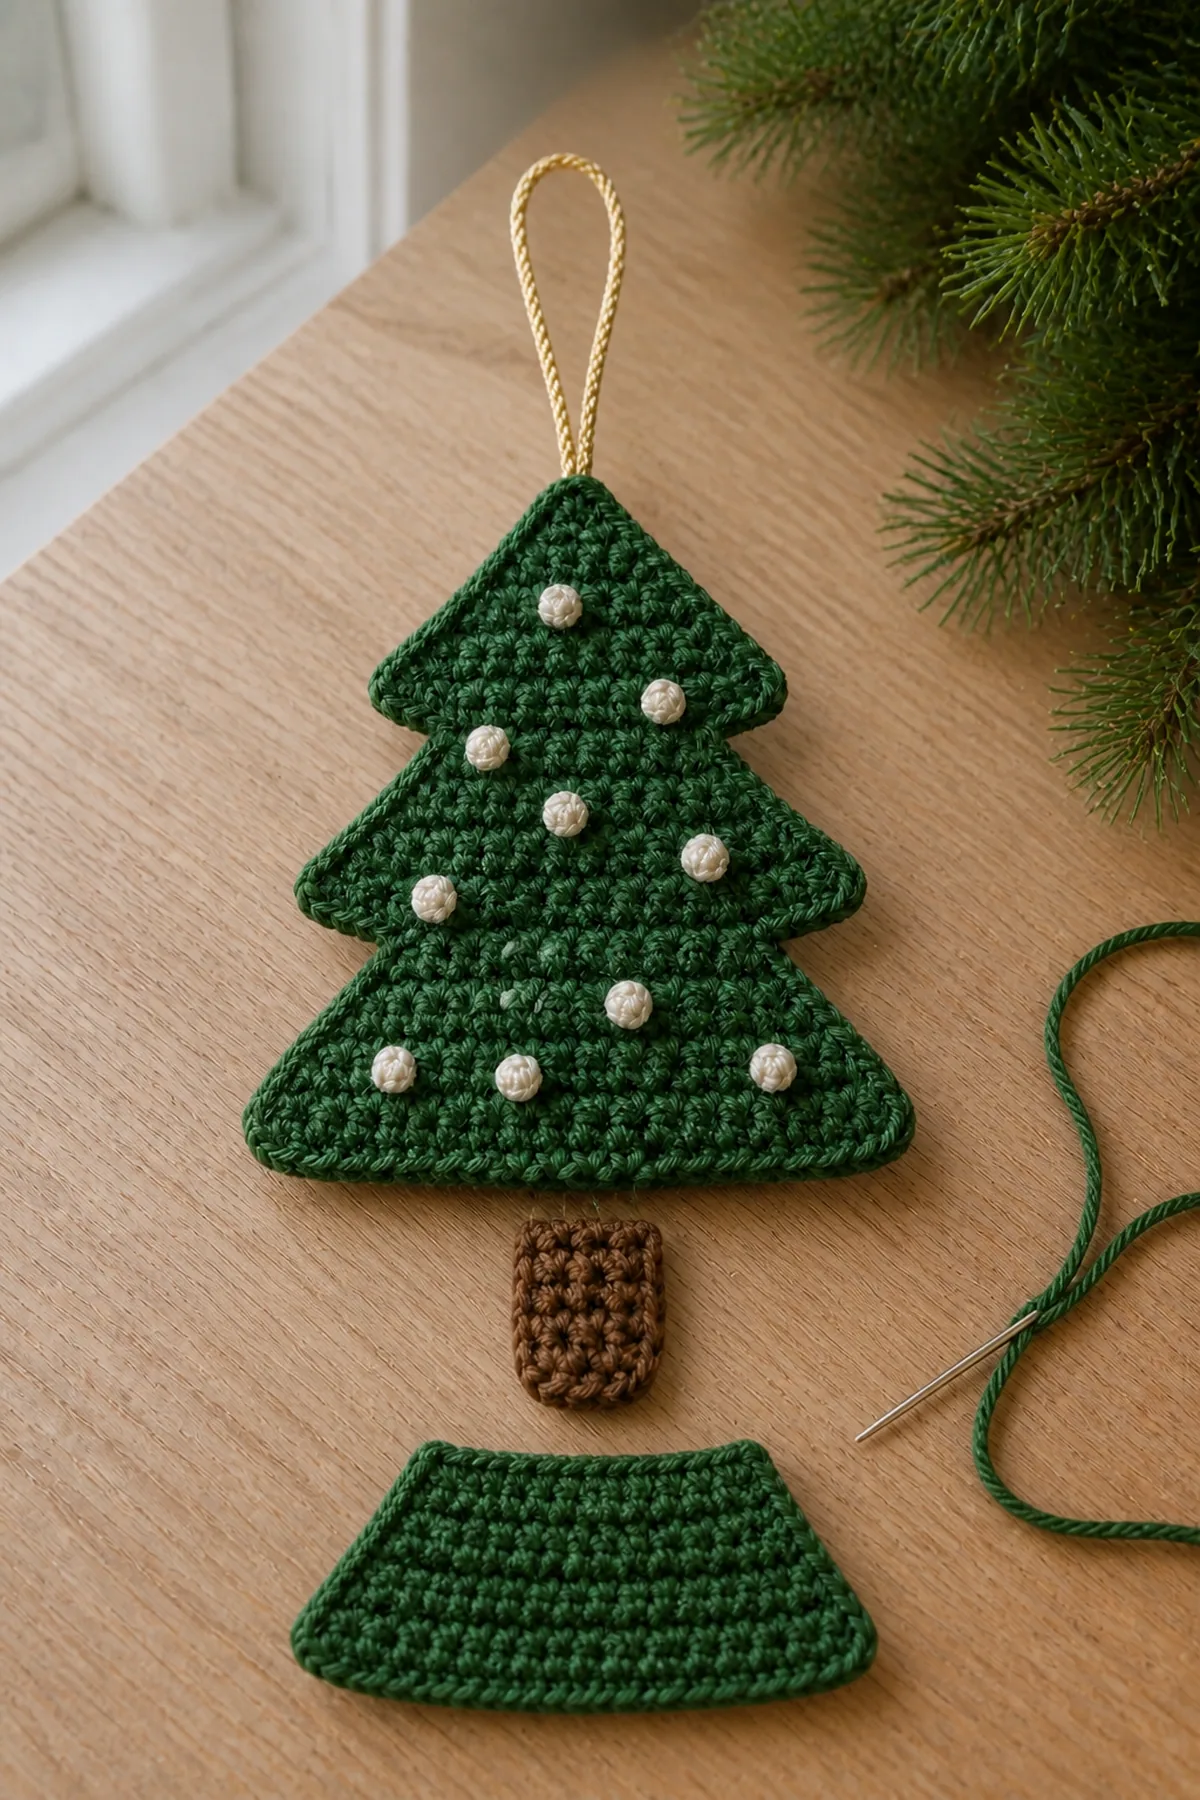
Assembly and Finishing
- Secure every yarn tail through at least six nearby stitches.
- Complete all stated assembly, shaping, stuffing, seaming, or blocking steps.
- Inspect the project from front, back, and both sides; correct loose attachments before use or display.
Helpful Tips and Customization
- Keep a written row or round tally.
- Use the same yarn line throughout so gauge and texture remain consistent.
- Change colors without changing yarn weight.
Frequently Asked Questions
Can I substitute yarn?
Yes, but use the same weight and make a gauge sample because size and structure can change.
How do I keep the finished shape neat?
Count every section, distribute stuffing or blocking evenly, and follow the stated attachment positions.