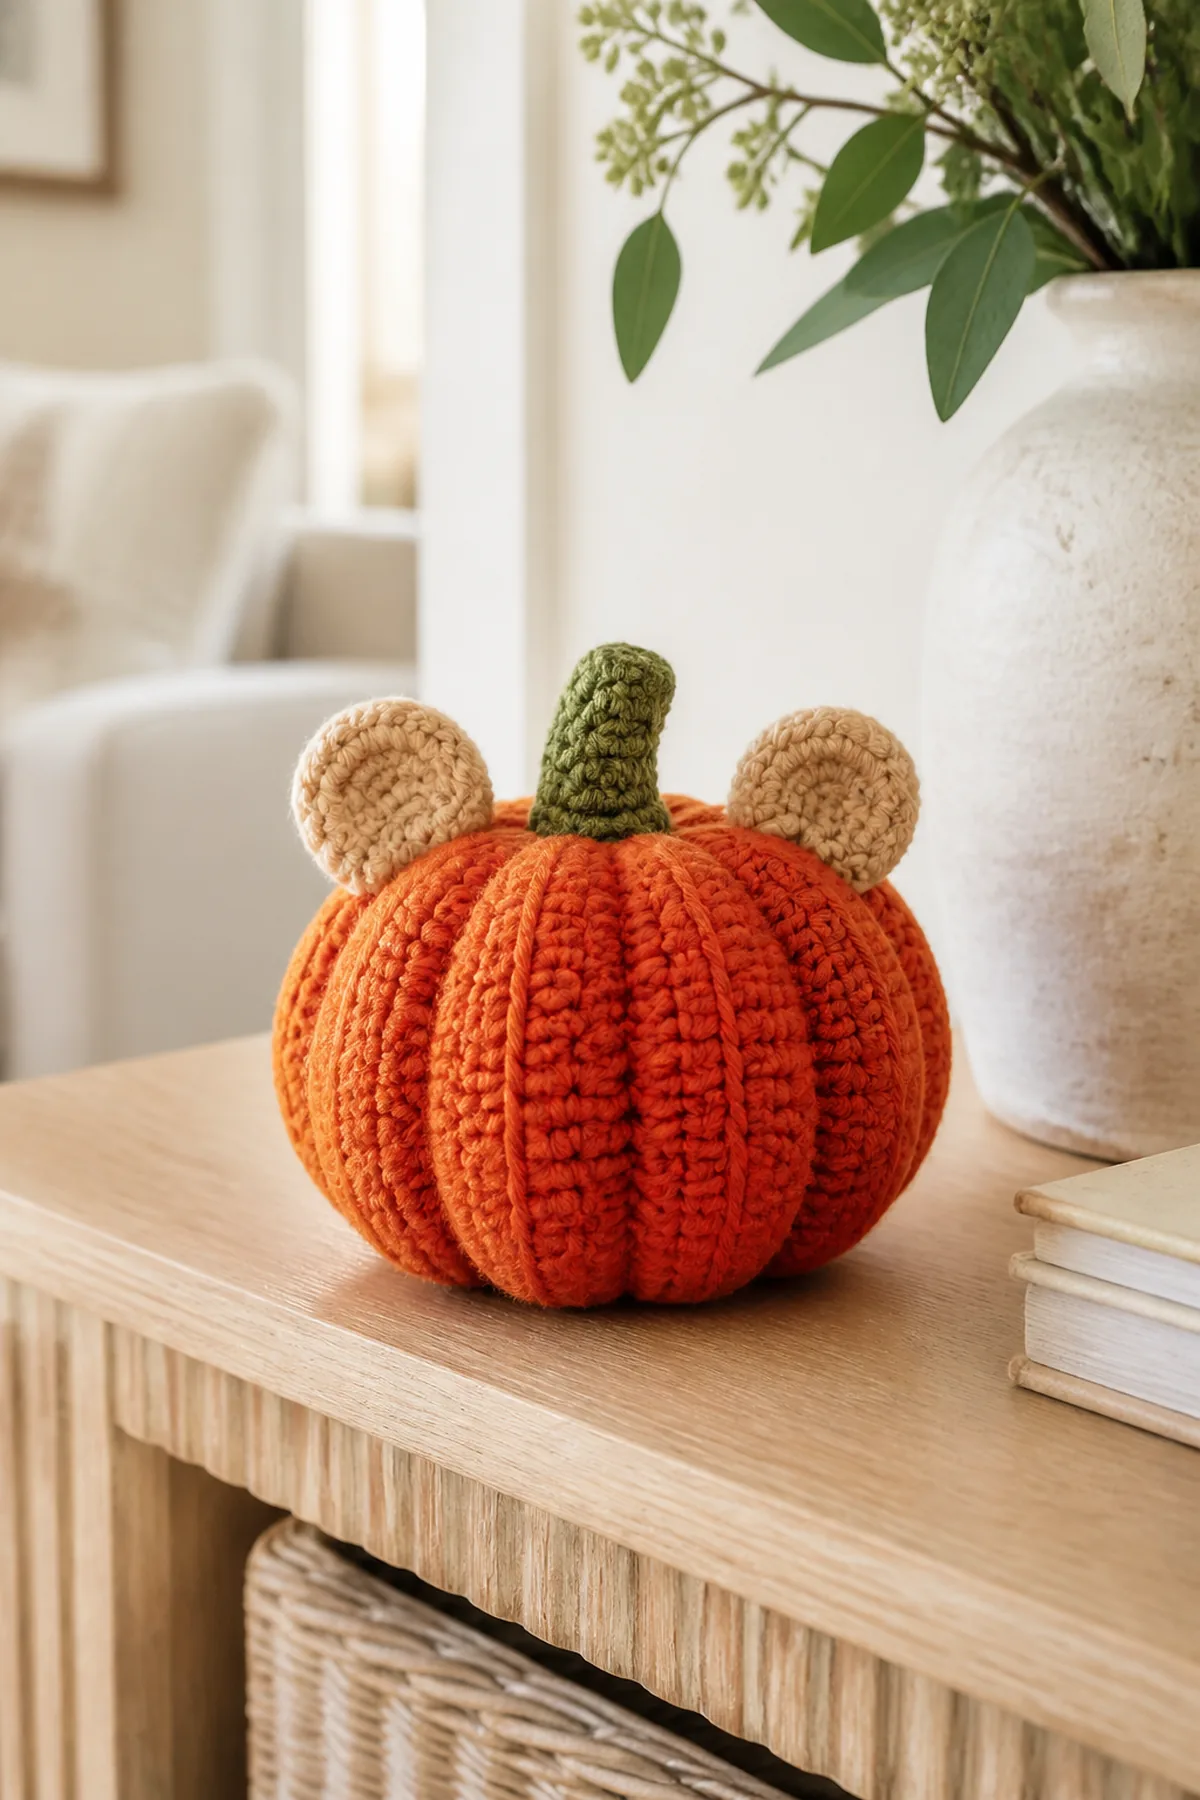
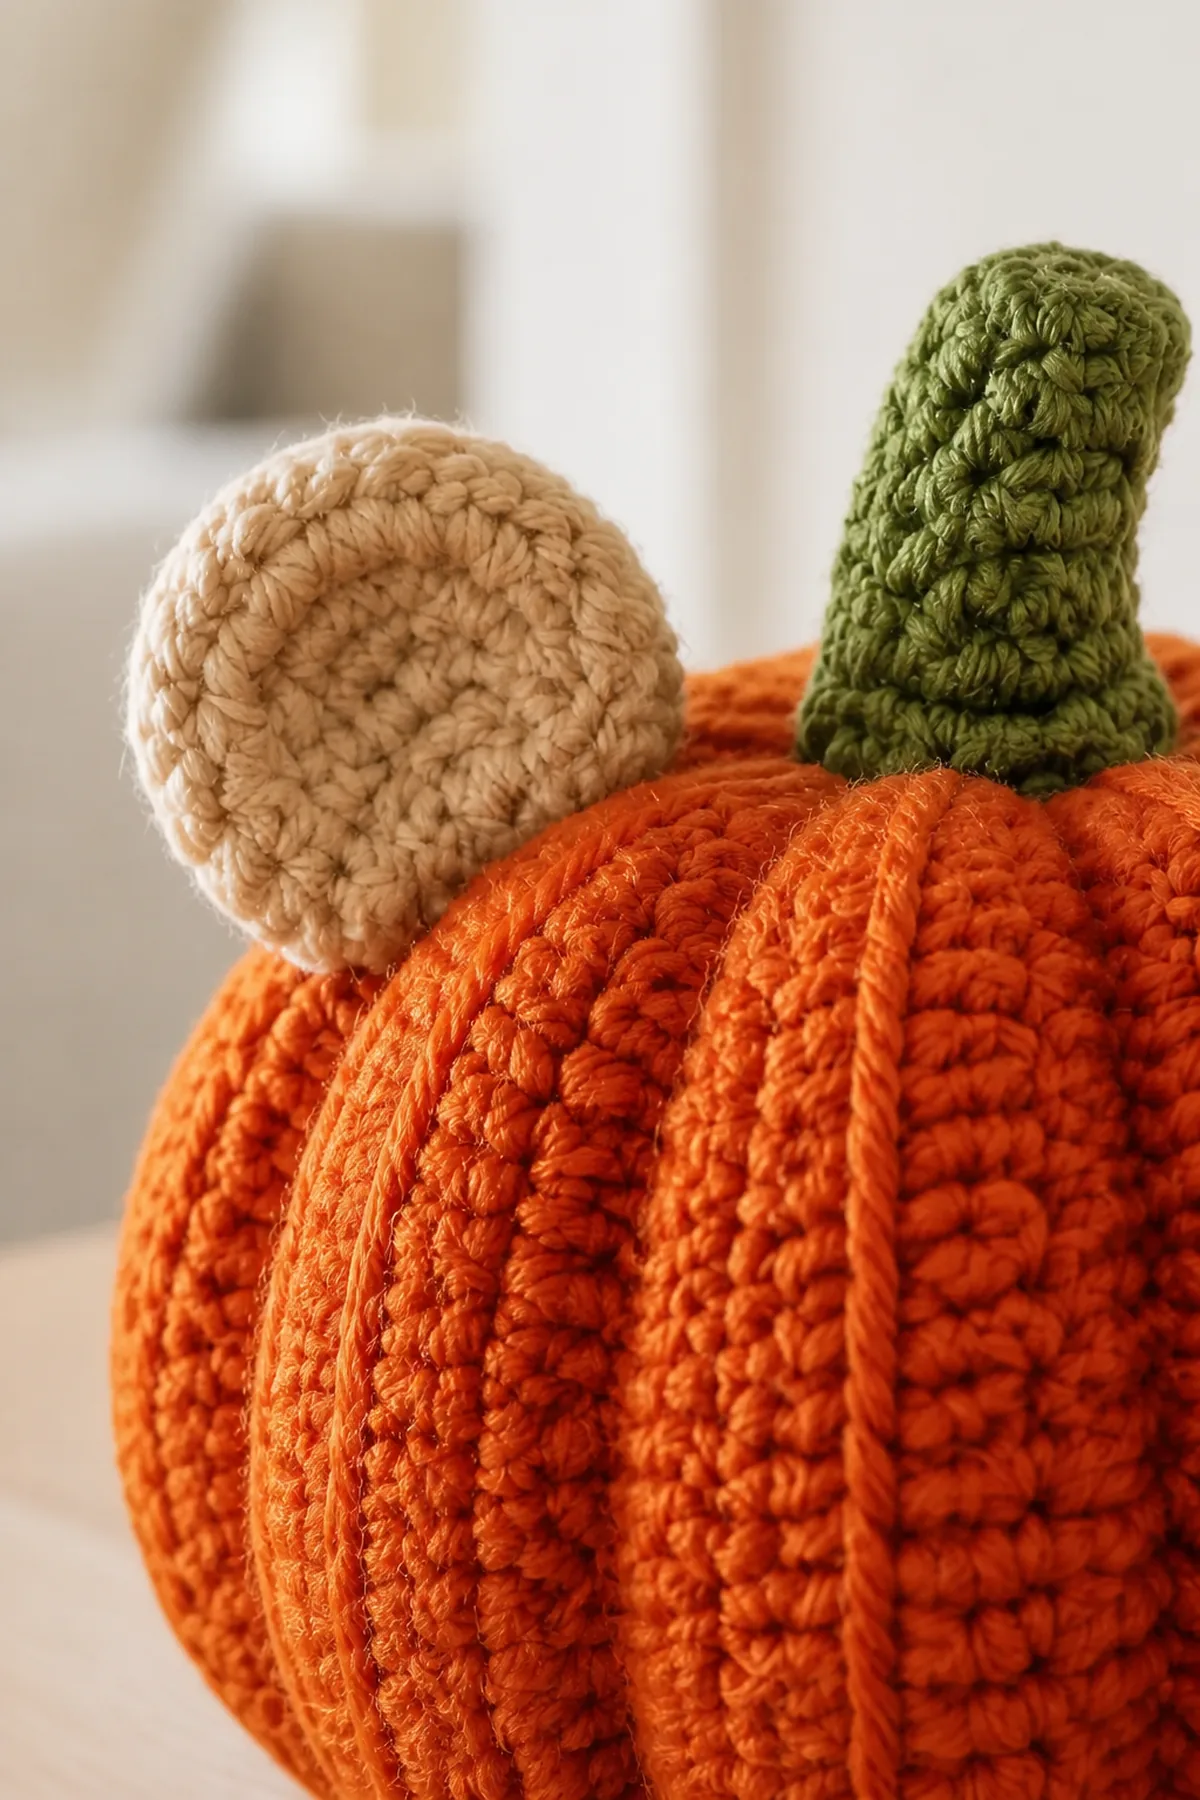
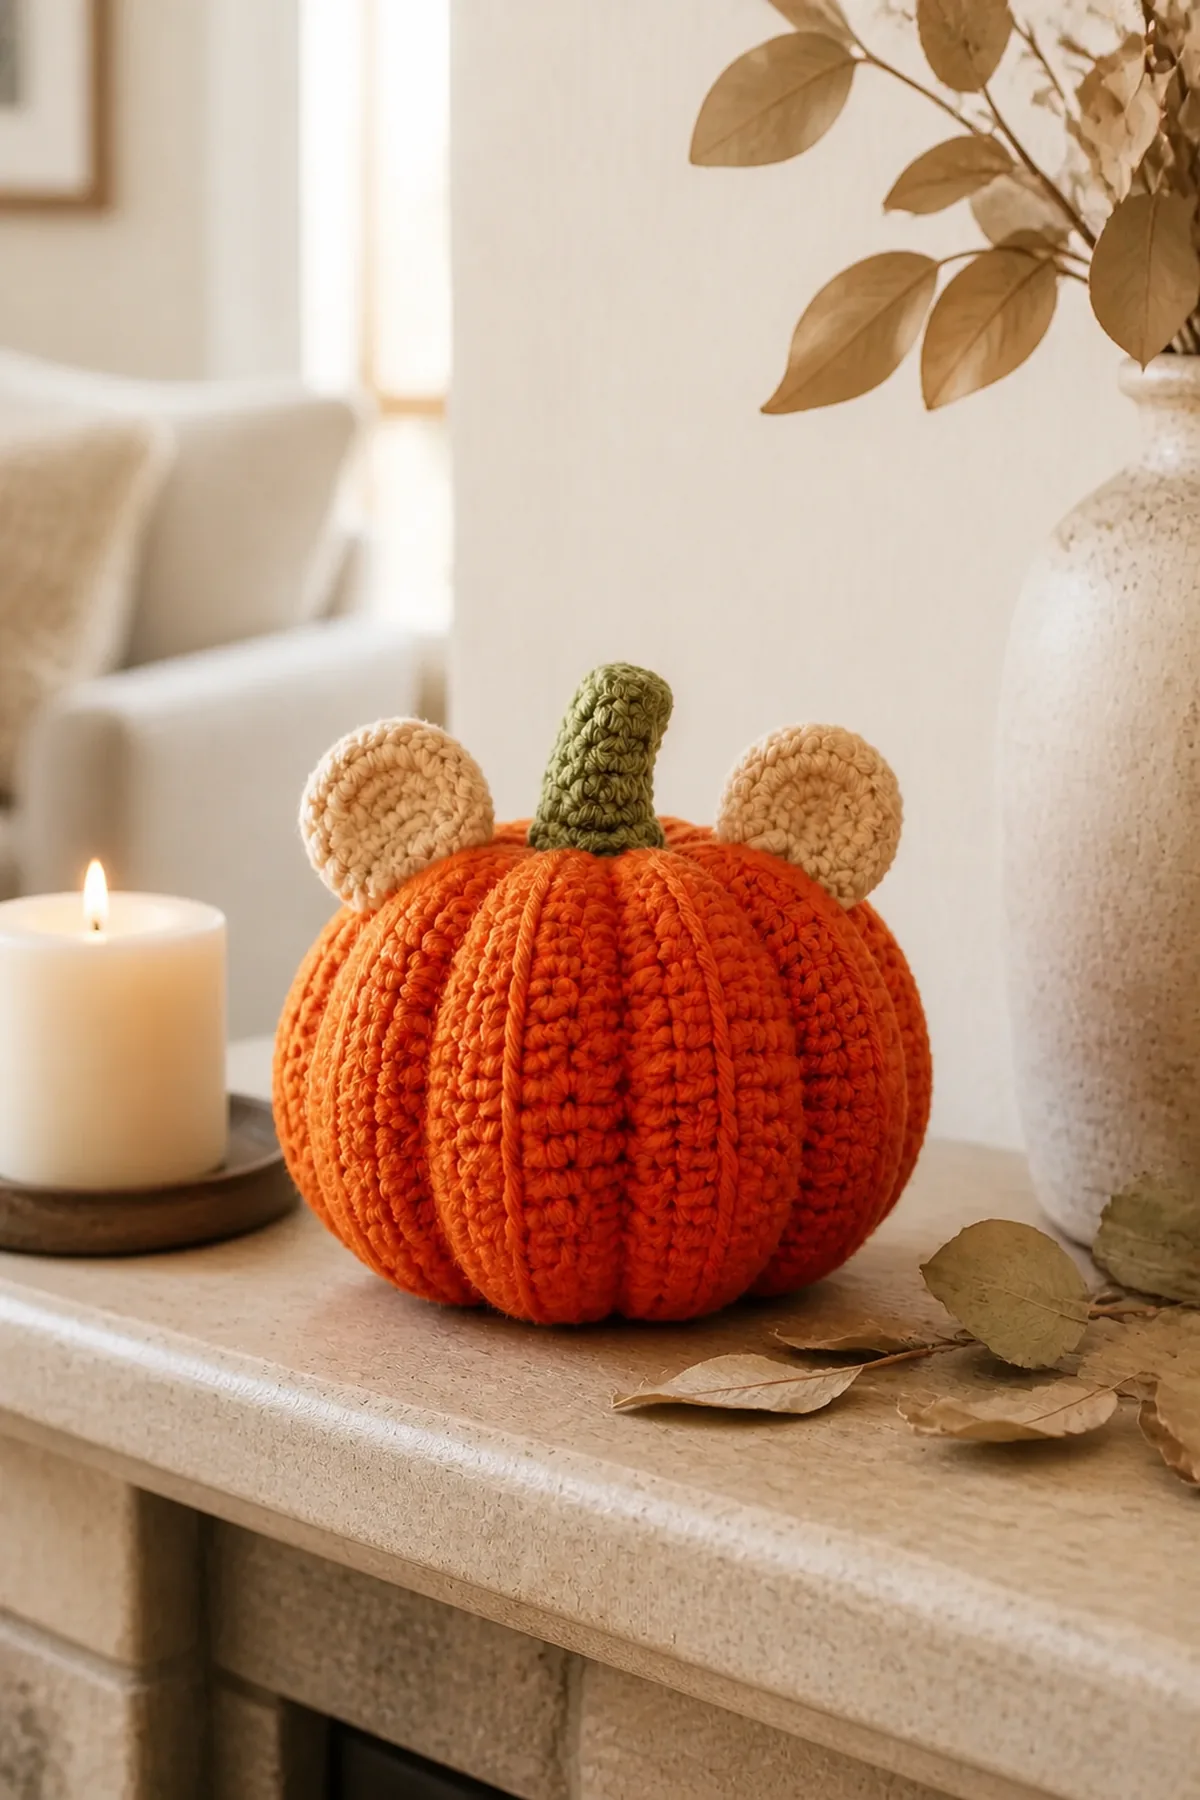
This mouse-inspired crochet pumpkin pattern adds a playful silhouette to handmade fall decor without copying a branded character. The burnt-orange pumpkin has six sculpted ribs, two simple oatmeal circle ears, and a moss-green stem; it intentionally has no face, costume, or trademarked details.
Pattern Details
- Hook Size: 4 mm (G-6)
- Finished Size: Approximately 7 inches wide by 6 inches tall including stem and ears
- Gauge: 18 single crochet stitches and 20 rounds = 4 inches in firm stuffed fabric
- Terminology: US
- Estimated Time: 4–5 hours
- Construction: A top-down sphere is increased, worked even, stuffed, and decreased closed; sculpting strands form six ribs, while two original round ears and a stem are crocheted separately and sewn securely to the top.
- Skill level: Easy
Why You’ll Love It
The body uses predictable six-point shaping, and the finishing strands create dimensional ribs without complicated post stitches. The ears are plain crochet circles that provide a cute, generic mouse-like outline while keeping the finished object clearly a pumpkin.
Materials
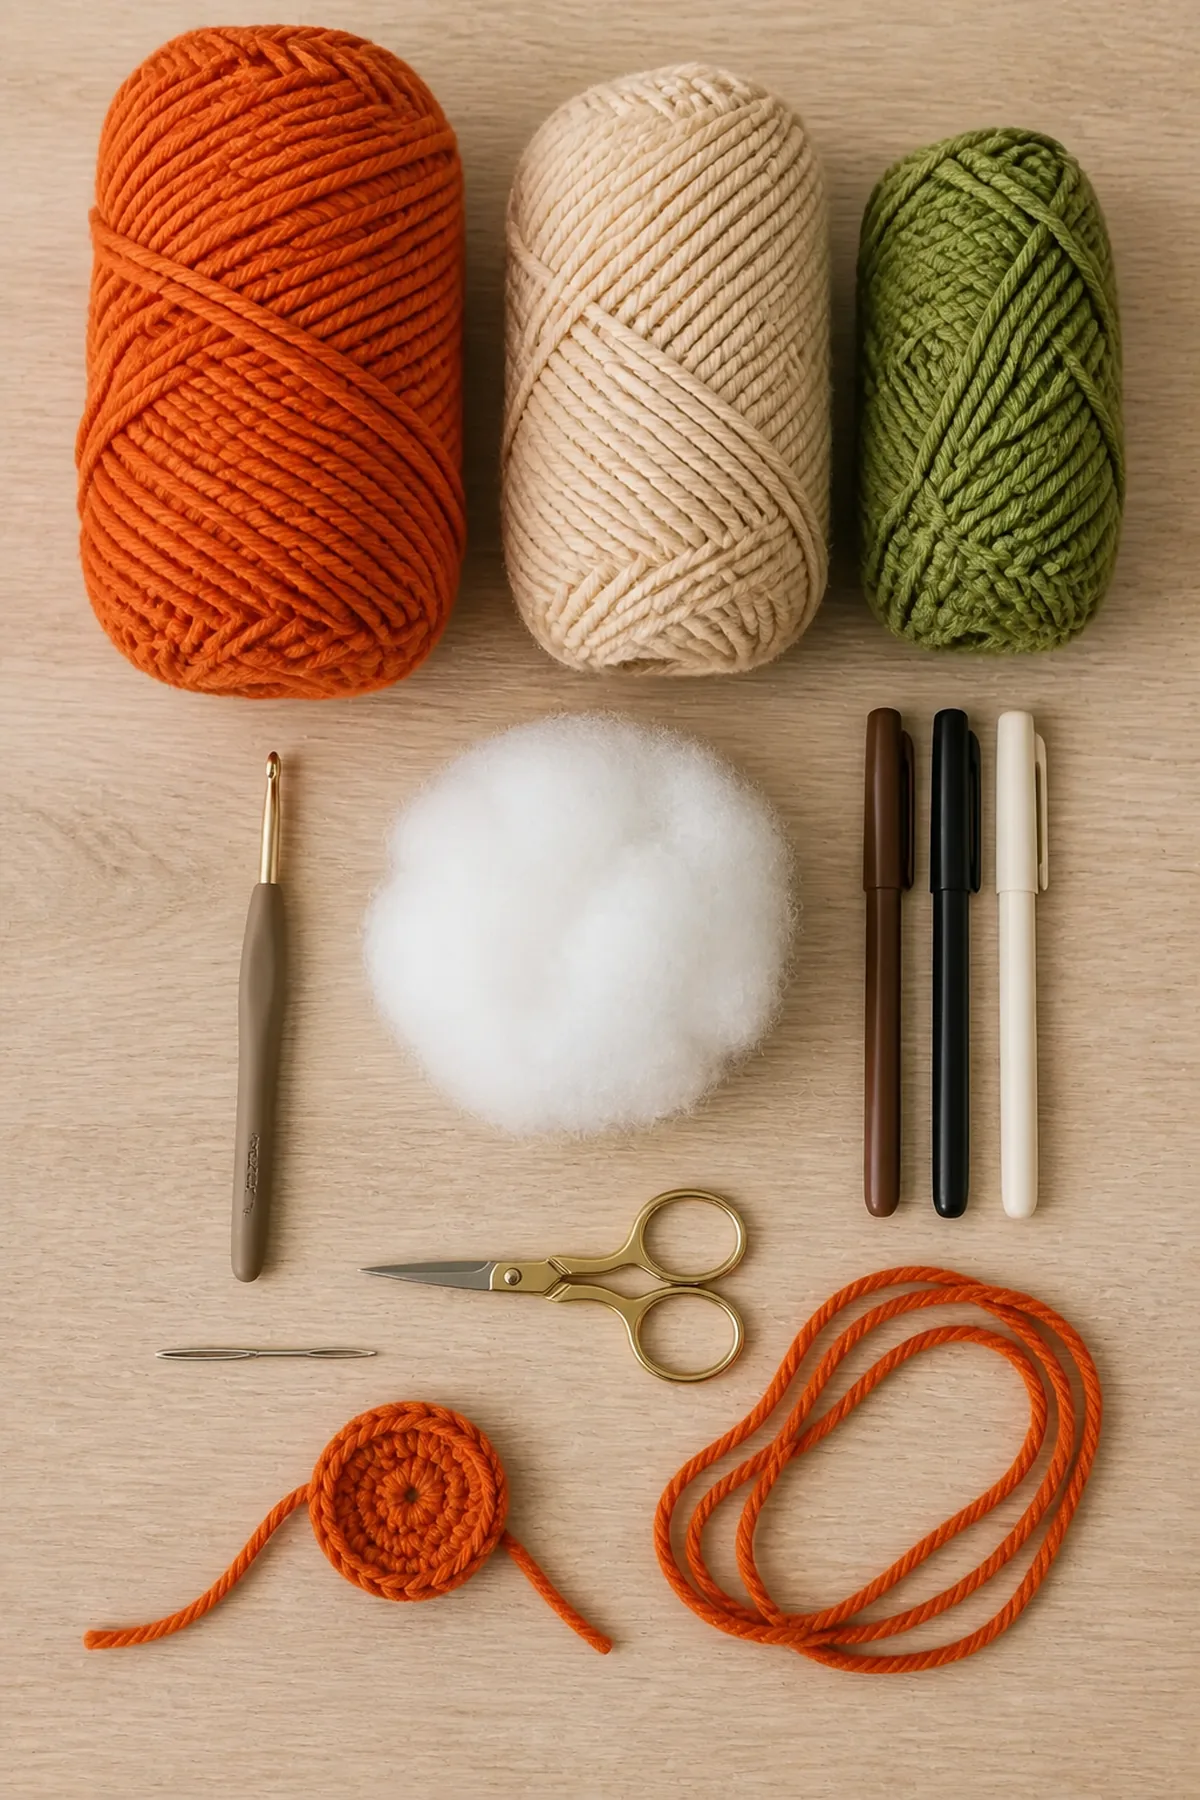
- Approximately 220 yards burnt-orange worsted-weight cotton yarn
- Approximately 25 yards oatmeal worsted-weight cotton yarn
- Approximately 20 yards moss-green worsted-weight cotton yarn
- 4 mm (G-6) crochet hook
- Polyester fiberfill
- Stitch marker
- Yarn needle
- Scissors
Abbreviations and Special Stitches
- ch: chain
- dec: single crochet two stitches together
- inc: work two single crochet in one stitch
- rnd: round
- sc: single crochet
- sl st: slip stitch
- st(s): stitch(es)
Invisible decrease: Insert the hook through the front loop of each of the next two stitches, yarn over, pull through both front loops, yarn over, and complete one sc.
Important Notes
- This is an original mouse-inspired pumpkin silhouette, not a licensed character design.
- Work body rounds continuously without joining or turning.
- Stuff gradually and keep the lower surface flat enough for display.
- Sculpting yarn should indent the surface without cutting into the crochet fabric.
- Secure and inspect both ears and the stem because they are small decorative components.
How to Crochet the Pumpkin
- Rnd 1: With orange, make 6 sc in a magic ring. Mark the first stitch and do not turn. (6 sts)
- Rnd 2: Work the 1-stitch increase section six times. (12 sts)
- Rnd 3: Work the 2-stitch increase section six times. (18 sts)
- Rnd 4: Work the 3-stitch increase section six times. (24 sts)
- Rnd 5: Work the 4-stitch increase section six times. (30 sts)
- Rnd 6: Work the 5-stitch increase section six times. (36 sts)
- Rnd 7: Work the 6-stitch increase section six times. (42 sts)
- Rnd 8: Sc in every stitch around. (42 sts)
- Rnd 9: Sc in every stitch around. (42 sts)
- Rnd 10: Sc in every stitch around. (42 sts)
- Rnd 11: Sc in every stitch around. (42 sts)
- Rnd 12: Sc in every stitch around. (42 sts)
- Rnd 13: Sc in every stitch around. (42 sts)
- Rnd 14: Sc in every stitch around. (42 sts)
- Rnd 15: Sc in every stitch around. (42 sts)
- Rnd 16: Work the 7-stitch decrease section six times. (36 sts)
- Rnd 17: Work the 6-stitch decrease section six times. (30 sts)
- Rnd 18: Work the 5-stitch decrease section six times. (24 sts)
- Rnd 19: Work the 4-stitch decrease section six times. (18 sts)
- Rnd 20: Work the 3-stitch decrease section six times. (12 sts)
- Rnd 21: Work the 2-stitch decrease section six times. (6 sts)
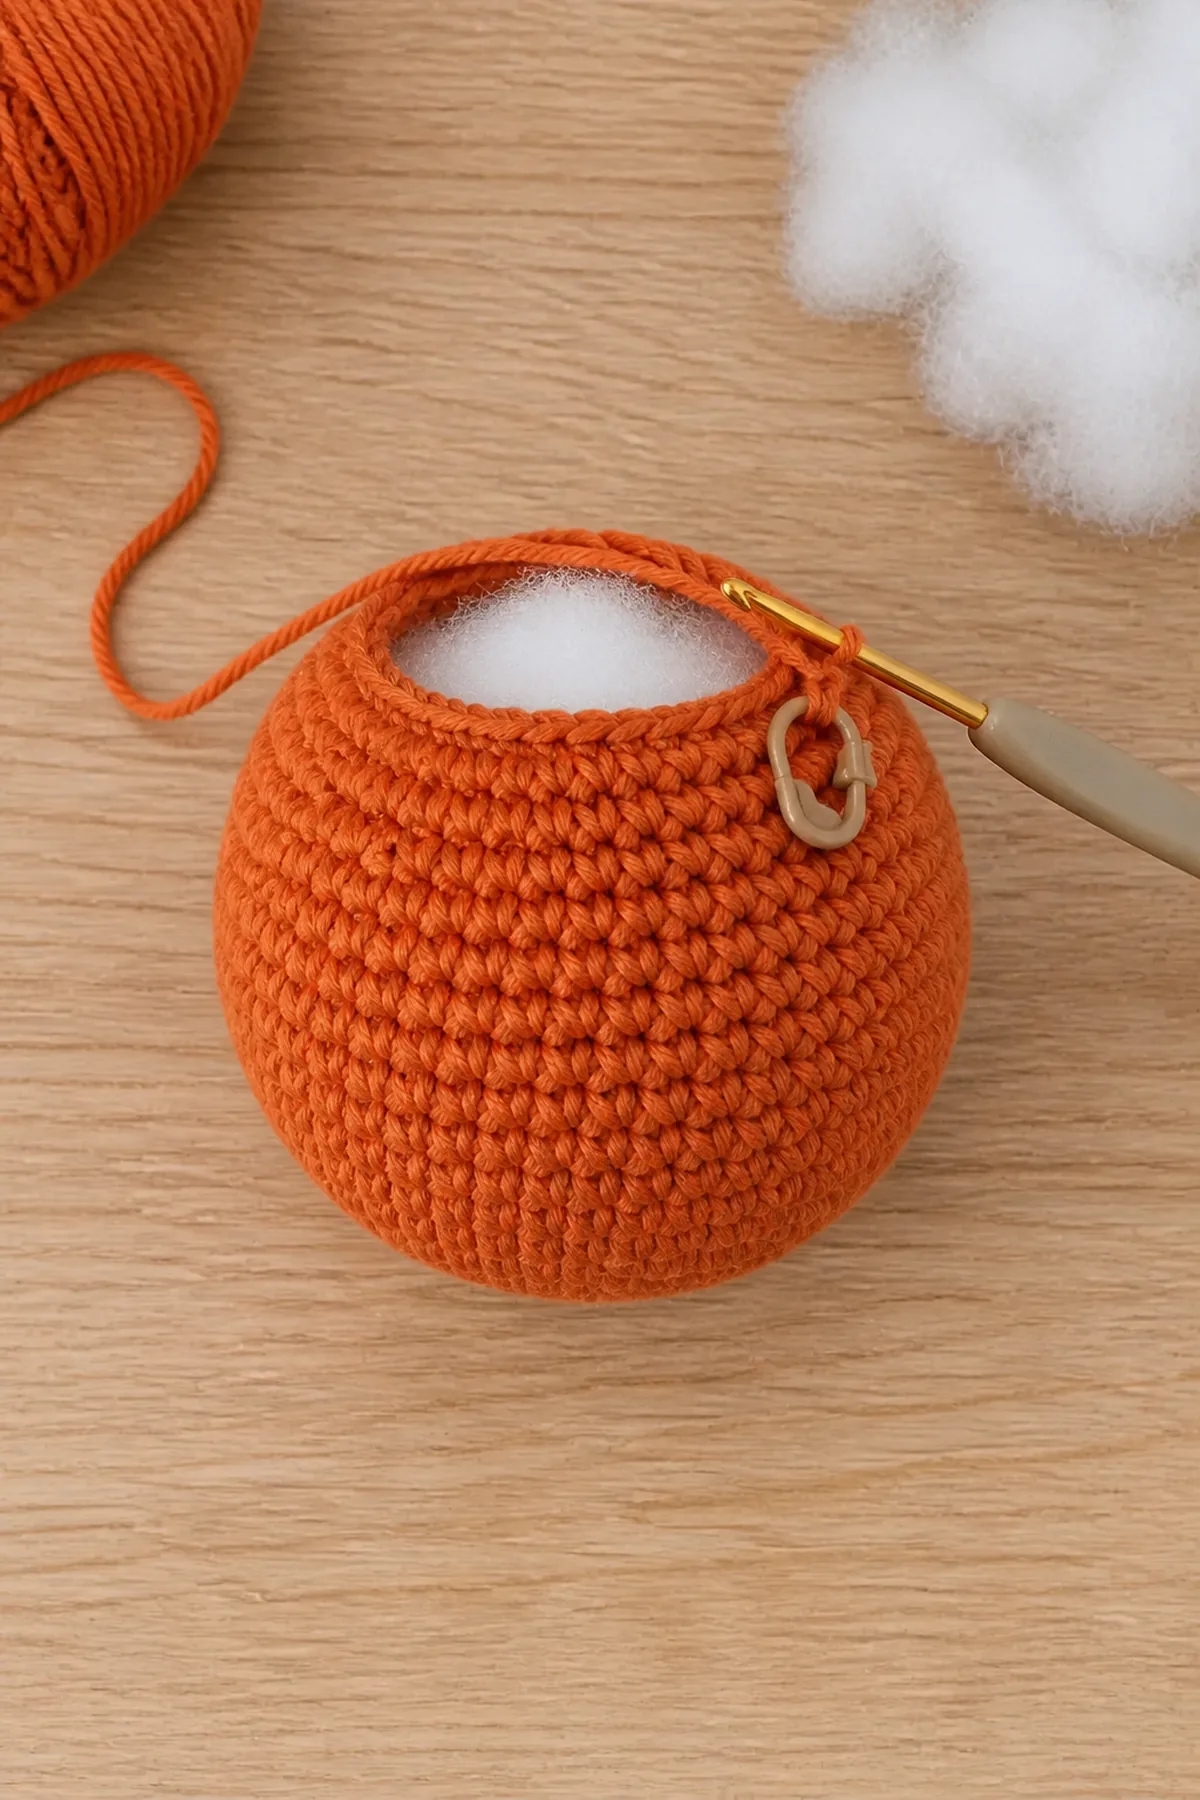
Add most of the fiberfill after Rnd 17, then add small amounts through the opening before Rnd 21. After Rnd 21, fasten off with a long tail, thread it through the six remaining front loops, pull closed, and bury the tail.
Sculpt Six Pumpkin Ribs
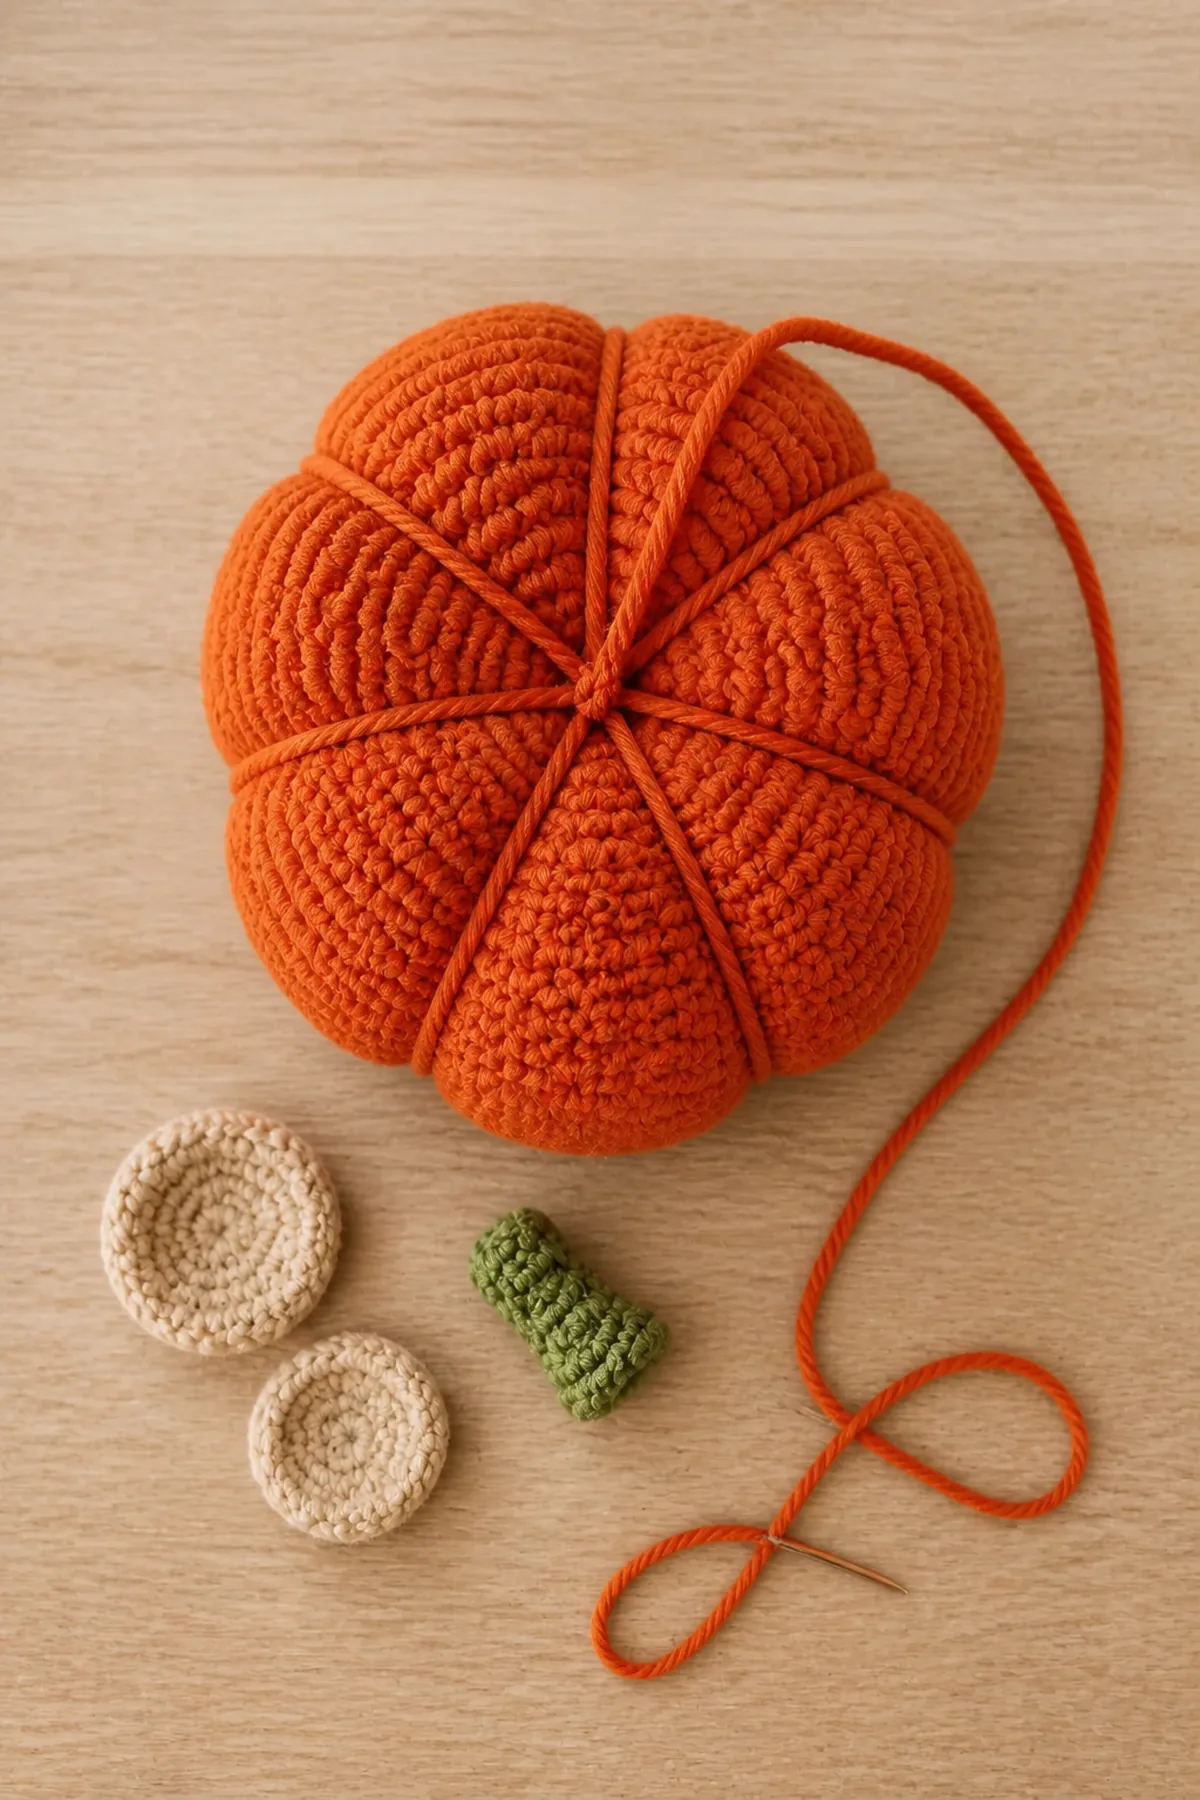
- Cut six 30-inch orange strands. For each rib, anchor a strand at the bottom center, carry it straight up the outside to the top center, pass through the stuffed body, and return to the bottom.
- Tighten only until a shallow groove forms, then knot securely. Space the six ribs evenly around the 42-stitch circumference and bury all knots.
Original Round Ears
- Make two. With oatmeal, work 6 sc in a magic ring. (6 sts)
- Ear Rnd 2: Inc in each stitch. (12 sts)
- Ear Rnd 3: Repeat sc, inc six times. (18 sts)
- Ear Rnd 4: Repeat sc in next 2, inc six times. (24 sts)
- Fasten off with a sewing tail. Each round consumes all stitches from the preceding round and adds six evenly spaced stitches.
Stem
- With moss, make 6 sc in a magic ring. (6 sts)
- Work 7 rounds of 6 sc without joining. Lightly stuff the stem and fasten off with a sewing tail.
Assembly and Finishing
- Center the stem over the top closure and sew through every stem-edge stitch and adjacent body stitch.
- Place the ears symmetrically, one rib apart, beside the stem. Sew through all 24 edge stitches of each ear, keeping the circles upright.
- Weave and bury all ends. Tug each component gently and inspect attachment stitches before display.
Helpful Tips
- Use removable markers to divide the body into six equal seven-stitch rib sections.
- If the pumpkin becomes tall rather than squat, reduce stuffing at the center and tighten sculpting strands evenly.
- Keep the ears neutral and unembellished so the design remains an original fall object.
FAQ
Can I add a face?
The pattern is designed without one. Keeping the ears and stem as the only character-like details preserves its original pumpkin identity.
Can I change the size?
Use a different yarn weight with the matching hook while preserving every round count and shaping position.
How should I store it?
Spot-clean, dry fully, and store without crushing the ears or stem.