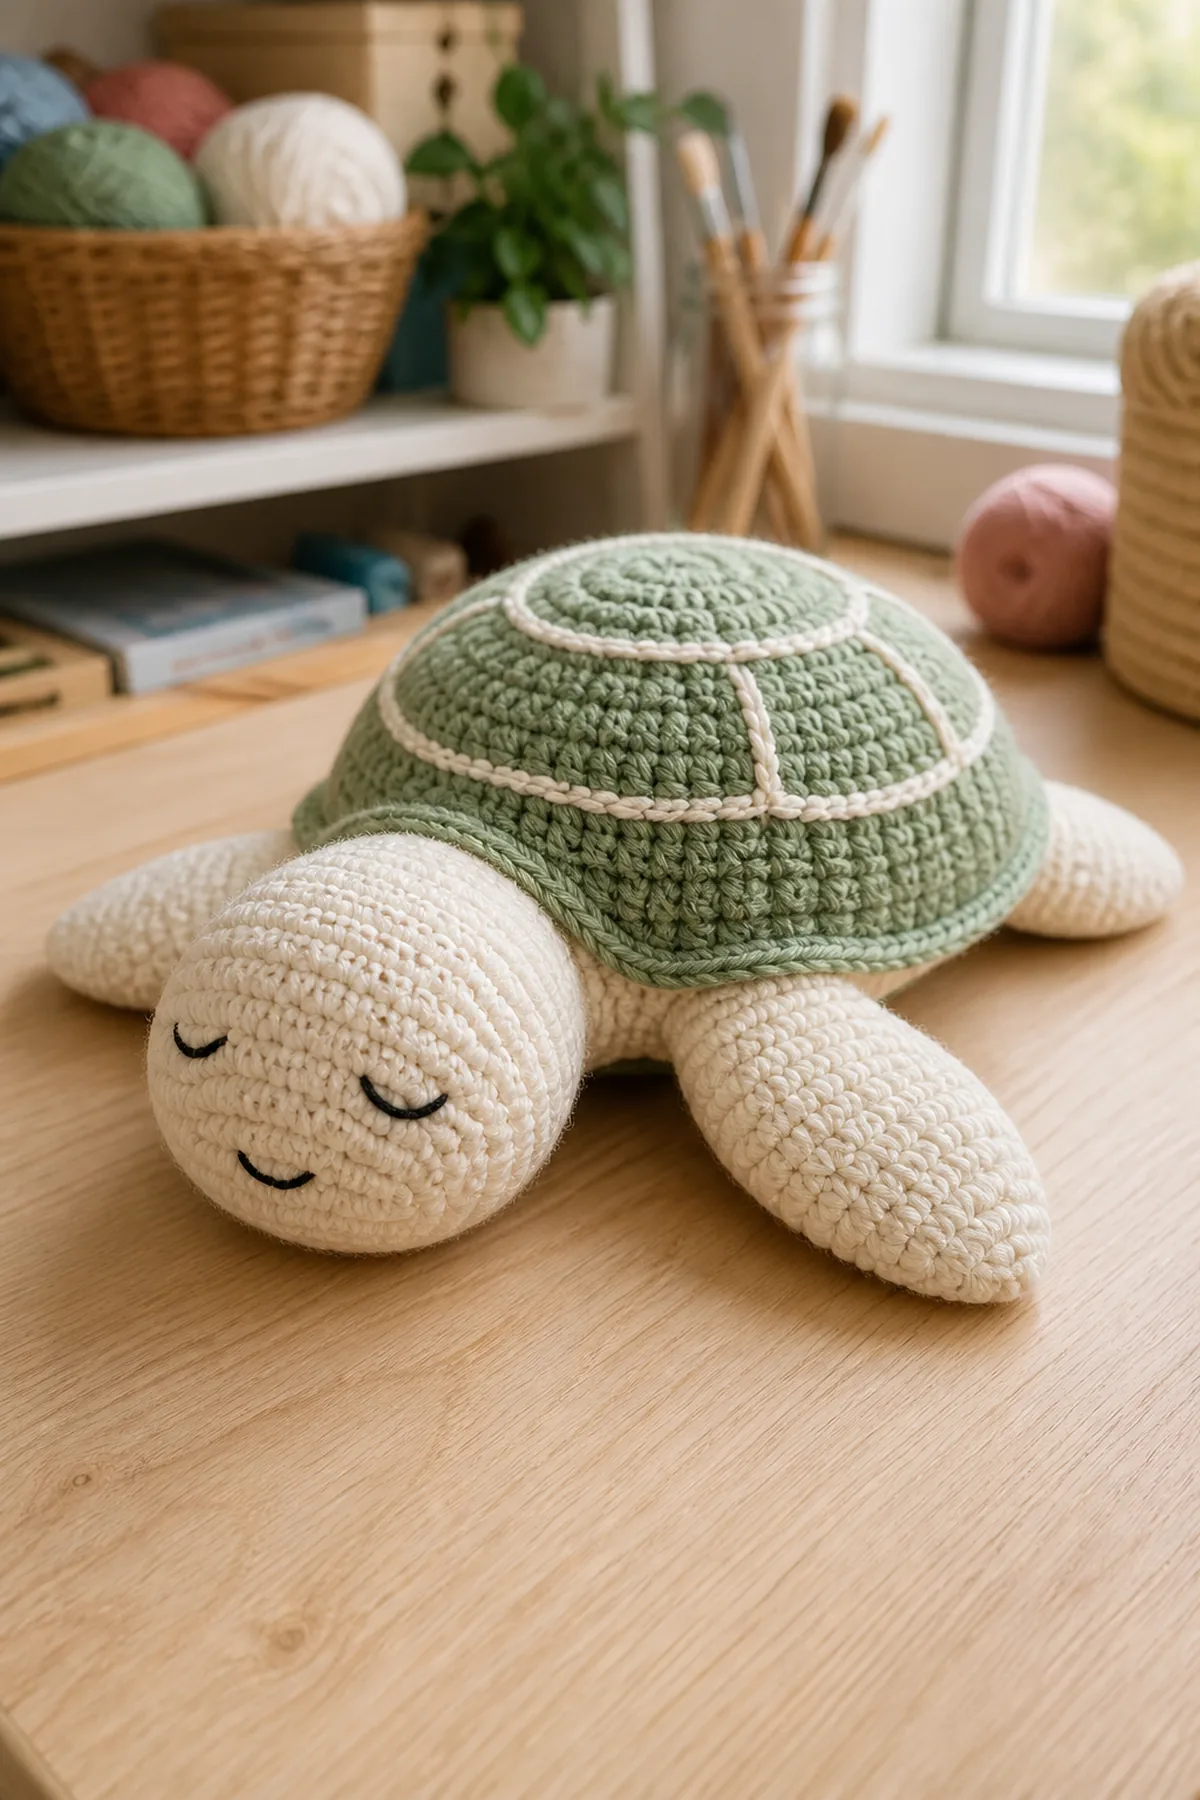
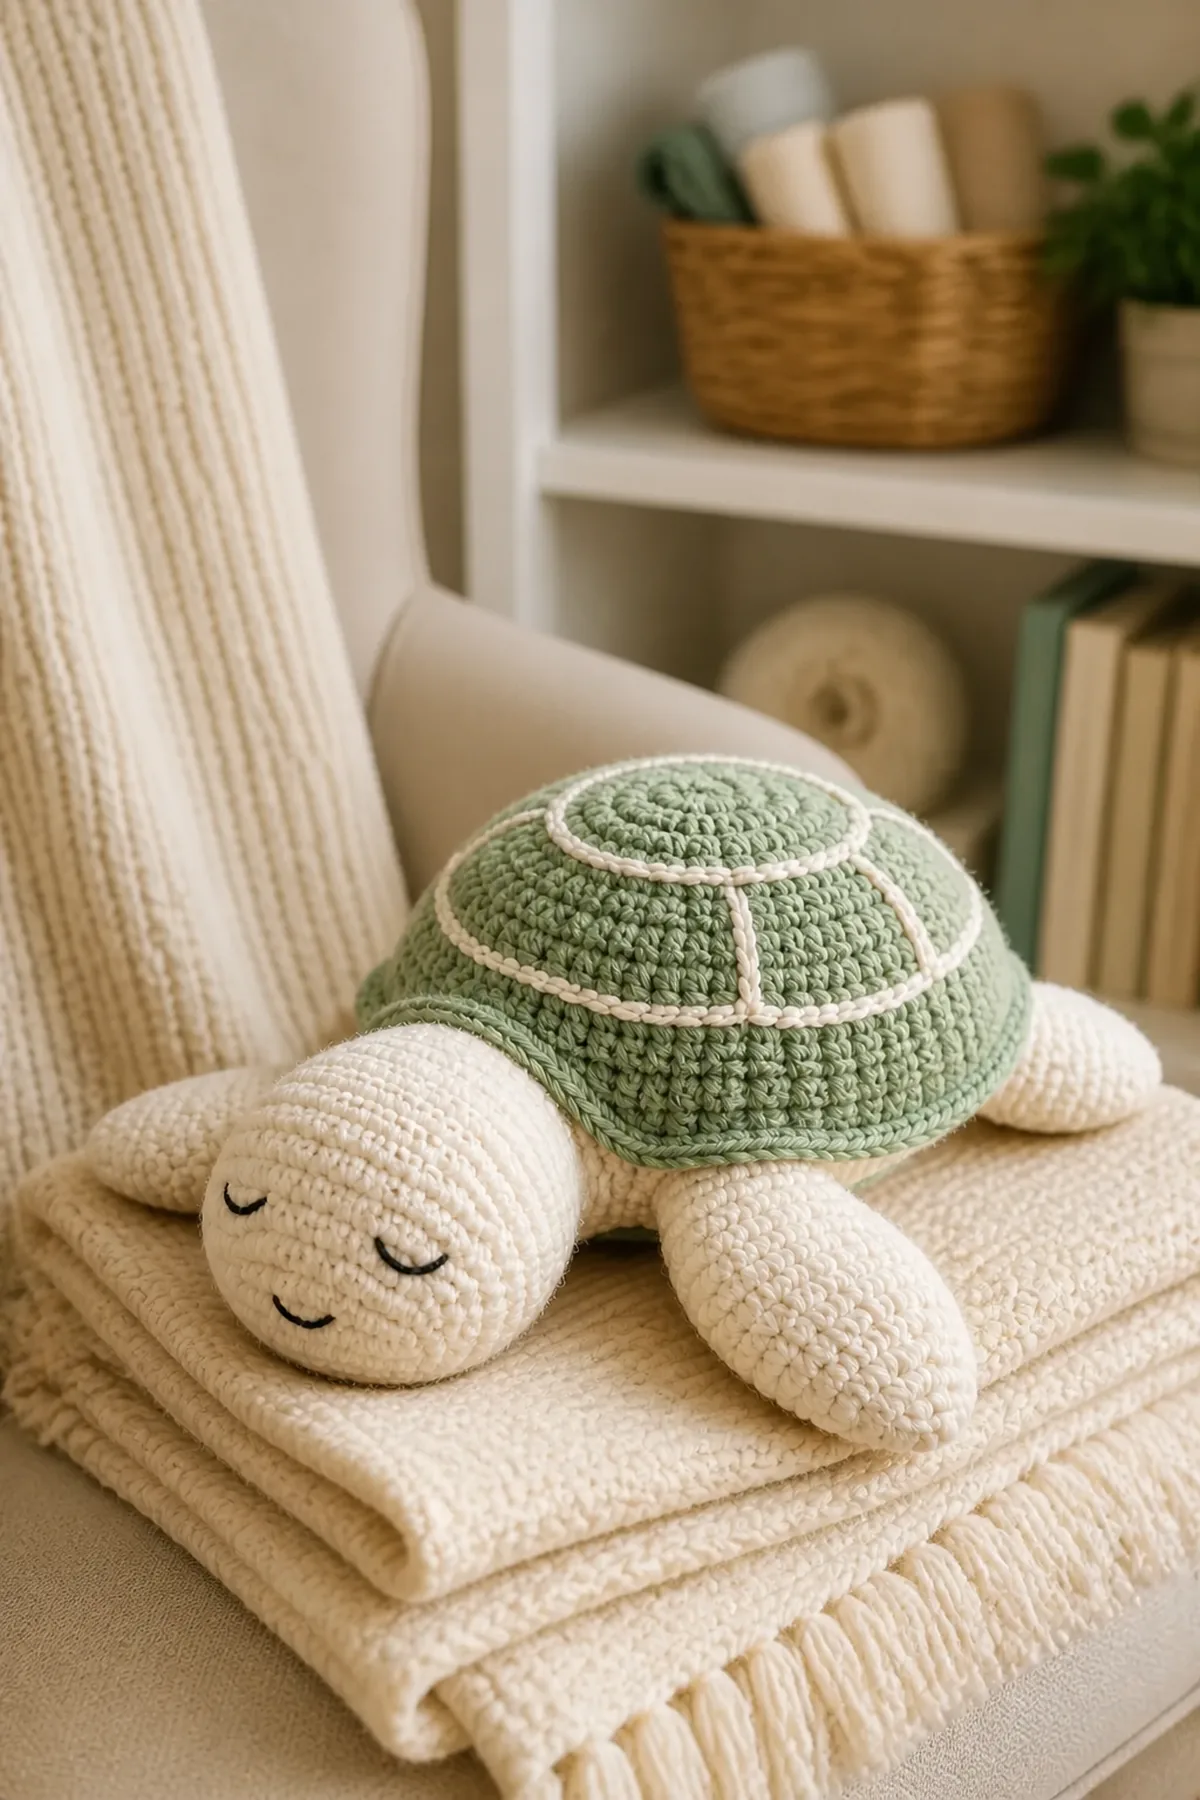
This no-sew crochet turtle amigurumi plush pattern creates a soft sage-and-cream turtle without sewing on the head, flippers, tail, or shell. Each appendage is crocheted into an exact body position, and the two body layers are closed together with single crochet.
Pattern Details
- Hook Size: 4 mm (G-6)
- Finished Size: Approximately 8 inches from head to tail and 6 inches across
- Gauge: 18 single crochet stitches and 20 rounds = 4 inches in firm stuffed fabric
- Terminology: US
- Estimated Time: 4–6 hours
- Construction: Head, four flippers, and tail are made first, then crocheted into named body stitches; the shell is closed to the underside with single crochet, so no component is sewn on.
- Skill level: Easy
Why You’ll Love It
The attachment round removes guesswork: every component has a numbered stitch position, the round consumes all 42 body stitches, and the final crochet edging secures both layers without sewing.
Materials
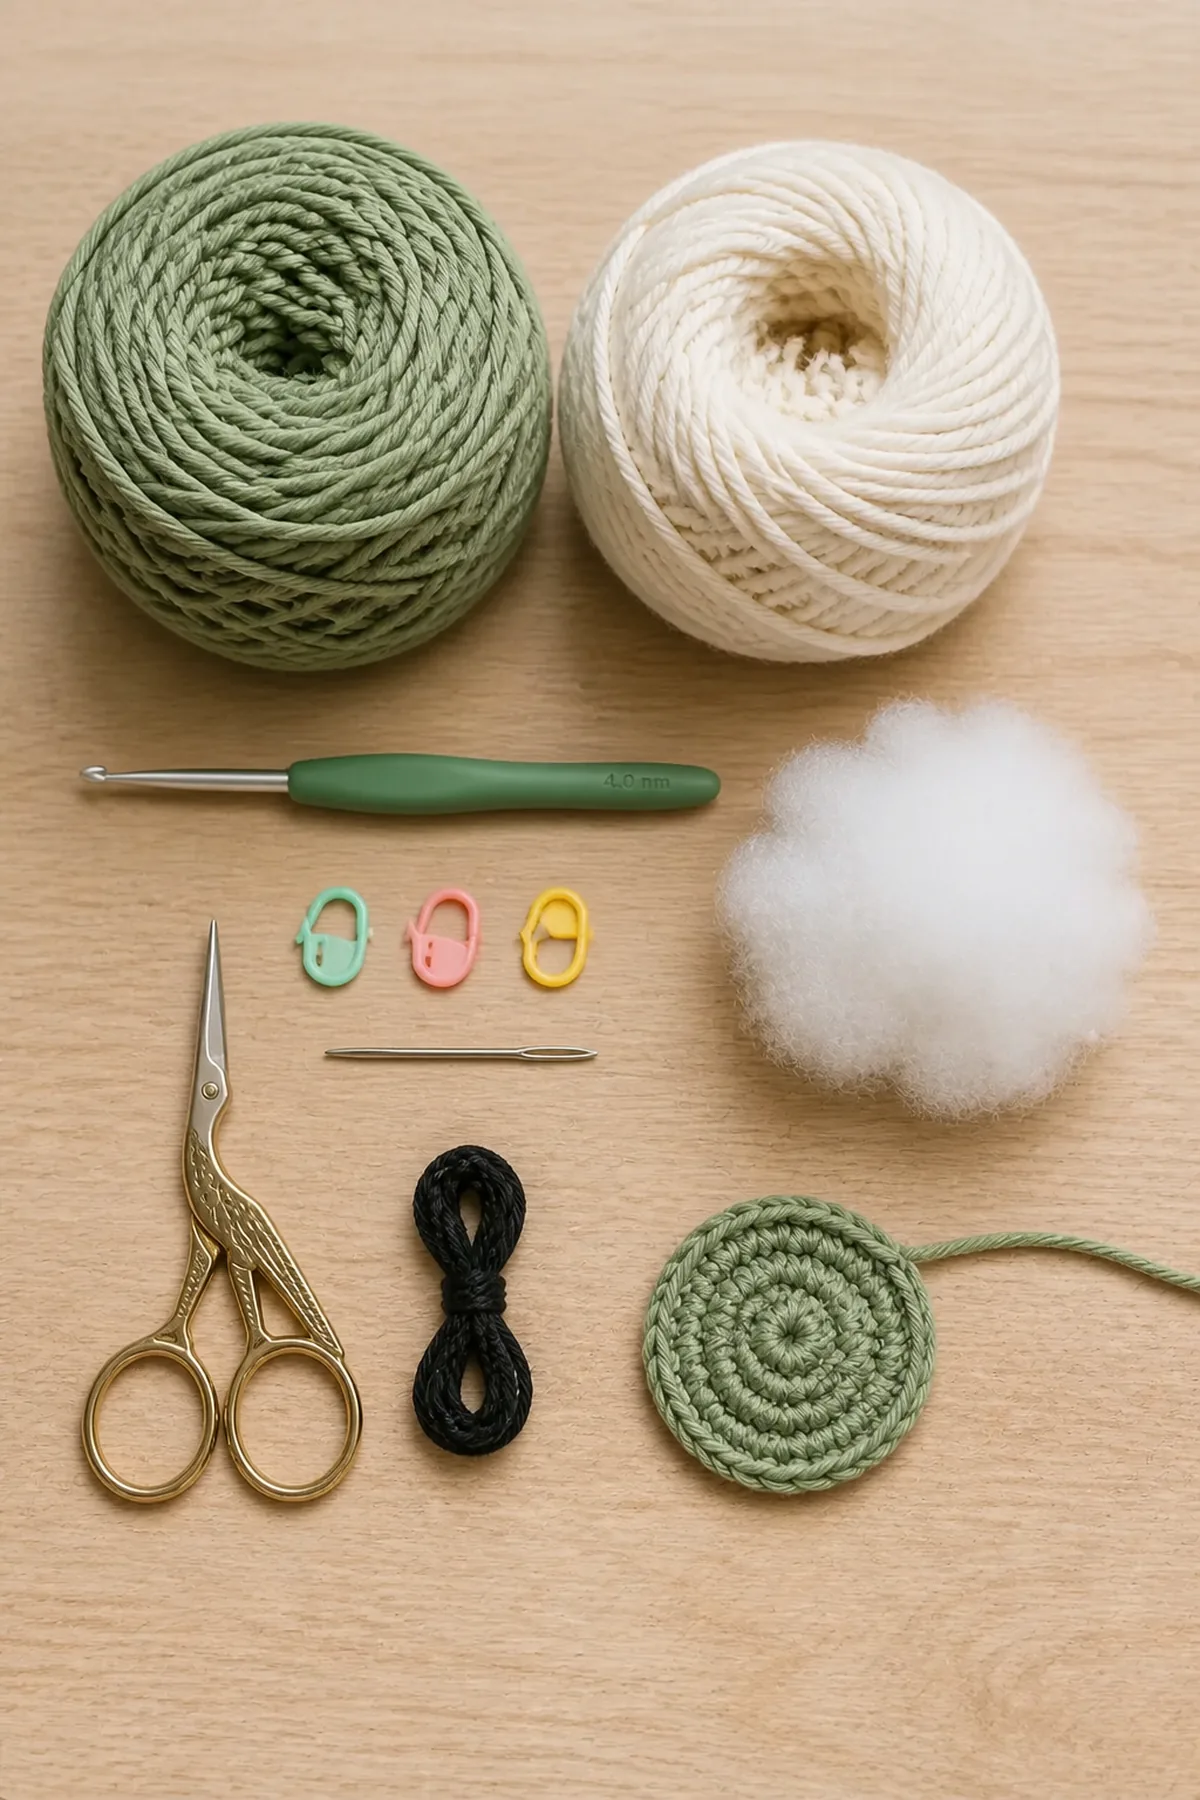
- Approximately 180 yards sage worsted-weight cotton yarn
- Approximately 140 yards cream worsted-weight cotton yarn
- Small amount black cotton yarn for embroidered face
- 4 mm (G-6) crochet hook
- Polyester fiberfill
- Stitch markers
- Yarn needle for embroidery and weaving ends only
- Scissors
Abbreviations and Special Techniques
- ch: chain
- dec: single crochet two stitches together
- inc: two single crochet in one stitch
- rnd: round
- sc: single crochet
- sl st: slip stitch
- st(s): stitch(es)
Crochet-on attachment: Flatten a component’s final open edge, insert the hook through both edge loops and the named body stitch, then complete one sc. The attachment consumes one body stitch and produces one body stitch.
Important Notes and Safety
- The no-sew claim means no component is attached with sewing: each pre-crocheted appendage is secured by working through its open edge and the named body stitch.
- Use the yarn needle only for the flat embroidered face and weaving ends.
- Do not use safety eyes for an item intended around infants or small children.
- Stuff firmly but keep the underside flat; inspect every attachment and the closing edge before use.
Make the Integrated Components
Head
- With cream, make 6 sc in a magic ring. Increase evenly to 24 stitches over three rounds, work 5 rounds even, lightly stuff, then flatten the 12-stitch opening. Fasten off; this edge will be crocheted into body stitch 1.
Four Flippers
- For each flipper, make 6 sc in a magic ring, increase to 12, work 4 rounds even, lightly stuff the base only, flatten the 6-stitch edge, and fasten off. Label front right, rear right, rear left, and front left.
Tail
- Ch 5, sc in second chain and next 3 chains, ch 1 and turn, then sc across. Fold lengthwise, sl st the long edges together, and leave the two-stitch end ready for attachment.
How to Crochet and Assemble the Turtle
- Shell Rnd 1: With sage, make 6 sc in a magic ring. Do not turn. (6 sts)
- Shell Rnd 2: Work the 1-stitch increase repeat six times. (12 sts)
- Shell Rnd 3: Work the 2-stitch increase repeat six times. (18 sts)
- Shell Rnd 4: Work the 3-stitch increase repeat six times. (24 sts)
- Shell Rnd 5: Work the 4-stitch increase repeat six times. (30 sts)
- Shell Rnd 6: Work the 5-stitch increase repeat six times. (36 sts)
- Shell Rnd 7: Work the 6-stitch increase repeat six times. (42 sts)
- Shell Rnd 8: Sc in every stitch around. (42 sts)
- Shell Rnd 9: Sc in every stitch around. (42 sts)
- Shell Rnd 10: Sc in every stitch around. (42 sts)
- Attachment Rnd: Sc through head edge and next body stitch. Sc through first front flipper edge and next body stitch. Sc in next 8 body stitches. Sc through rear-right flipper edge and next body stitch. Sc in next 9 body stitches. Sc through tail edge and next body stitch. Sc in next 9 body stitches. Sc through rear-left flipper edge and next body stitch. Sc in next 8 body stitches. Sc through front-left flipper edge and next body stitch. Sc in final 2 body stitches. (42 sts)
- Closing Rnd 1: Sc through the next aligned shell and underside edge pair. (42 sts)
- Closing Rnd 2: Sc through the next aligned shell and underside edge pair. (42 sts)
- Closing Rnd 3: Sc through the next aligned shell and underside edge pair. (42 sts)
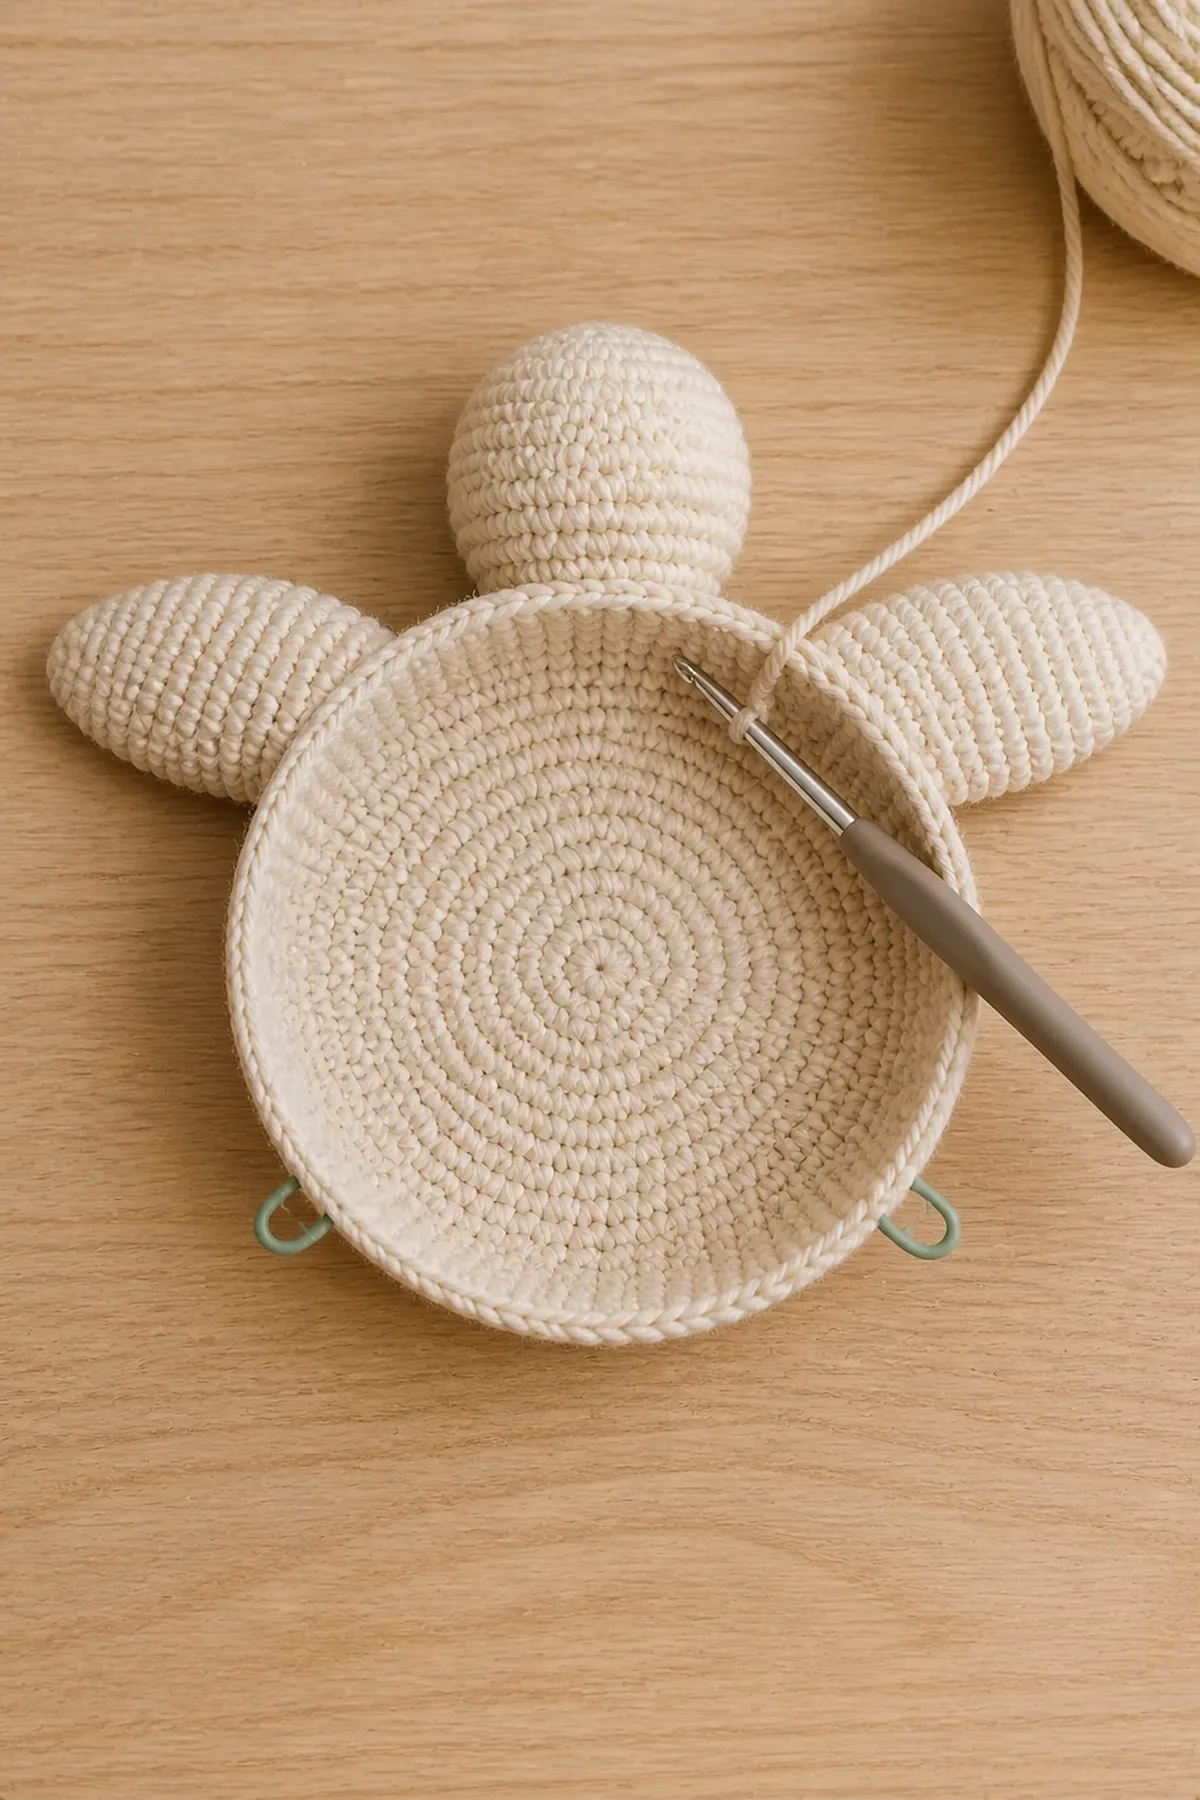
Before the Attachment Round, place components clockwise in this order: head, front-right flipper, rear-right flipper, tail, rear-left flipper, front-left flipper. The explicit spacing in the round accounts for every one of the 42 shell-edge stitches.
Finishing
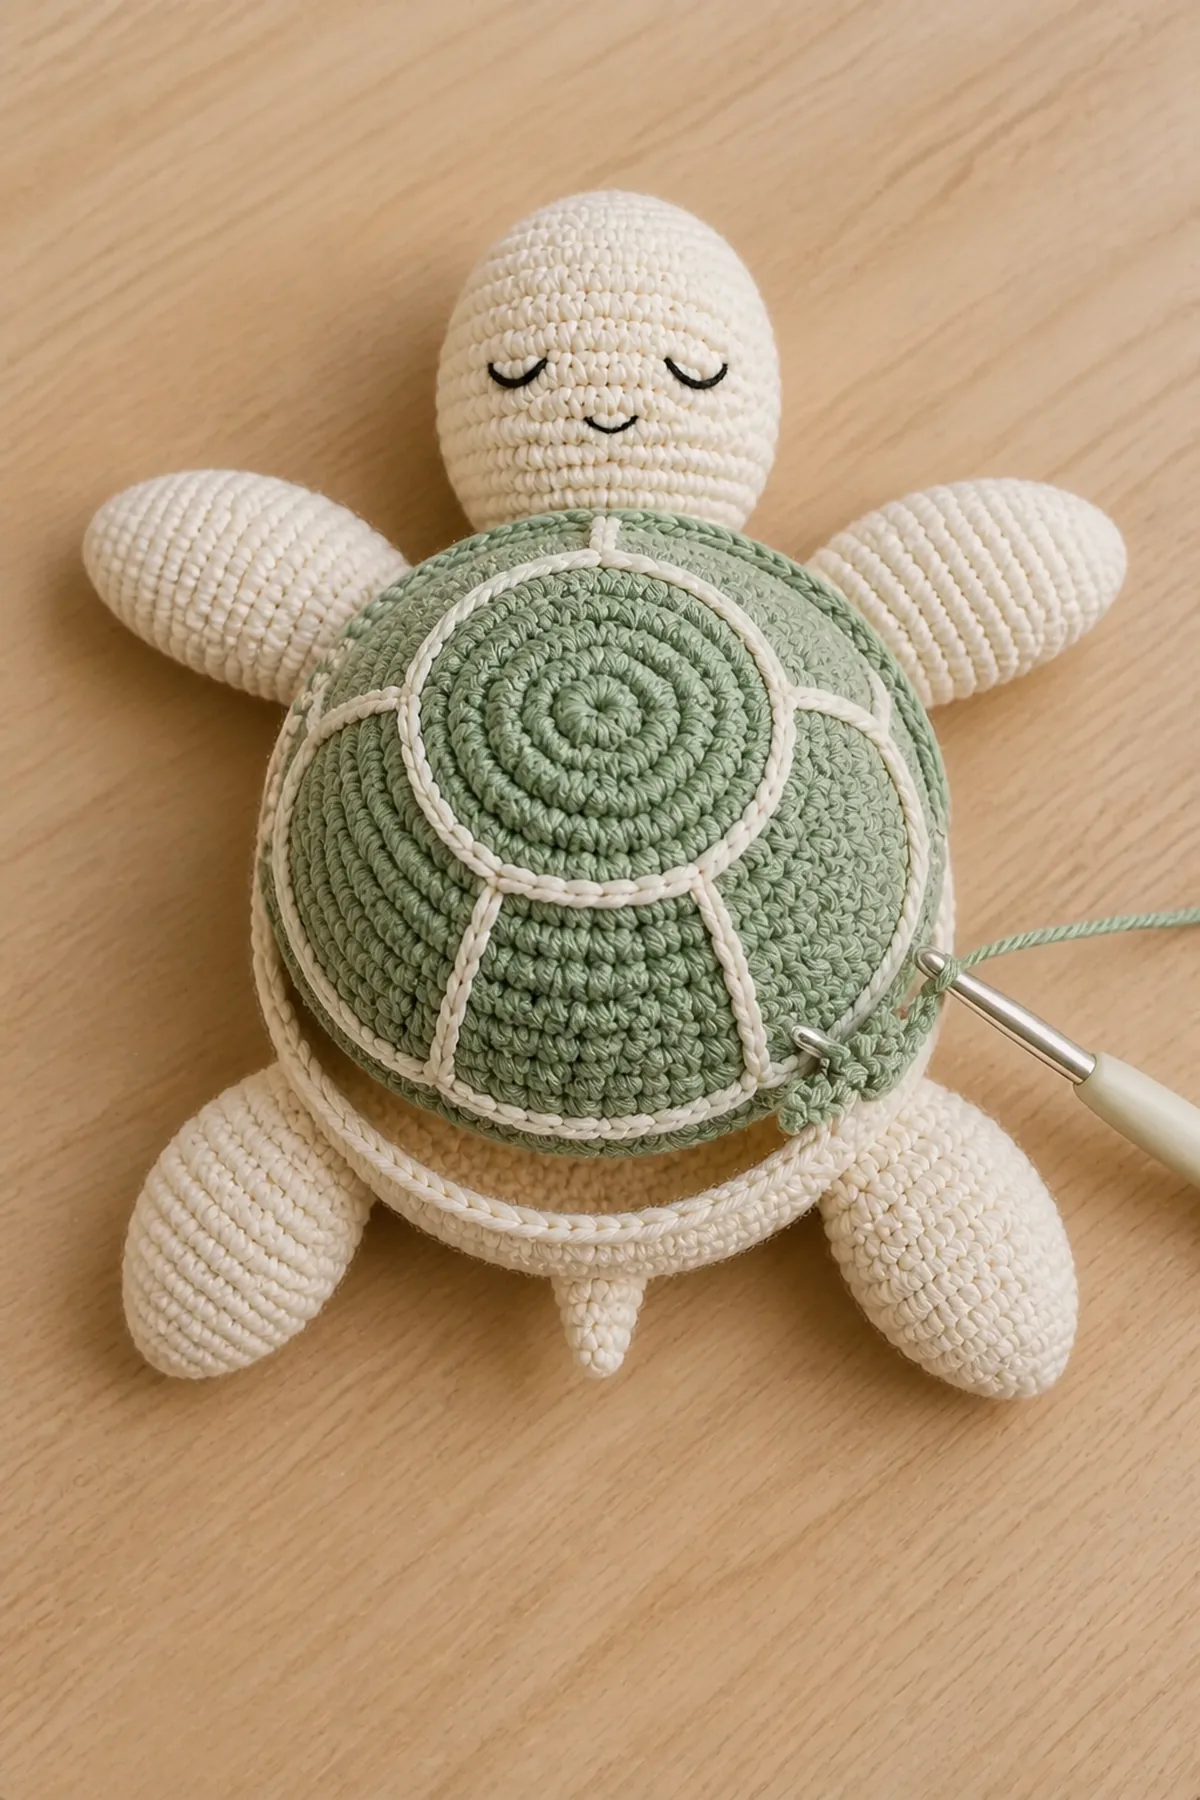
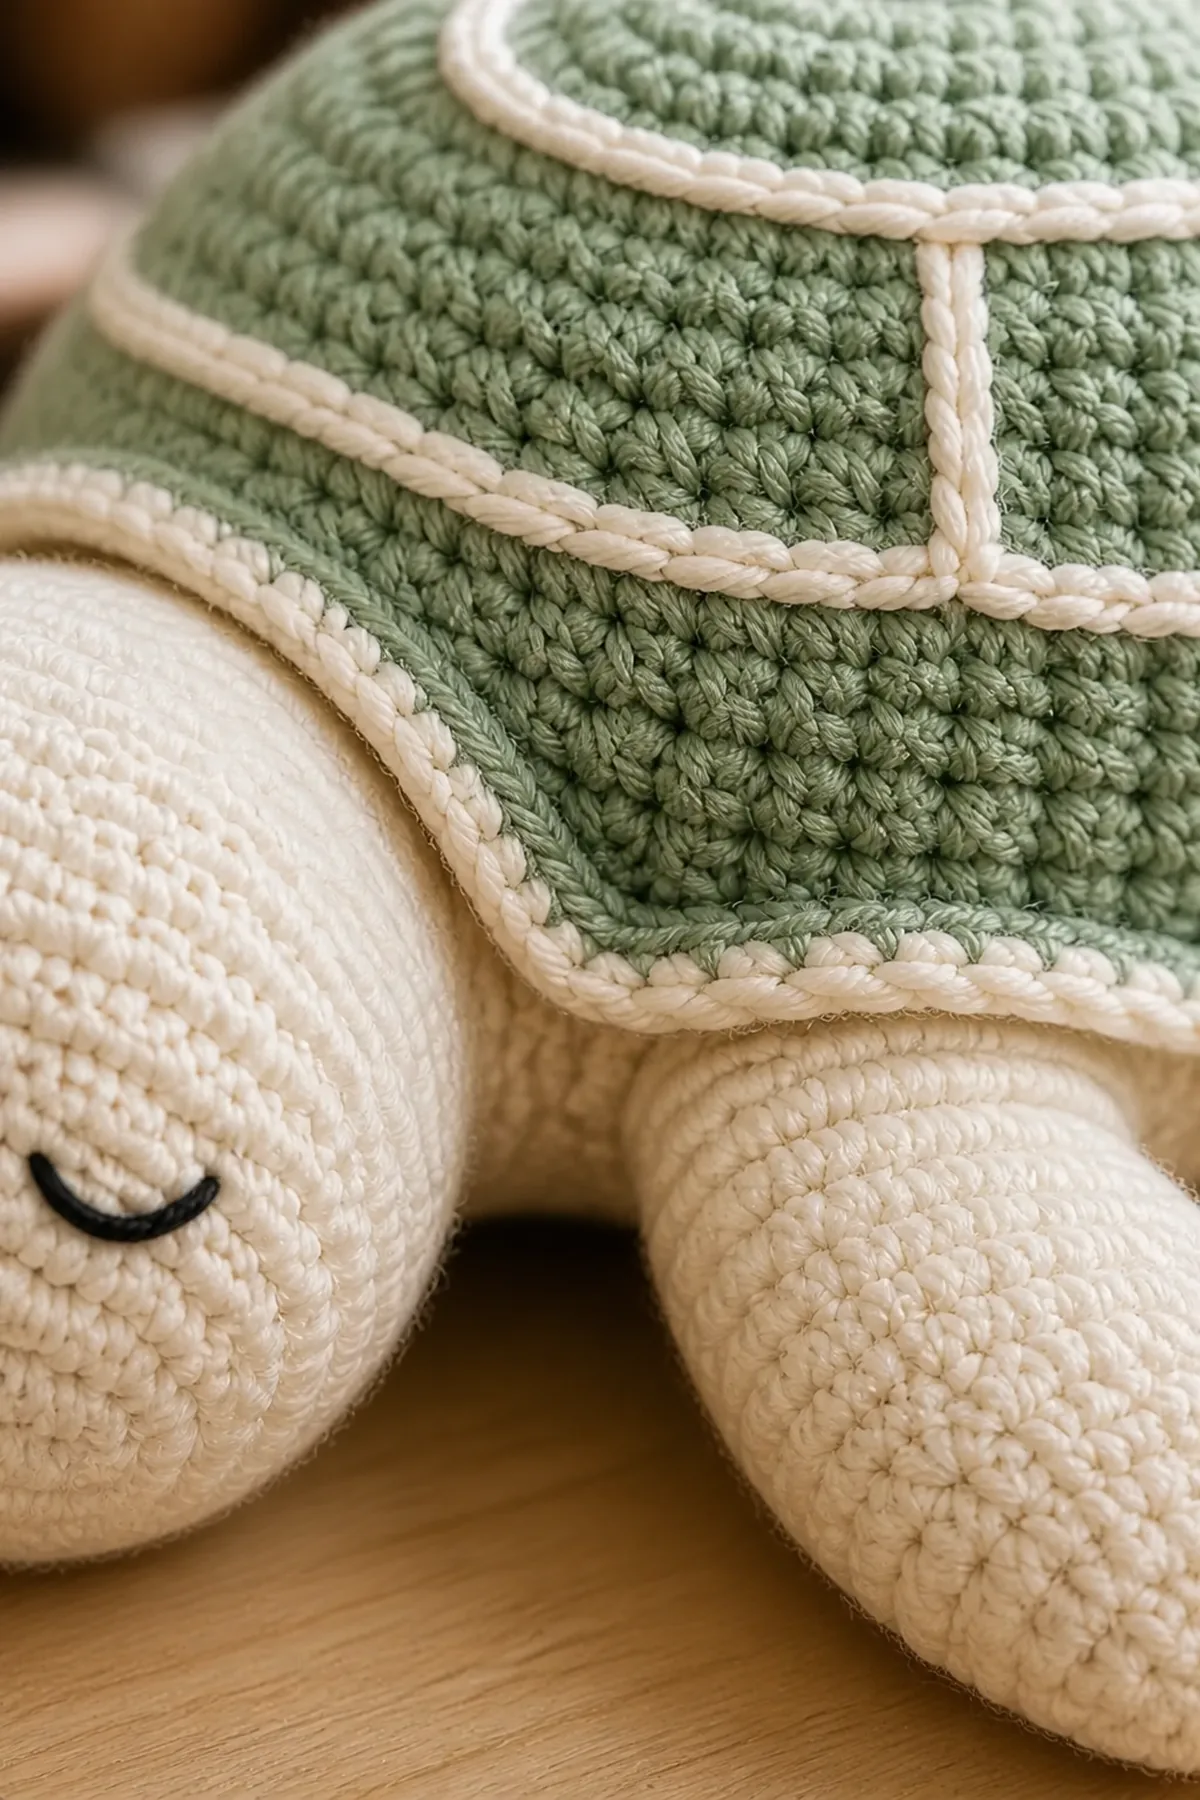
- Before completing the last 8 stitches of Closing Rnd 3, add fiberfill evenly between shell and underside.
- Complete the remaining stitches, join, fasten off, and weave the end inside the closing edge.
- With black yarn, embroider two short curved sleepy eyes and a small smile; secure and bury the ends.
- Surface-crochet cream lines on the sage shell if desired, securing both ends inside.
- Inspect every integrated attachment, the closing edge, and all embroidered yarn before use.
Helpful Tips
- Label components before the attachment round.
- Keep the shell marker at the start so positions do not rotate.
- Do not overstuff the flippers; broad, flatter flippers match the design.
- Supervise use around young children and recheck the embroidery and seams regularly.
FAQ
Is this turtle truly no-sew?
Yes. No component is sewn on. The hook attaches every component through its edge and the named body stitch, and the shell layers are crocheted together. A yarn needle is used only for face embroidery and end weaving.
Can I use safety eyes?
Flat yarn embroidery is recommended. Safety eyes are not appropriate for infants and can loosen with wear.
Can I use plush yarn?
You may, but stitch visibility and finished size change. Make a sample and keep the attachment positions and counts unchanged.